The floor is lava
Sitsum Shrine is the type of Tears of the Kingdom shrine that can have you pulling your hair out. It requires some ingenuity and finesse to successfully make your way to the end. Even then, it will likely take you a few attempts at each section to proceed. However, fear not. We’ve covered everything you need to know to complete Sitsum Shrine below. But first, let’s take a look at where to find it.

How to find Sitsum Shrine in Tears of the Kingdom
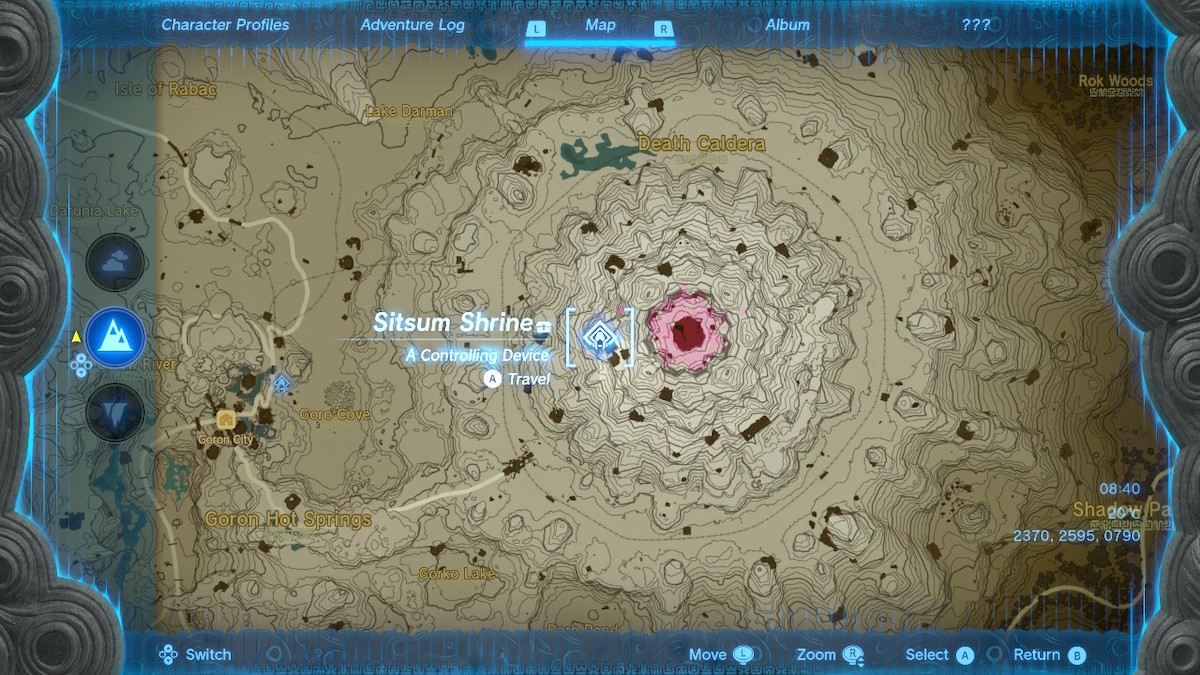
Sitsum Shrine is located in the Death Mountain region of Hyrule. The shrine is specifically located close to the top of Death Mountain itself. If you’re anywhere near the base of the mountain on the western side, you can probably see Sitsum Shrine way up there. Ulri Mountain Skyview Tower is technically the closest tower to the shrine, but we recommend fast traveling to Eldin Canyon Skyview Tower instead.
It’s a little further than Ulri Mountain, but you won’t need to traverse all of Death Mountain to find the shrine, making Eldin Canyon quicker.
When you’re at Eldin Canyon Tower, use it to glide towards Death Mountain. You can glide straight north to Goron City and then travel east on foot from there. Death Mountain isn’t an easy climb, so you may want to have a few stamina upgrades or item boosts. Check the screenshot above for the exact location of Sitsum Shrine on the map.

How to complete Sitsum Shrine
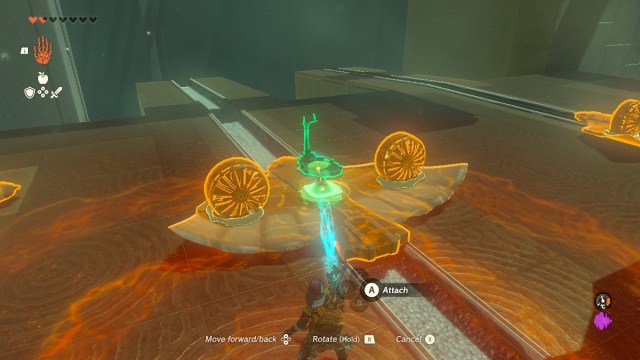
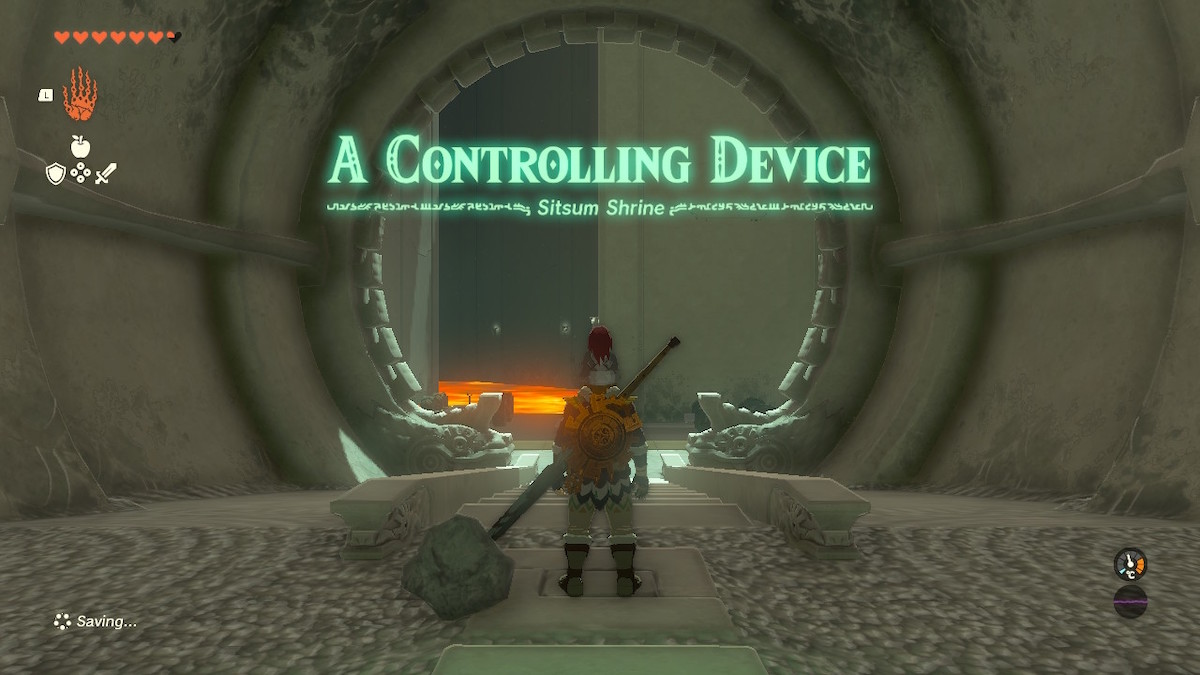
When you enter Sitsum Shrine, you’ll be greeted by a selection of cars and a lava river to cross. You don’t need to concern yourself with the cars on the righthand side. Those are only there if you die in the lava. Go to the car pictured above and stand on the control panel. This allows Link to control the direction and speed of the vehicle. Press “A” to take control, and it will begin to move.
If you do die for whatever reason at this point, you will respawn back at the entrance and will need to take one of the spare cars.

Follow the lava river around, and you’ll come to an opening with three points. To begin, you need to turn right and go down the narrow hallway toward the ball pictured above. Getting to the ball is simple enough, but actually stopping and retrieving it is a whole different ball game. The hallway ends on a cliff, so go too far, and you’ll drive right off the edge, Thelma and Louise style. Similarly, if you stop and try to jump off the car, you’re most likely to end up in the lava.

We recommend driving the car to a stop on the wall just under the ball. The car will drive slightly up the wall, wedging it in place. This will allow you to safely jump off the controls and up to the ball.

When you’re safely on the platform with the ball, use Ultrahand to pick up your trust car and spin it around. You want it to be facing the way back so you can drive out of the hallway. When the car is in place, use Ultrahand again to pick up the ball and attach it to the car. Now that your luggage is safely stowed inside the vehicle, you can take the car back to the central area to the right of the hallway.

In the central area, you can place the ball in the orange hole to unlock the door to the chest, like in the picture above. The chest contains a pretty sweet Mighty Construct Bow, which is good for mid-level players.

When you’ve got the bow, take your car over to the final section offshoot. Beware, there’s a construct guarding the planes here, so you’ll need to take it out before you do anything else. When it’s dead and buried, you’ll then need to use Ultrahand to detach the control panel from your car. It’s the mount that you’ve been standing on so Link can drive the vehicle. Take it off and attach it to the center of one of the planes in this area. Make sure it’s centered. Otherwise, it will be more difficult to fly.

Hop onto the plane’s control panel, and it will spin up. You need to fly it straight ahead and then to the left to reach the end of the shrine. See the picture above for the location of the exit. Land safely, and the shrine is complete!


