
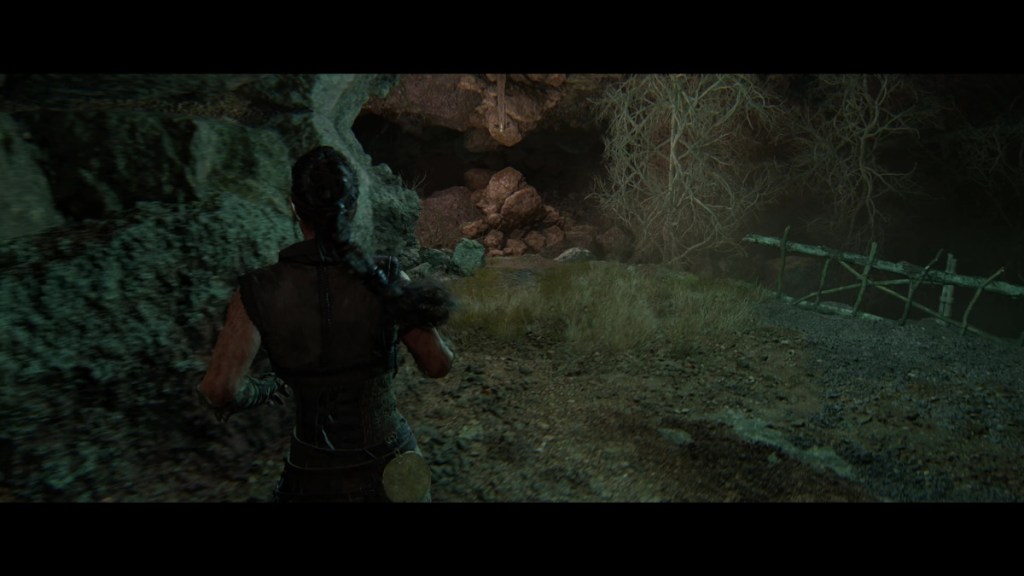
Lorestangir poles are one of two types of collectibles in Senua’s Saga: Hellblade 2. Discovering them lets you listen to a story, narrated by Druth. Many are hidden off the path, but we have all the Hellblade 2 Lorestangir locations to make things nice and simple.
Hellblade 2: All Lorestangir locations
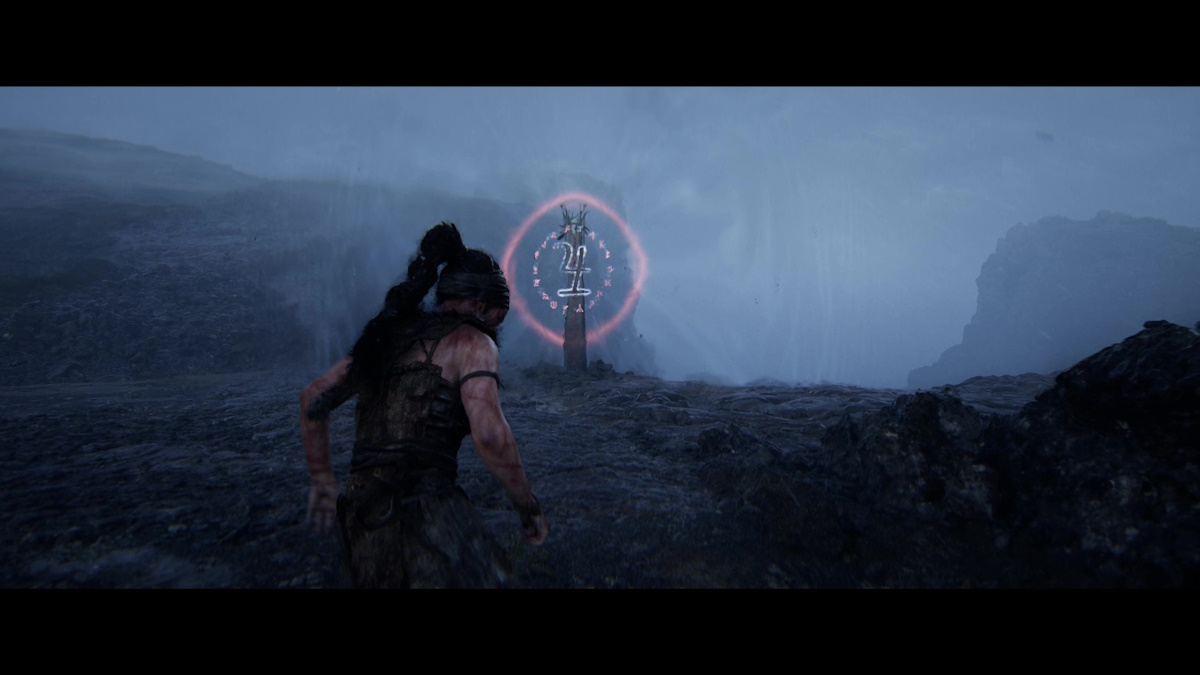
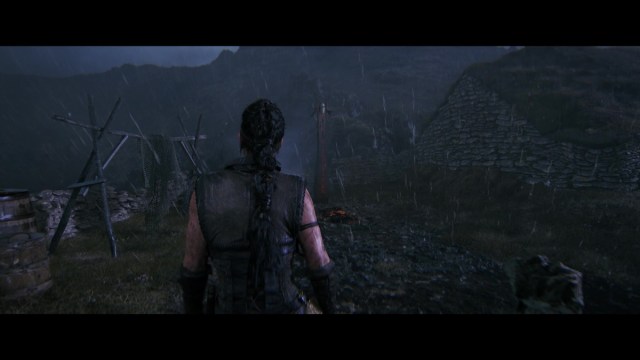
There are 18 Lorestangir to find in Hellblade 2. You can easily spot them as tall poles with runes etched onto the front. Activating a Lorestangir causes a rune to glow red, showing you the progress you’ve made so far. Some can be missed in the game, so be sure to follow the list below closely.
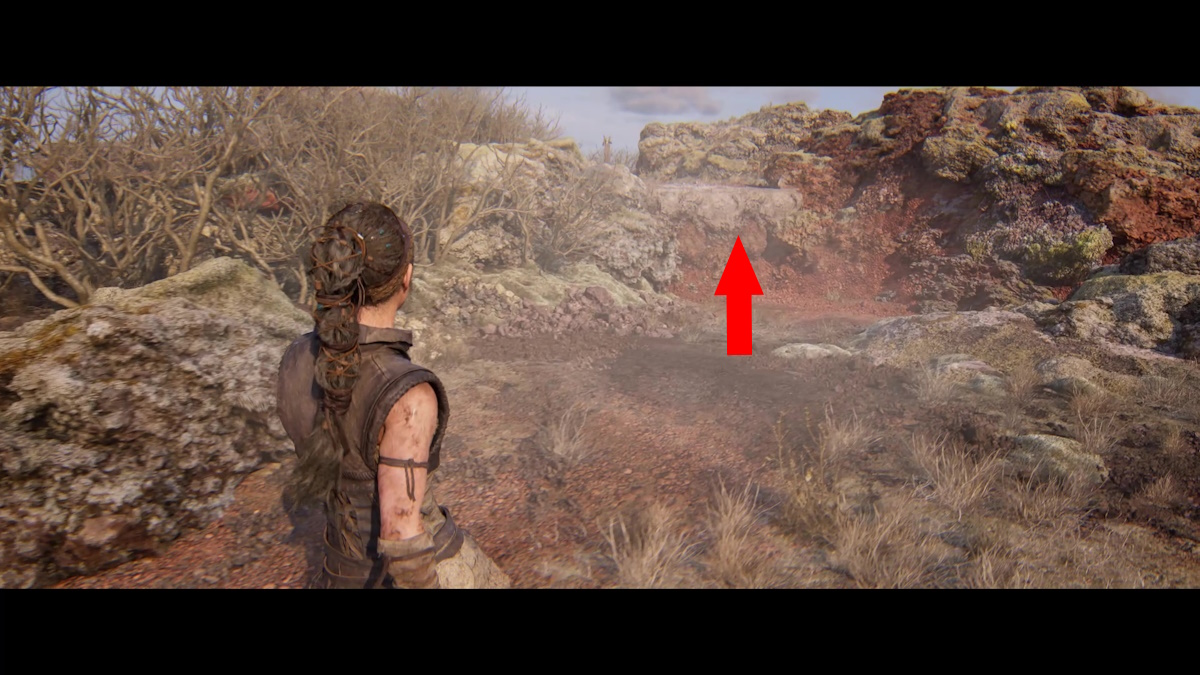
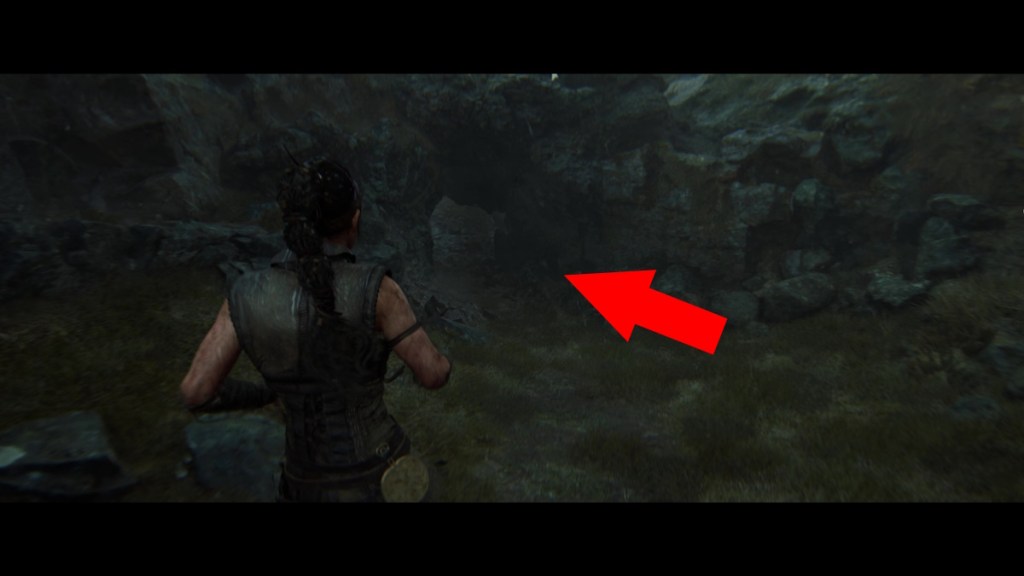
Reykjanesta (Chapter 1) – 1 Lorestangir
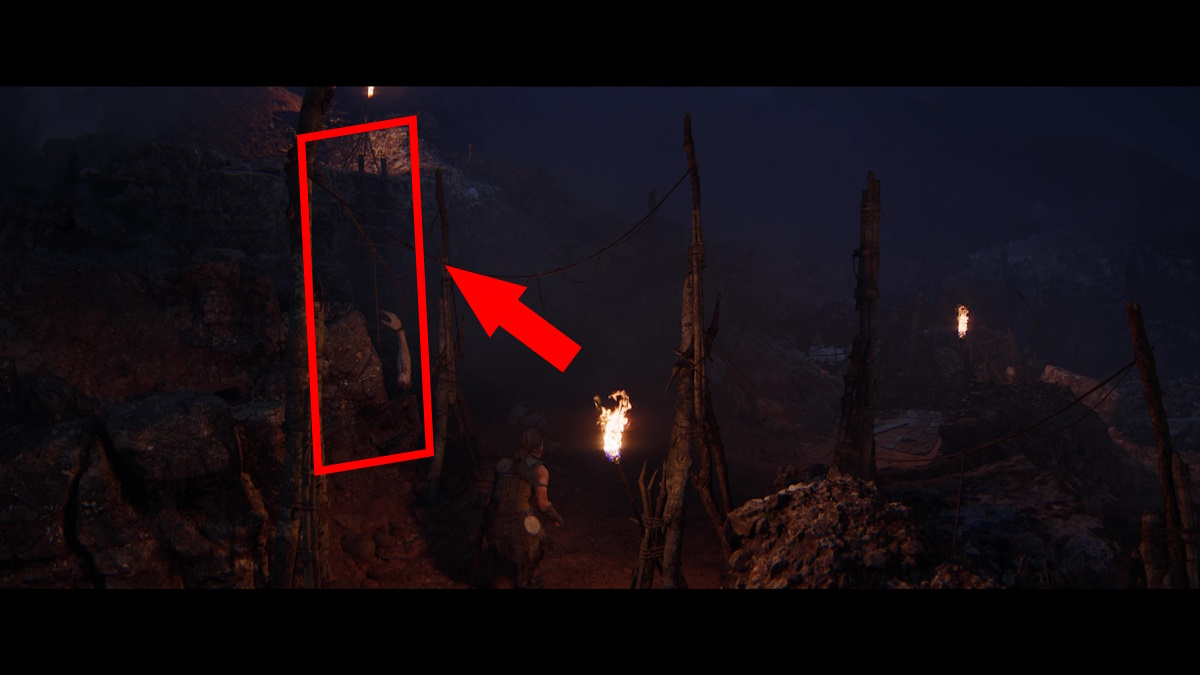
The first Lorestangir in Hellblade 2 is a gimme. In the first chapter, make your way up the rock wall and keep walking a short ways to find the Lorestangir pole standing near a cliff’s edge.
Freyslaug (Chapter 2) – 4 Lorestangir
Freyslaug 1
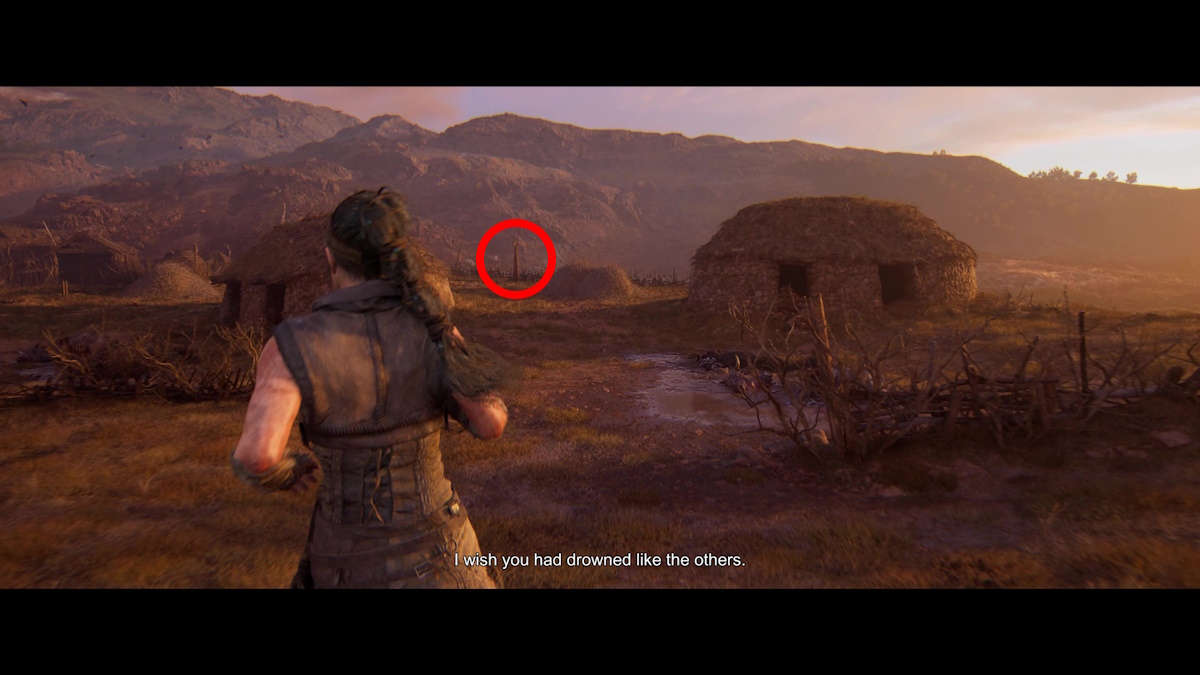
The first Lorestangir you come across in the second chapter is found after you near the village with the “Slaver” prisoner in tow. Before you reach the town, look for the Lorestangir just past a couple of huts to your right.
Freyslaug 2
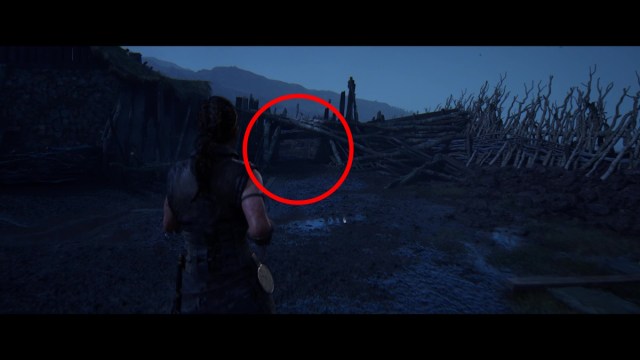
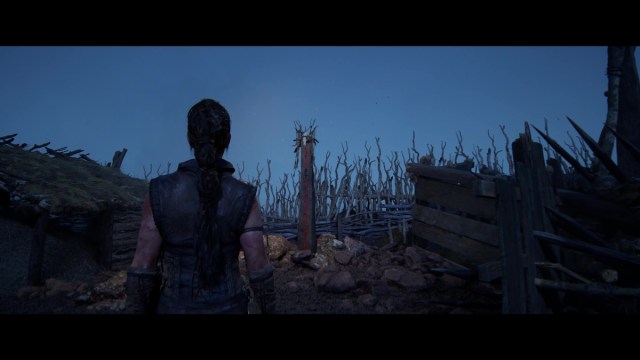
After you acquire the mirror and return to the real world, cross the bridge to the ruined village beyond. Make your way through the house and then take a sharp left. Enter the clearing next to the house and duck under the gap in the wall to the left to find the next Lorestangir.
Freyslaug 3
Later, Senua is attempting to infiltrate a Draugr camp. After the section where you shimmy along a wall, walk forward while looking to the left. Take the ladder and go right to find the Lorestangir.
Freyslaug 4
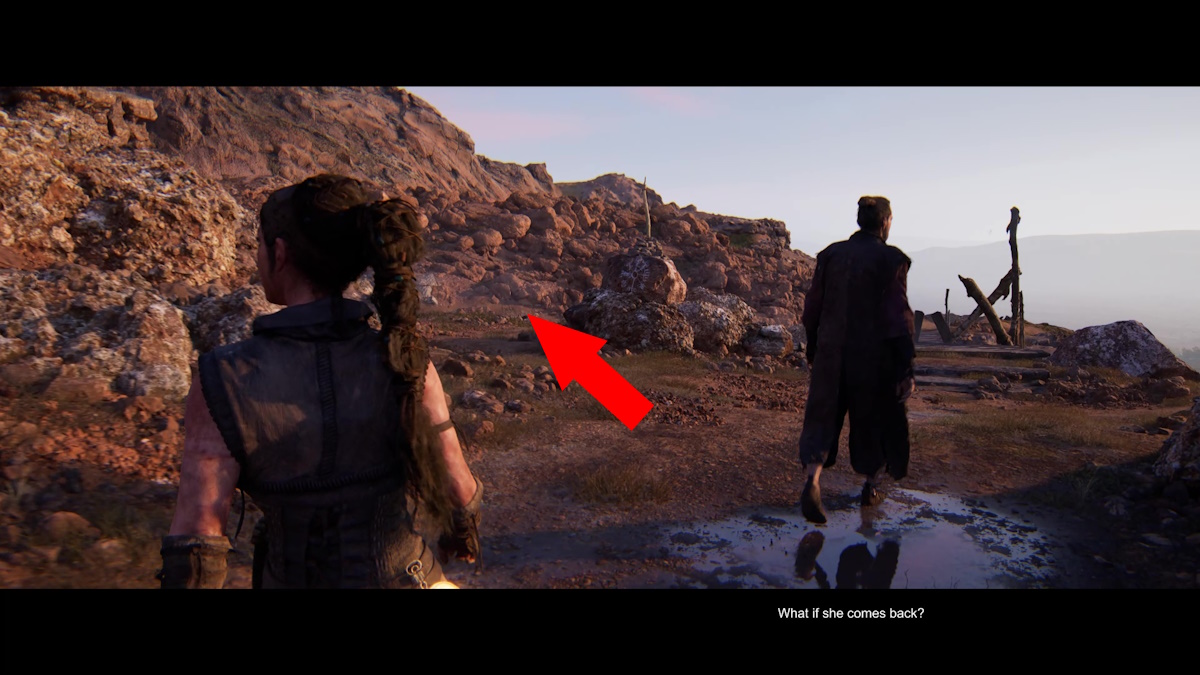
The last Lorestangir in the chapter can be found not long after you rescue Fargrimr. In the sequence where you’re following him, take the path to the left of the wooden trail marker (it looks like a branch standing atop a rock with a Nordic compass) next to a broken bridge.
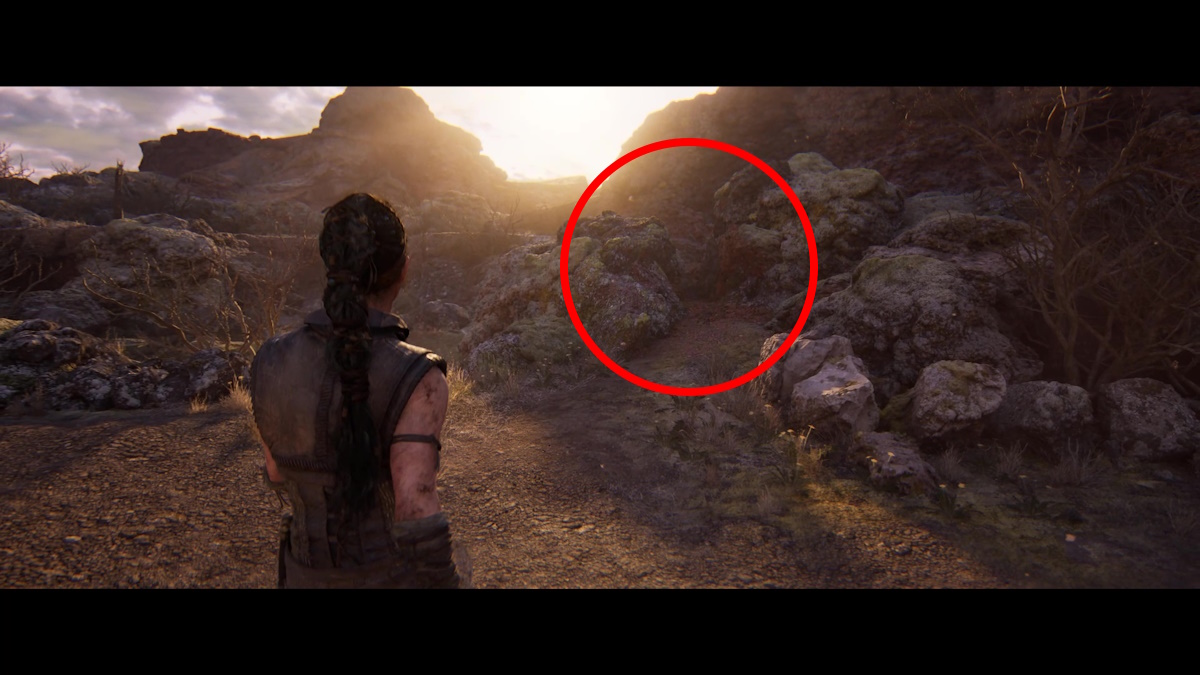
Raudholar (Chapter 3) – 6 Lorestangir
Raudholar 1
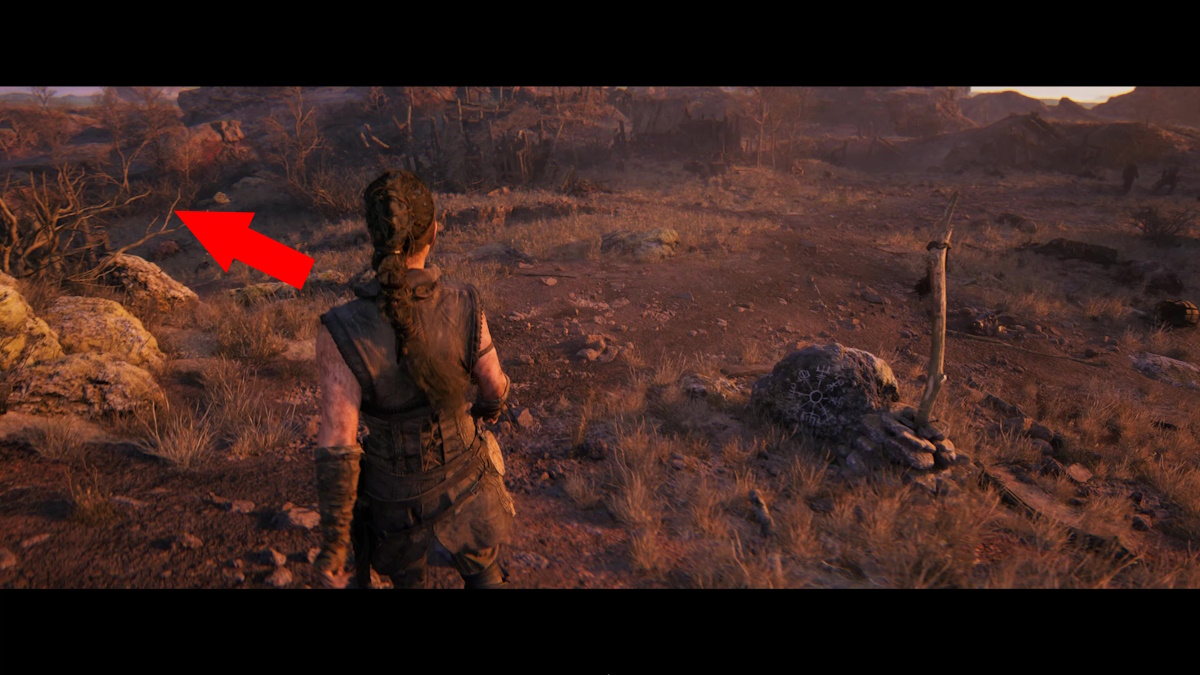
The first Lorestangir in the third chapter is found early in the chapter as you’re walking alongside Fargrimr and Thorgrestr on the way to the former’s settlement. Take a left at the wooden trail marker that appears after you reach the bottom of the hill. Hug the left wall and turn right after the ruined house to see the Lorestangir. It’s opposite a hidden face, another collectible in the game.
Raudholar 2
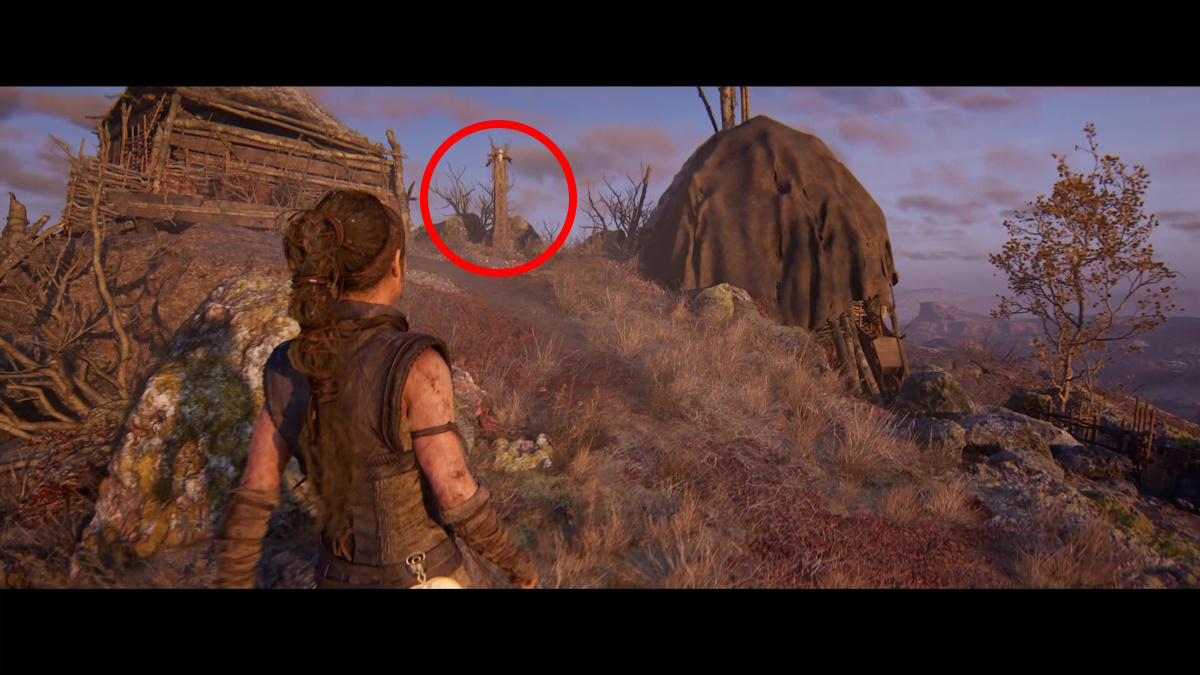
After you reach the settlement and speak with Fargrimr at his hut, leave and follow the path to the right. Keep going around the area and up until you spot the Lorestangir.
Raudholar 3
Once you complete the first Hiddenfolk trial, leave the area and walk along the path while checking to your left. You’ll come across a ledge you can climb up. The Lorestangir is just beyond.
Raudholar 4
After the second Hiddenfolk trial, follow the path and search for a gap in the wall to your left. Look for a large puddle to the right of the gap. Squeeze your through in to find the next Lorestangir.
Raudholar 5
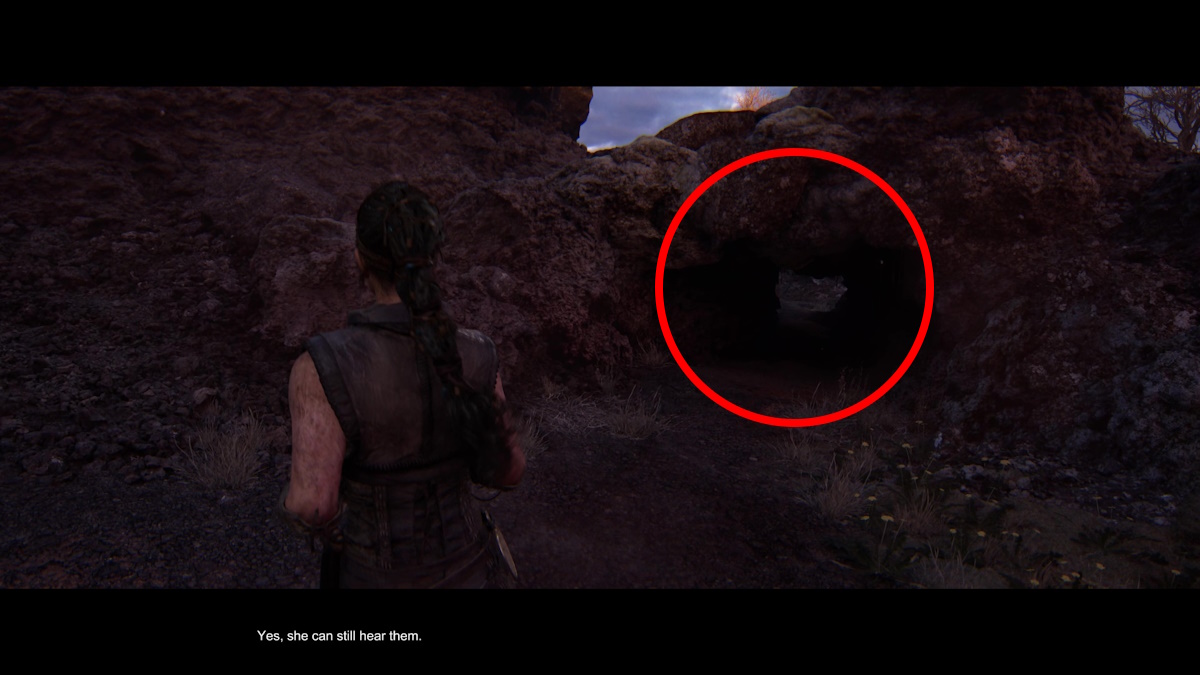
After the last Lorestangir, follow the path but look for a small cave just beyond. Enter the cave and climb the ledge to find the next one.
Raudholar 6
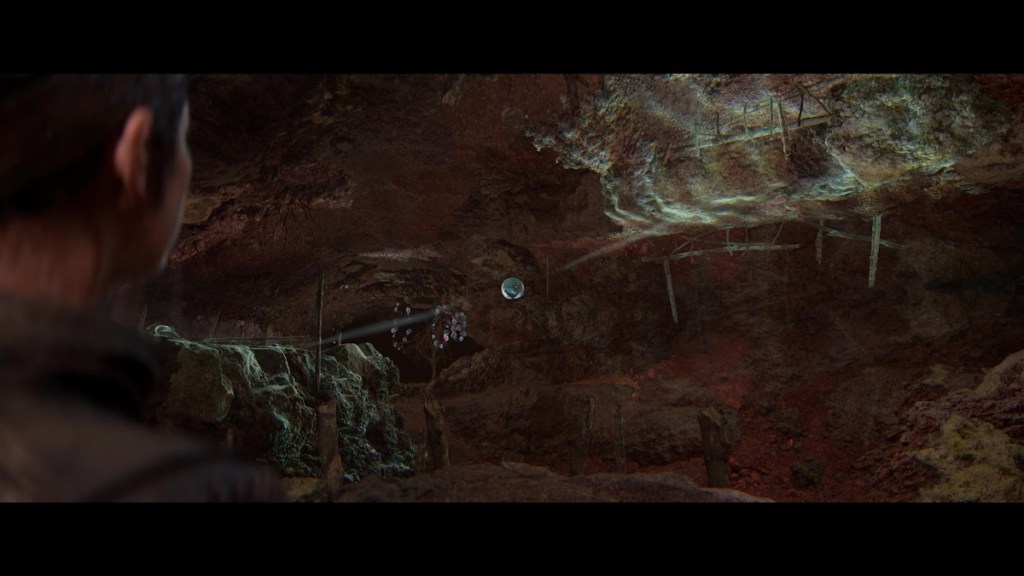
The last Lorestangir of the chapter is hanging around in the cave during the third Hiddenfolk trial. After you deal with the Draugr, activate the floating “orb” thing to create a path to the Lorestangir. It can be activated, even while hanging from the ceiling.
Huldufolk (Chapter 4) – 3 Lorestangir
Huldufolk 1
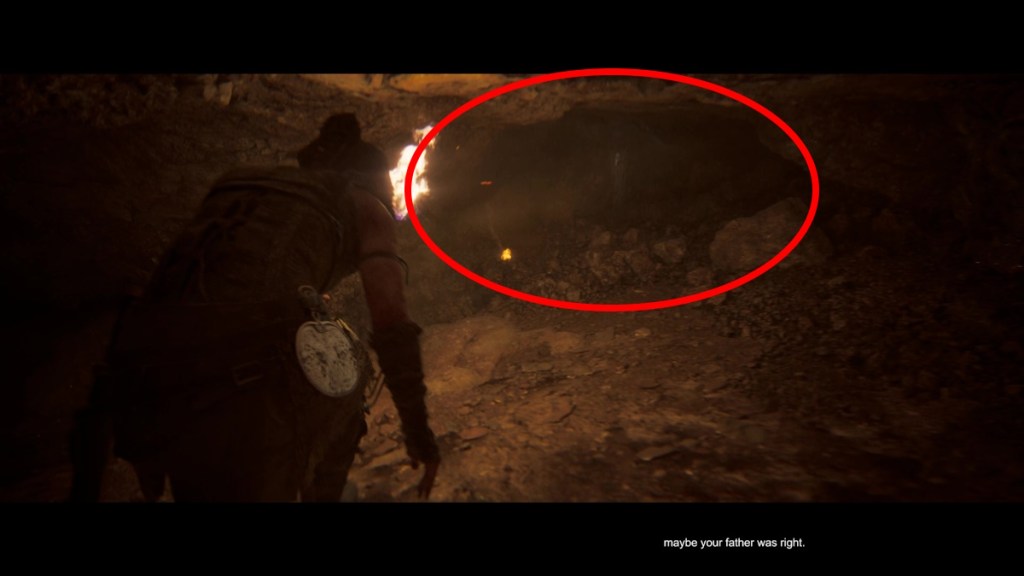
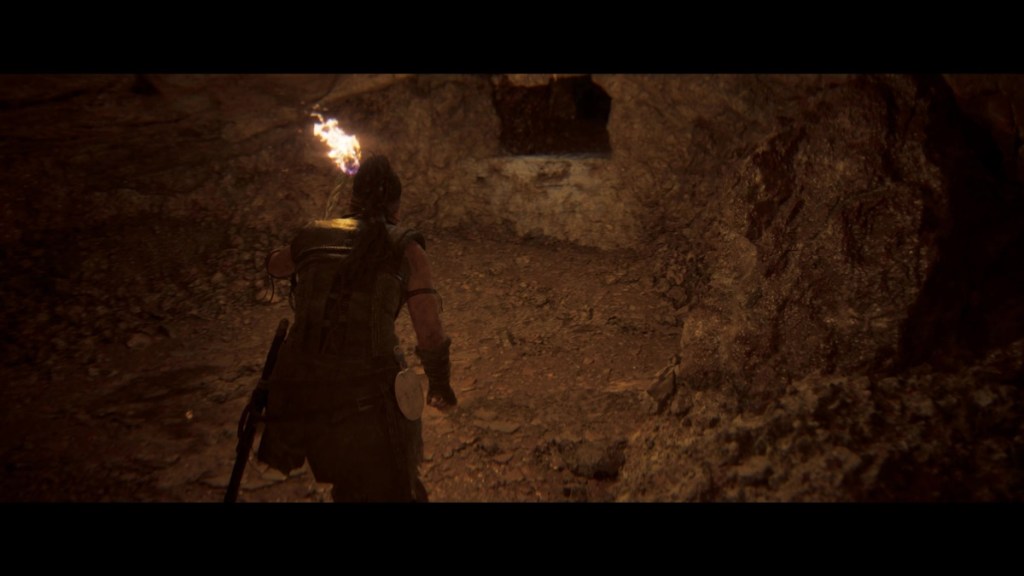
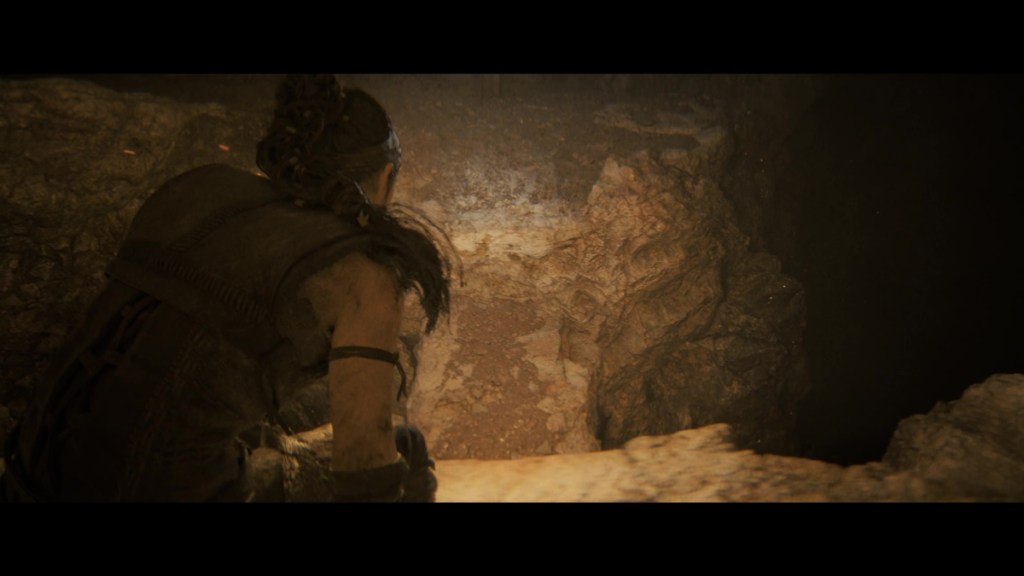
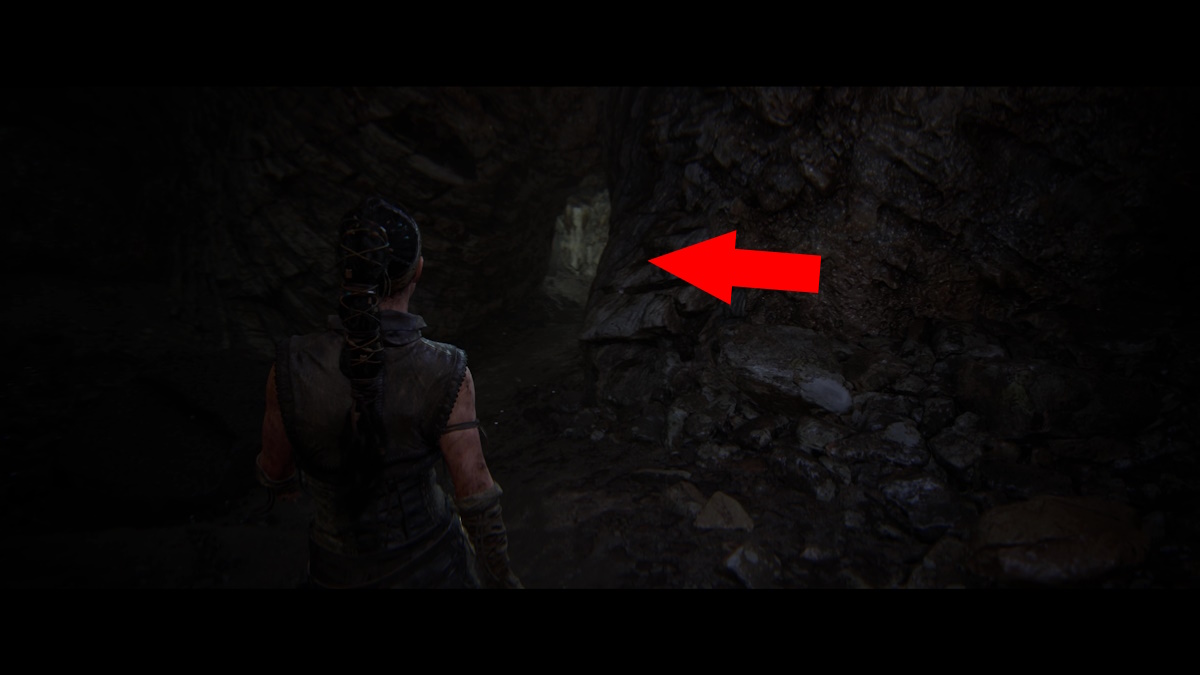
Welcome to the caves, where it’s tough to see where you’re going! The first Lorestangir in chapter four – Huldufolk. Follow the path and drop down a couple of ledges. After you crawl past the old mining equipment (pickaxe, lantern, etc.), look for a small opening to the right. You can see the Lorestangir just beyond. Continue and drop into the next chamber. Follow the path to the right and climb the ledge to find the Lorestangir.
Huldufolk 2
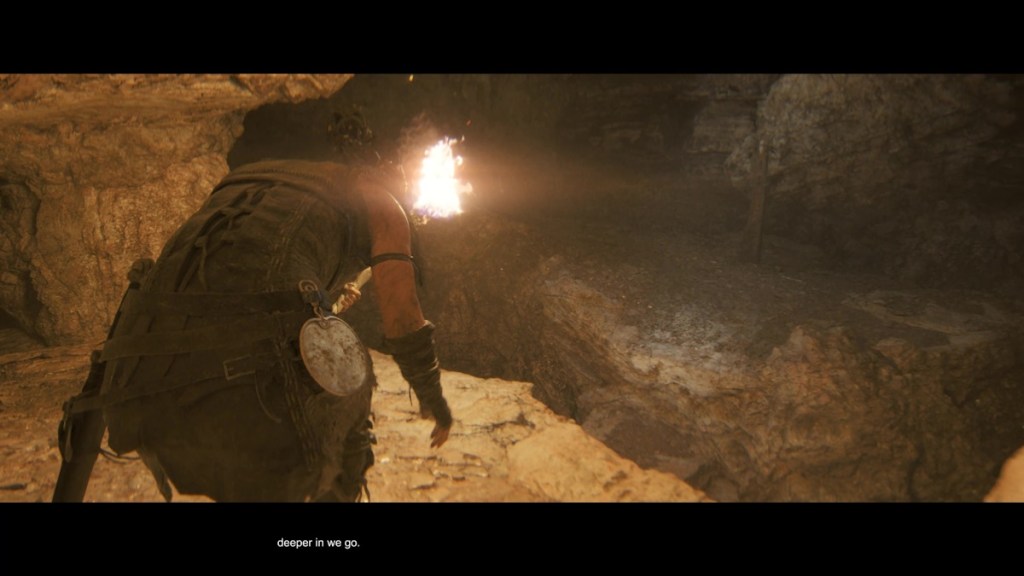
After completing the waterfall puzzle, continue deeper into the cave. You’ll soon see the next Lorestangir to the right in an open area alongside your path. Find the opening closest to the Lorestangir and look down to see a ledge you can hop onto below.
Huldufolk 3
The last Lorestangir in Huldufolk is located after you sacrifice your sword and run through the cave following a blue light while dodging Draugr. Once you make it to the safe area with actual light, walk past the floating rocks and drop down a ledge and into shallow water. Walk by more floating rocks and head to the back of the cave while looking to your right. You’ll find an entrance leading you to the Lorestangir.
Bardarvik (Chapter 5) – 4 Lorestangir
Bardarvik 1
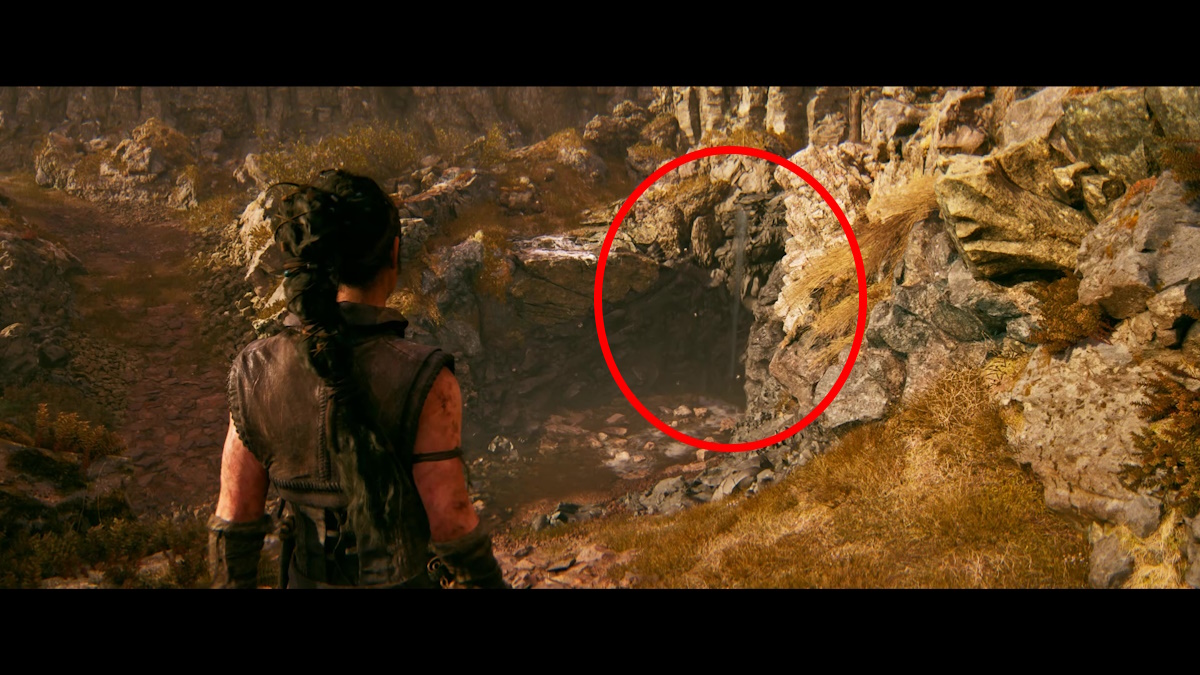
You’re nearly there! This is the final chapter with Lorestangir, of which there are four. Let’s get to the first one, which appears not long after Senua loses track of the boys. Walk down the newly lit path until you come across a thin waterfall on your right. To find the Lorestangir, walk past the waterfall and look for a path leading to the right. Follow it to find the Lorestangir above the waterfall. Take the ledge on the right to return to the path.
Bardarvik 2
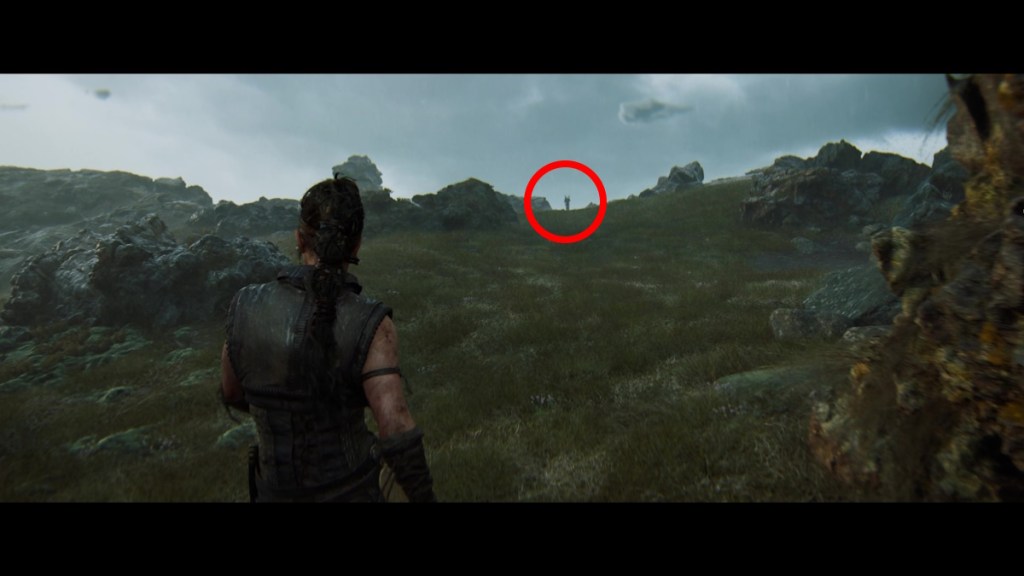
The next Lorestangir doesn’t appear until after you meet with Astridr. You’ll have to walk, climb up a cliff, drop down a ledge, squeeze through a gap, climb another ledge, drop, and climb once again before getting near the Lorestangir. After that final climb up, look to the right to see the tip of the Lorestangir poking out above a hill. Walk toward it, but take a right where you see a path. Follow it until it takes you through a small entrance.
Bardarvik 3
Continue until you come across the second rune puzzle of the chapter. Activate the floating blob thing to open up the path that takes you right side of the beach, not the left. Drop down the ledge after you acquire the middle rune and make your way past the shipwreck. Look for the blue mist and walk through it to find a cave. Exit the cave and take the path on the right to find the Lorestangir.
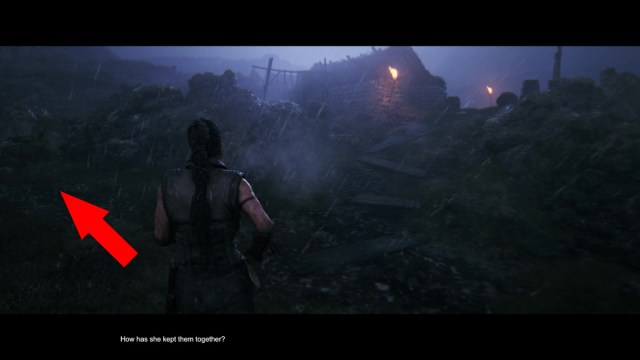
Bardarvik 4
At long last, it’s time to claim the final Lorestangir. The last one is in the village you enter not long after you learn the giant’s true name. Walk forward until you spot a house up a hill with a torch blazing outside. Take a sharp left before climbing the hill and follow the snaking path until you find the Lorestangir just hanging out in someone’s backyard.
What you get for finding all Lorestangir in Hellblade 2
You unlock two new features once you claim all 18 Lorestangir in Hellblade 2. The ‘Extras’ menu includes an option to listen to the entire Lorestangir story. You also unlock Druth as a narrator for a new game.


Published: May 30, 2024 9:36 PM UTC