A life on the rails
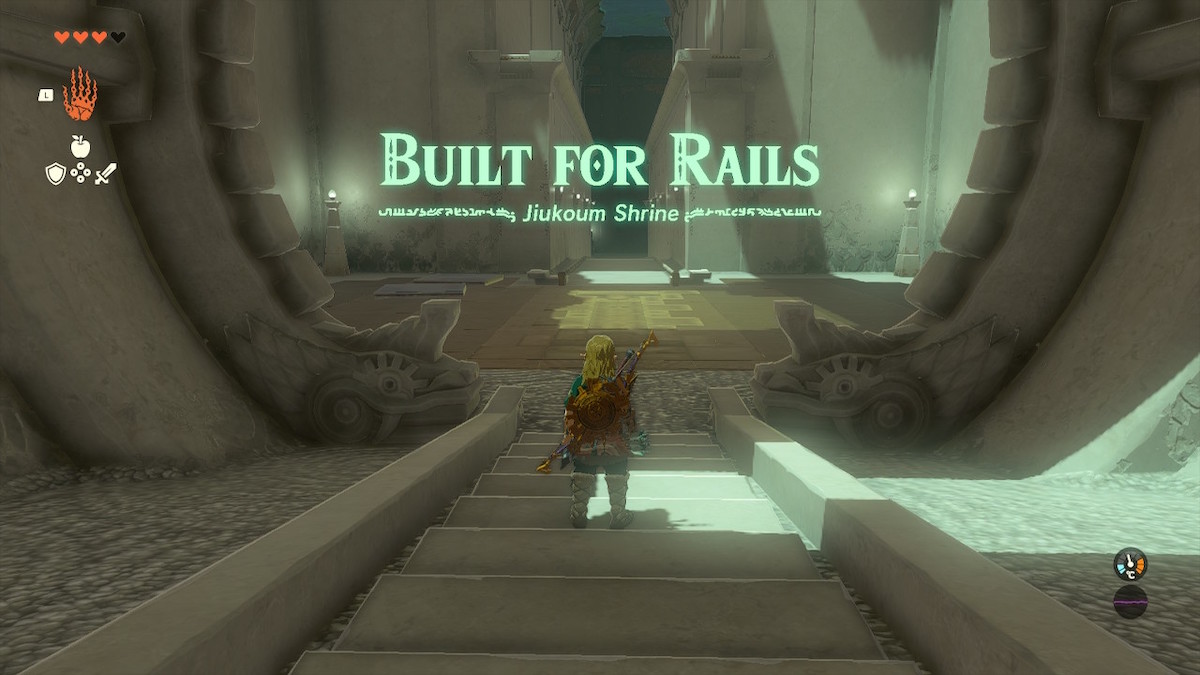
Jiukoum Shrine is a fun puzzle shrine that combines some of the best game mechanics that Tears of the Kingdom has to offer. This shrine can be completed at any point in the game with just the skills learned in the tutorial. However, it may be challenging for those who don’t yet have a solid grasp on how physics and skills work together in the game.
We’ll go through everything you need to know to complete Jiukoum Shrine below, but first, let’s take a look at where the shrine is located.

How to find Jiukoum Shrine in Tears of the Kingdom
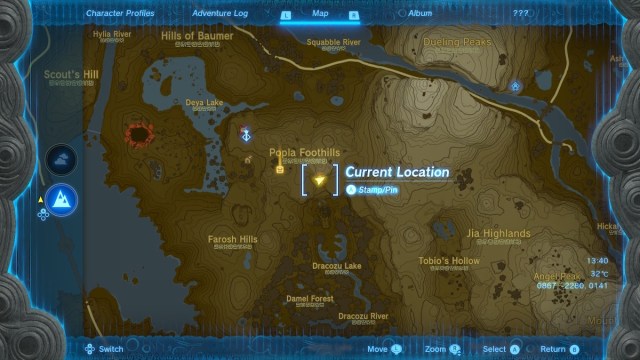
Jiukoum Shrine is located in the Faron Grasslands area of Hyrule. The easiest way to travel to the shrine is by going to the Popla Foothills Skyview Tower and heading southeast, just past the Popla Foothills. Check the map above for the exact location of the shrine.

How to complete Jiukoum Shrine
When you enter Jiukoum Shrine, you’ll be greeted by two rails crossing a cavern. This sets the theme for the whole shrine. The first set of rails is easy enough to pass. Simply attach the two metal plates together and place them on the rails, like in the picture above. Make sure to jump on the plates quickly after placing them on the rails, as they’ll start moving immediately.

When you get to the other side, there’s the second rail and a reward chest. Leave your first two connected plates where they are and connect the three on this side into a ramp similar to the picture above. Open the chest, and you’ll receive a Sticky Elixir, which is essential for climbing in the rain.

After opening the chest, disassemble one of the plates from your ramp and attach it to the center of your first two plates. The three connected plates should be in the shape of a T and placed so that the middle piece stays in the center of the two rails. This will allow you to travel down the next set of rails without falling off at the corners. See the picture above for the correct placement. Once again, make sure to hop on as soon as it touches the rails!

Once you’re at the end of the second rail, hop off and leave your contraption behind. You’ll need to build a whole new one. This rail is the most complicated yet. To begin, it needs to stay within the two far-apart rail sections, but pretty quickly, it changes into a single rail, similar to the last one. Furthermore, this is uphill, so there’s no gravity assist.
To begin, take the double plate that’s next to the rail, this is your main piece. Attach each of the three single plates to it vertically. There should be one plate on each end and another in the middle. Try to get them attached equal distances apart so your construction can transfer to the next rail.
Place the attached metal plates on the rails to check that they fit. You should be able to place the construction on the two starting rails with some amount of gap so that the whole structure can move freely. When that’s done, it’s time to add the fans from the opposite side of the room. Attach the fans in the same way you did the plates, one on each end and another in the middle. This will ensure that you move along the rails evenly, allowing you to transfer to the next set. Check the picture above for the ideal placement of each piece.

Once you’ve built your final structure, hop on and strike it with a weapon to activate the fans. If you’ve built it correctly, it should transfer from the first two rails on the outside to the final one in the middle automatically. If it doesn’t, then turn your fans off to allow it to fall back down the rails so you can adjust.
The final rail is kind of like a Hylian rollercoaster, so ensure that Link is placed safely in the middle of the plate, like in the picture above, so he doesn’t fall off and you make it safely to the end.
That’s it! Jiukoum Shrine is complete, and you’re now a master of the rails.


