
The final chapter of Lana Lore takes you on an explorative journey inside a labyrinth. You must find a way out of this treacherous place to stop the demon before you. Here’s how to escape the maze in Dress to Impress Lana Lore Chapter 3.
How to navigate the maze in Dress to Impress: Lana Lore Chapter 3 (DTI)
Chapter 3’s maze features four types of traps across the map. You’ll initially encounter rising or dropping spikes from the ground, damaging half of your heart health. Some scythes will also drop down, along with various spiky logs. It’s best to jump whenever you encounter these traps to keep your health intact.
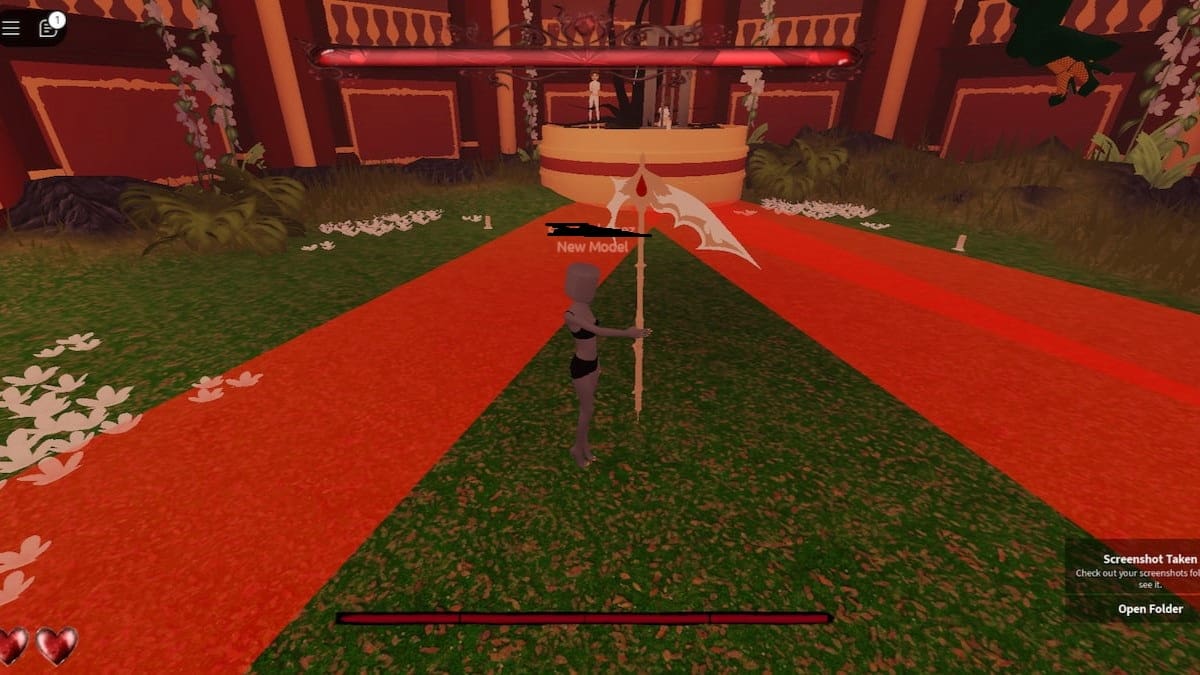
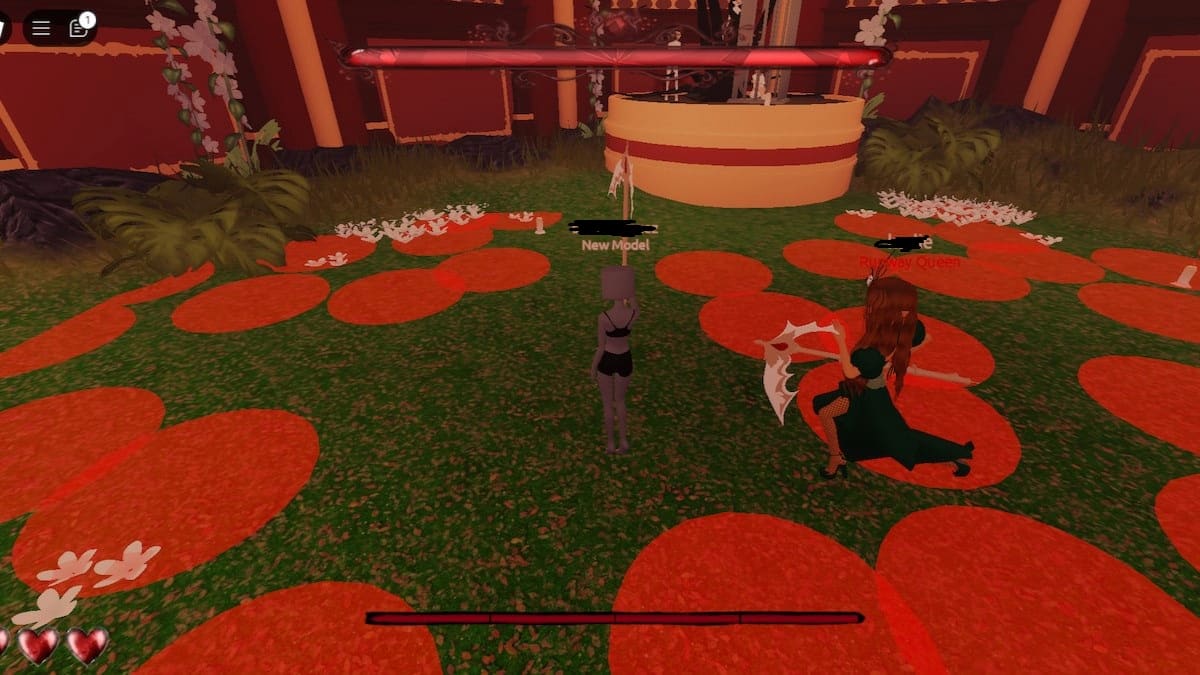
For added assistance, the faint red lines on the ground can serve as a reliable guide. While they may be difficult to spot, you can lower your quality via Settings to get a better look. Here’s a visual representation of what it looks like (inside the red lines):
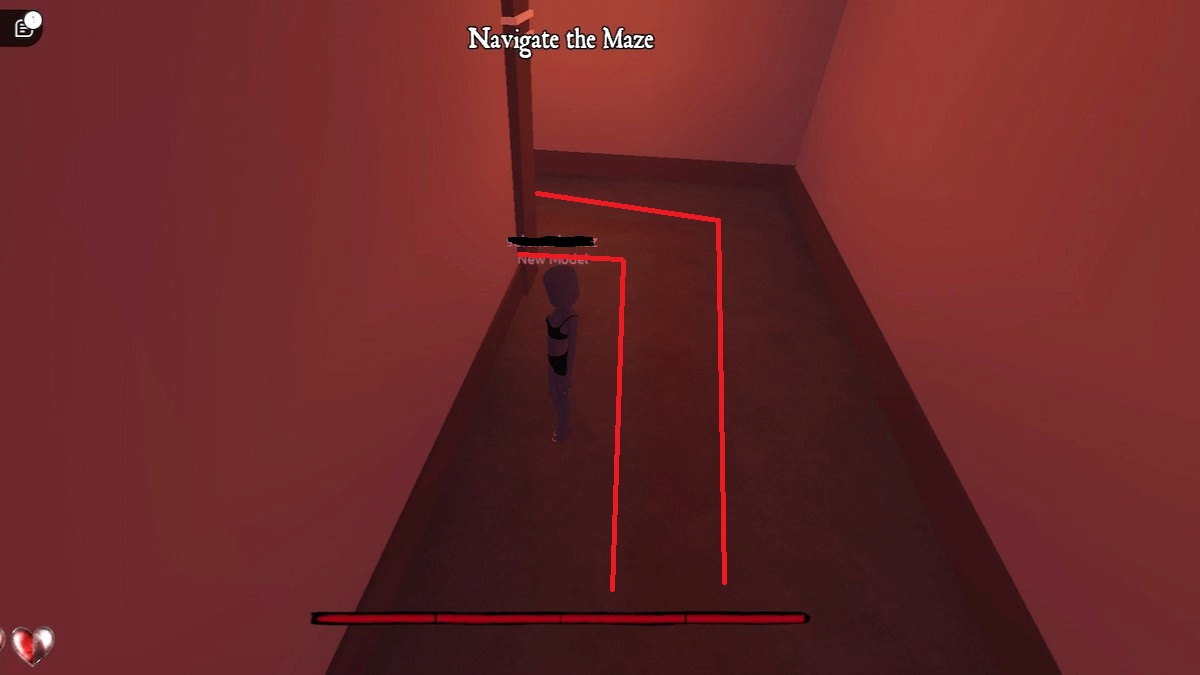
Fireflies also serve as a reassuring guide, indicating when you’re on the right path. If you still find the maze too challenging, we’ll show you the correct pathway in the Dress to Impress: Lana Lore maze.
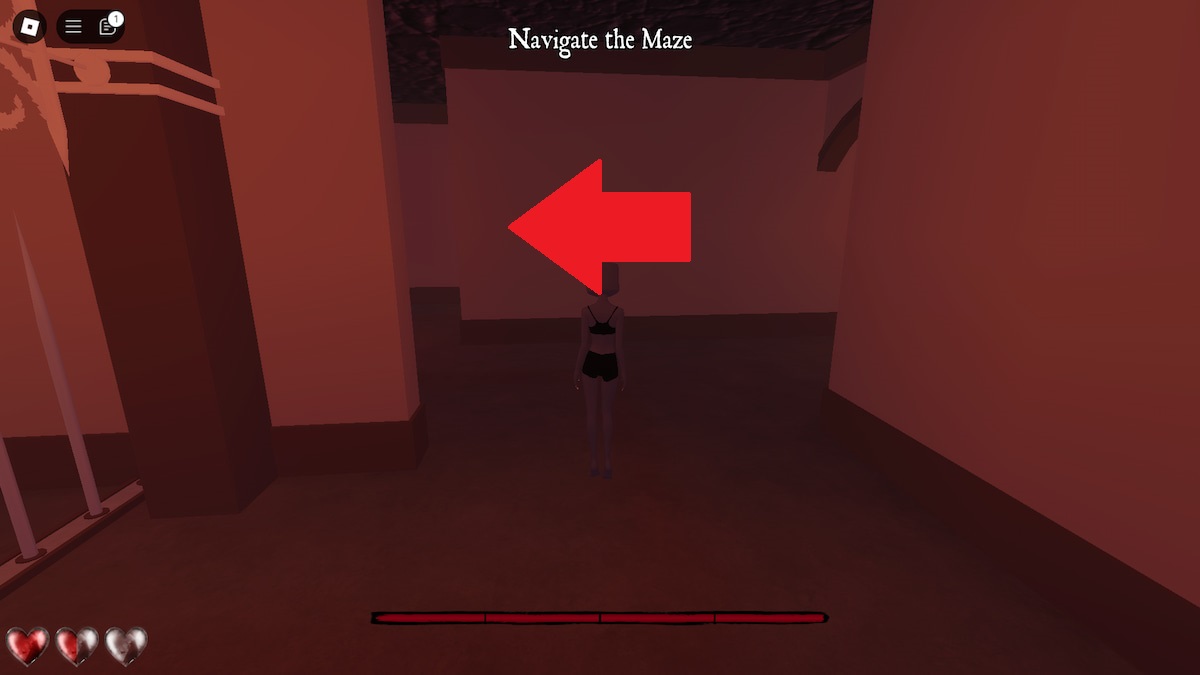
Take a right at the first crossroads of the Dress to Impress maze. You’ll go through a few spiky areas afterward, so try to run as fast as you can here.
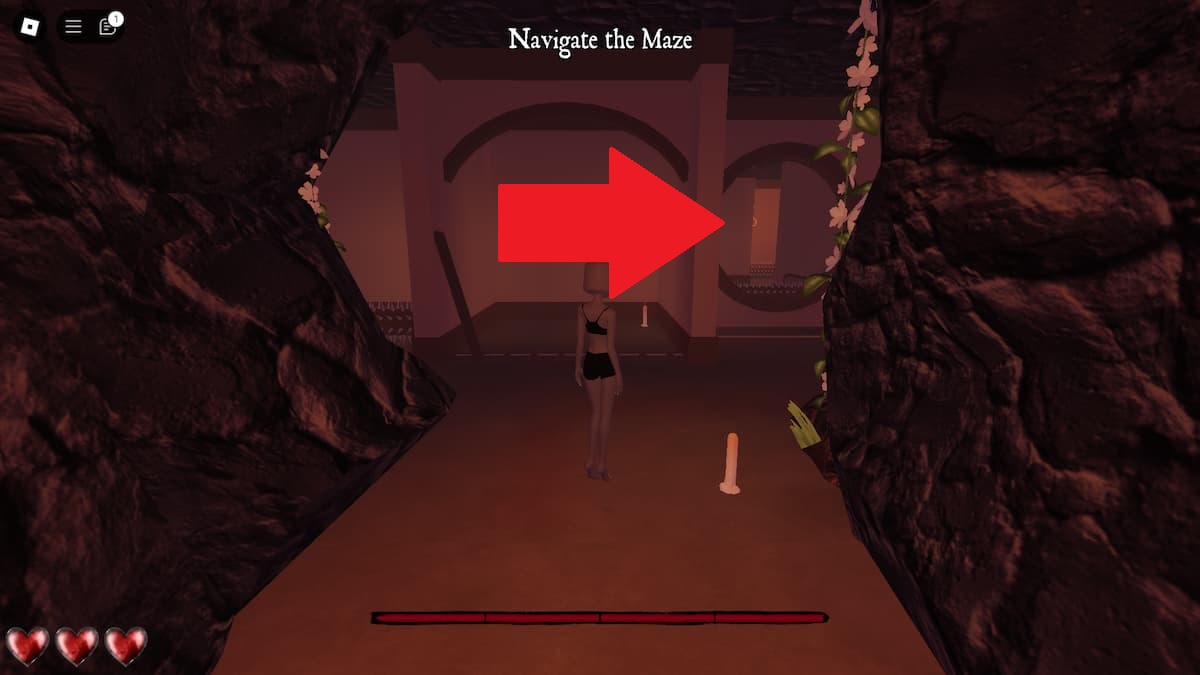
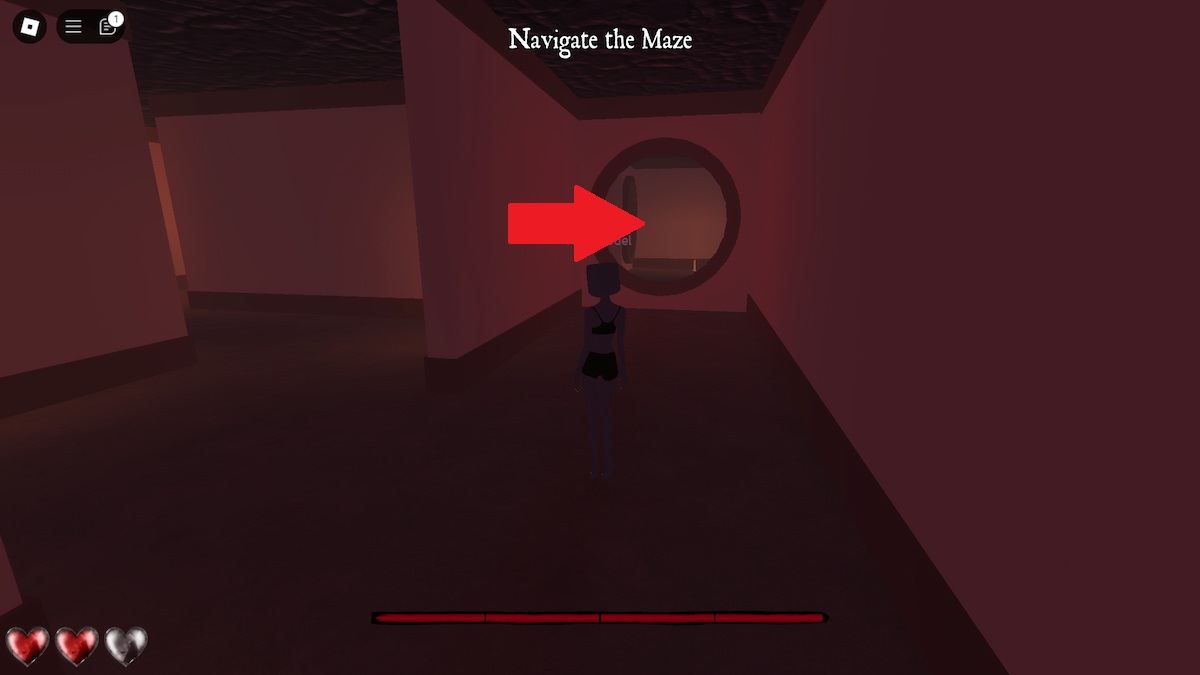
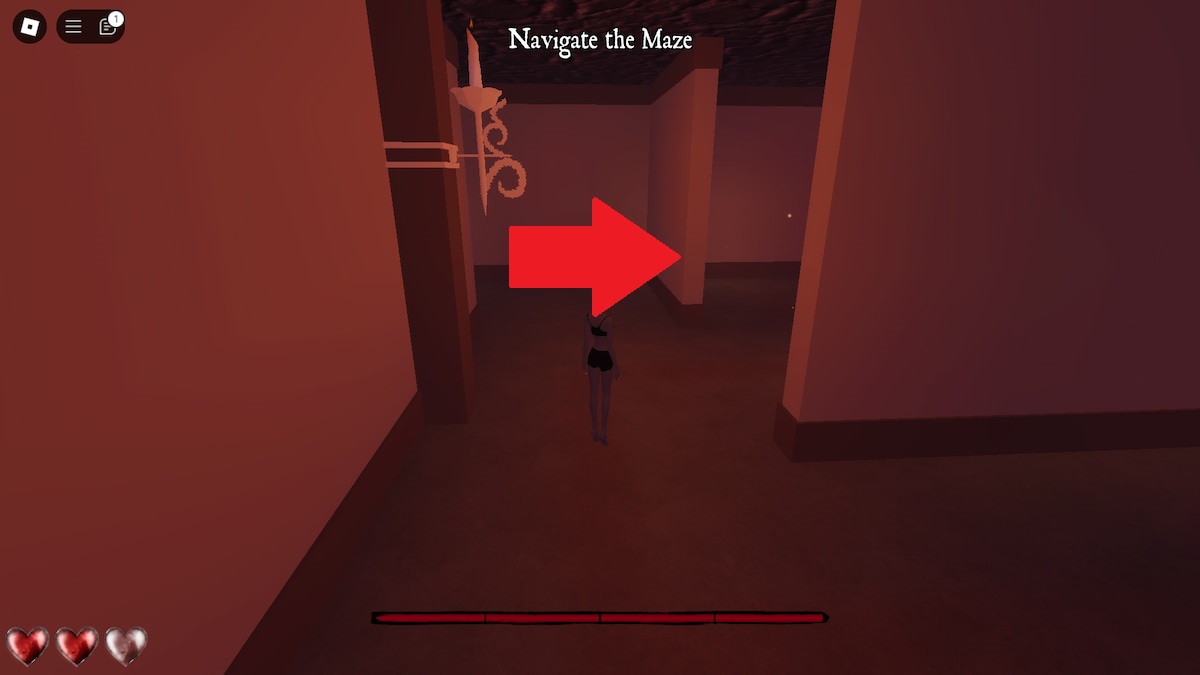
After crossing the spikes, take a right before the circular walkway. Make sure to avoid the middle of the path, where a spiky structure will drop down.
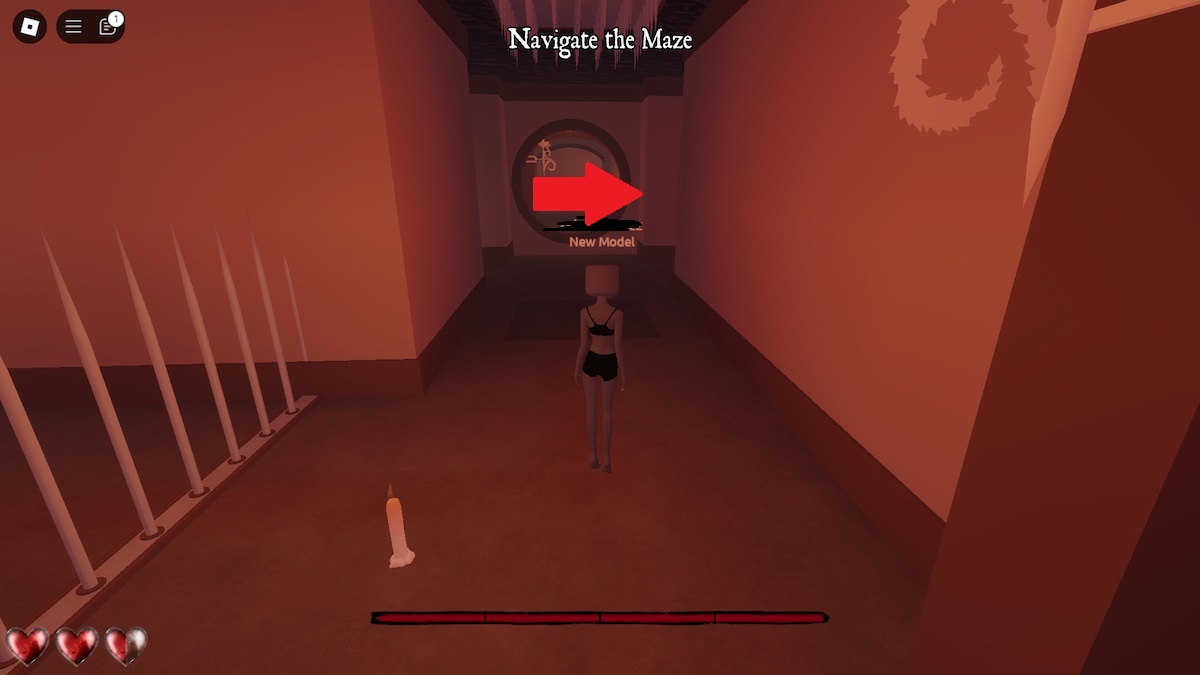
Continue forward, and you’ll eventually encounter two entryways. Ignore the first one and take a right with the following pathway.
As you progress further, you’ll come across another crossroads. Go through the circular opening at this point, where there should be glowing fireflies.
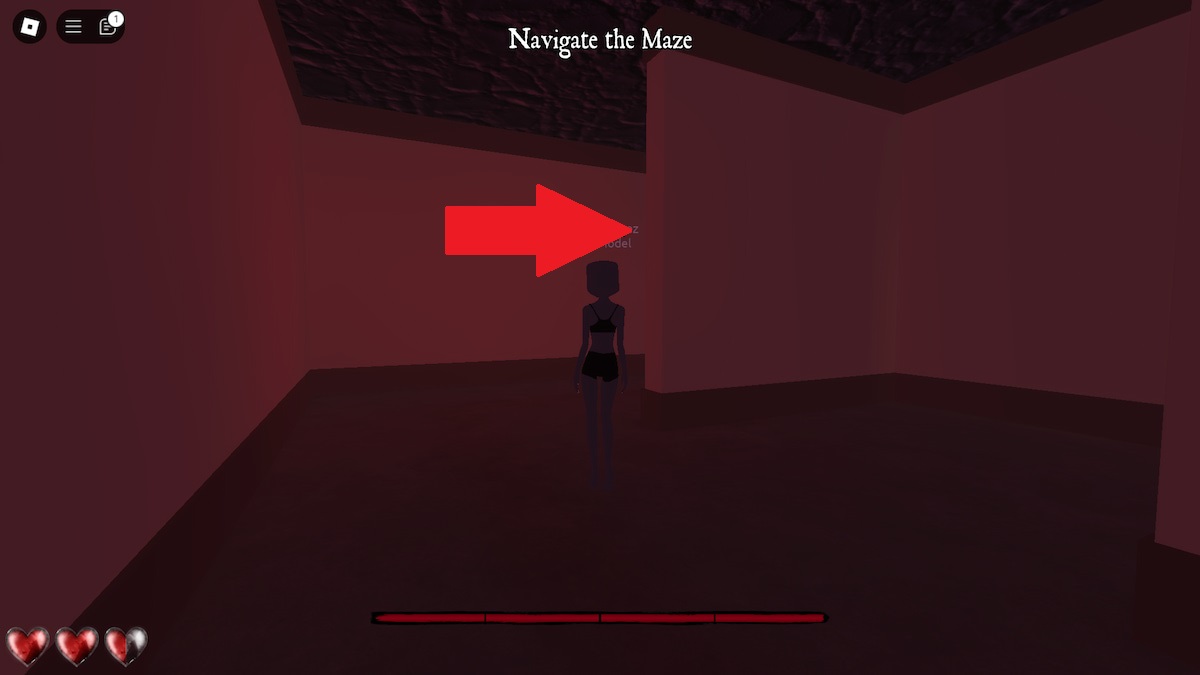
Continue forward to reach an area with multiple rolling poles. Take a right here and immediately turn left. Then, take another left (avoid the third spiky pole).
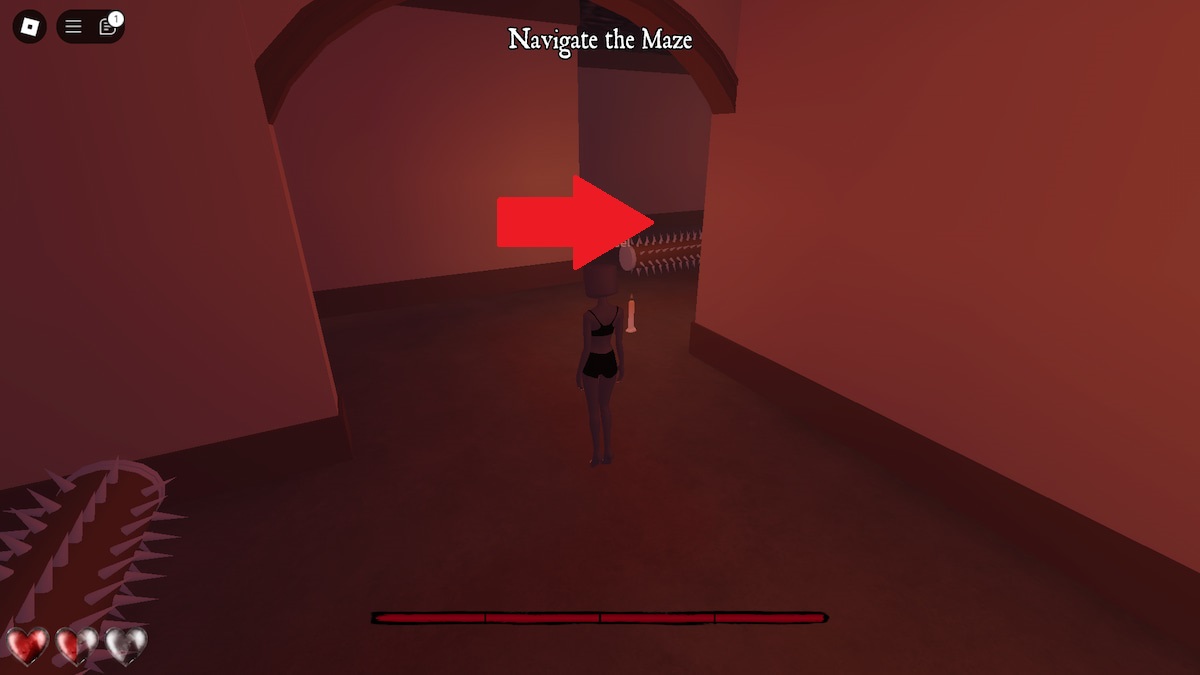
Go toward the ground spikes and keep heading straight forward to progress further in the maze.
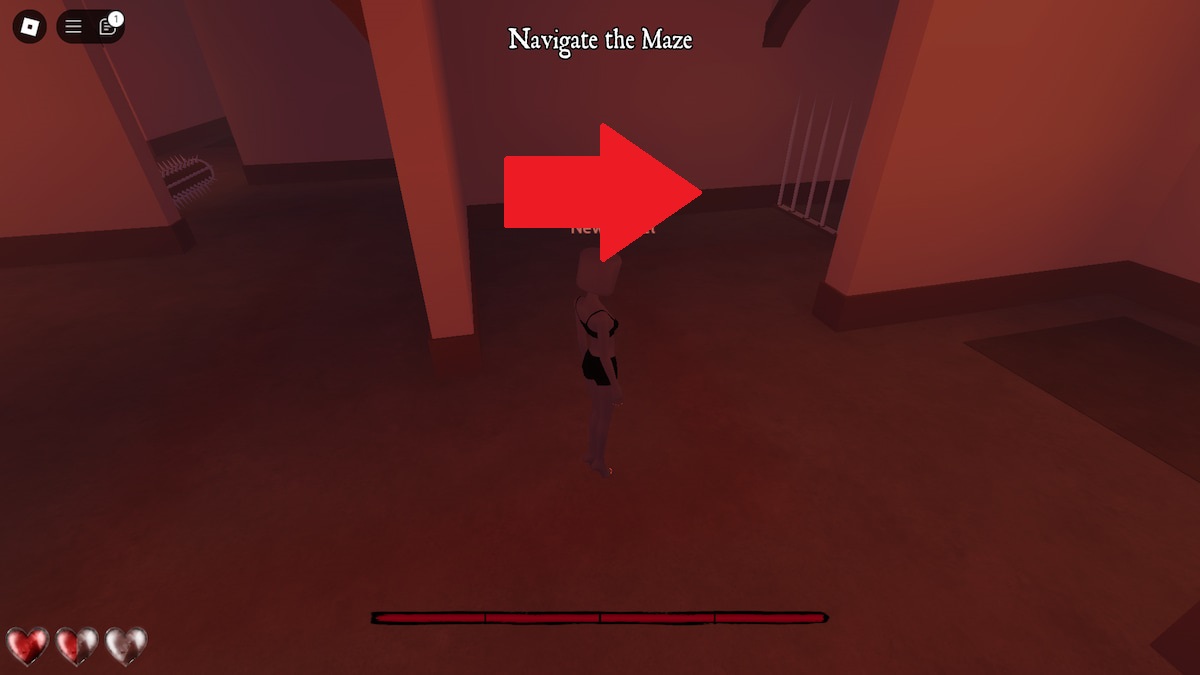
Walk for a bit until you encounter an area with a circular entryway and spikes. Go through the spikes to continue on the right pathway.
You’ll need to take a left turn shortly after and walk for a while.
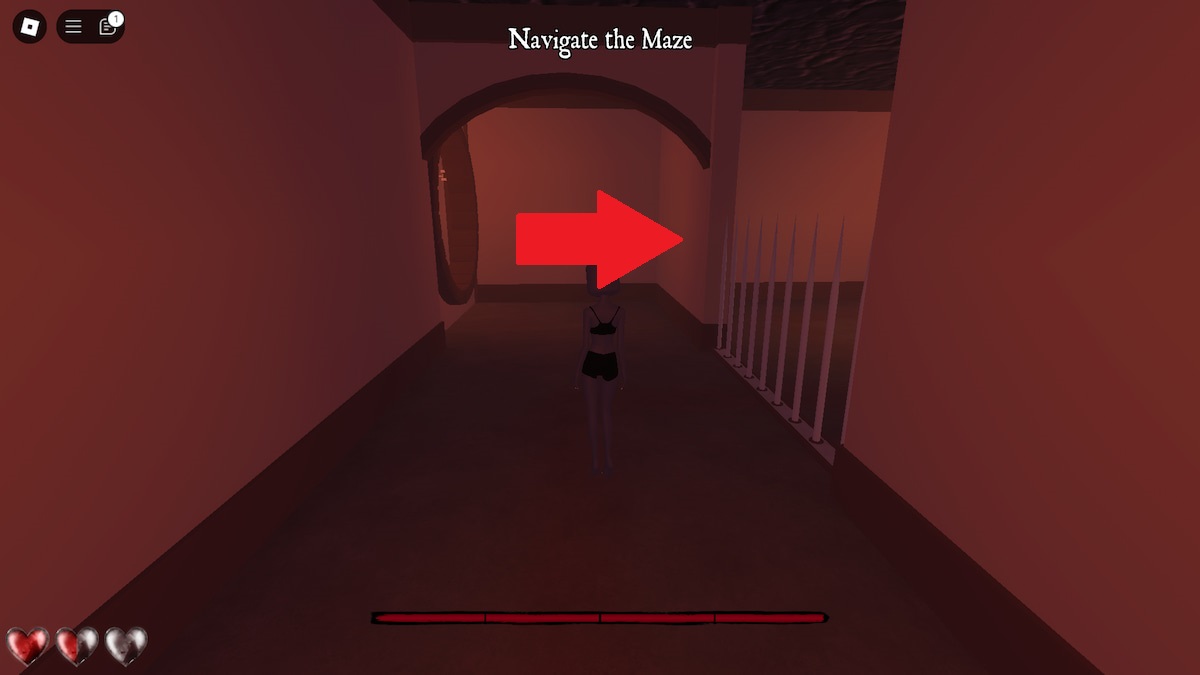
At the following crossroads, take the first right.
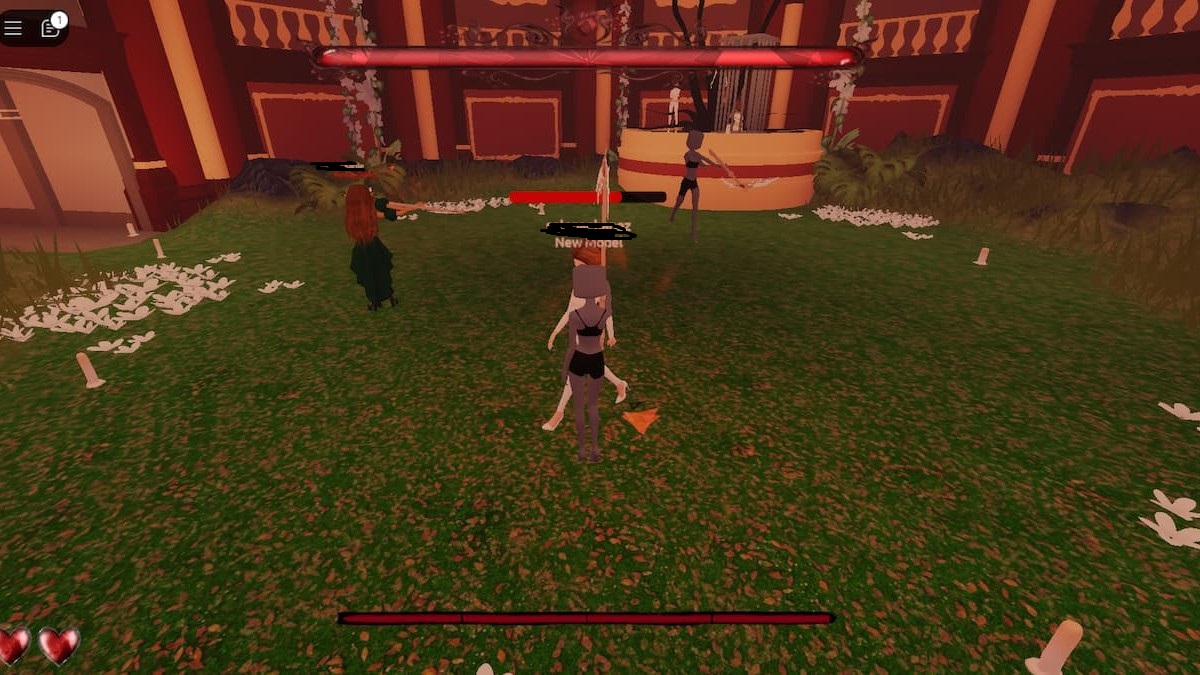
Keep traveling forward and avoid the many obstacles ahead. It should be relatively straightforward at this point, where you’ll stumble across a grass area. As a result, you’ll complete the maze and start on a formidable boss battle.
How to defeat Lina in Dress to Impress: Lana Core Chapter 3
The scythe is a crucial tool for the upcoming Dress to Impress boss battle. Once you’ve picked it up, the fight against Lina will commence, and you’ll need to navigate through six challenging phases. We’ll provide a detailed breakdown of each phase to help you prepare.
Phase 1
The first phase spawns a few of Lina’s lackeys. Use your weapon to eliminate them while avoiding their harmful strikes.
Phase 2

Lina will then spawn a few rocks on the ground. Jump on top of them to escape the flood, which will damage you if you are caught in it.
Phase 3
By the third phase, the enemy will launch harmful projectiles marked with red lines. Avoid its radius and wait for the attack to finish. The red lines will appear a few more times, so just repeat this process again.
Phase 4
In the fourth phase, Lina will now use damaging red circles instead of lines. Use the same tactic as last time by running away from its radius.
Phase 5

Lina will finally jump off the platform to take you down during the fifth phase. She’ll target you and conduct a spinning attack initially. Run away from this maneuver and wait for her to release her next strike. At some point, Lina will travel to the center, producing a circular attack. Jump across these lines to reach the final phase.
Phase 6
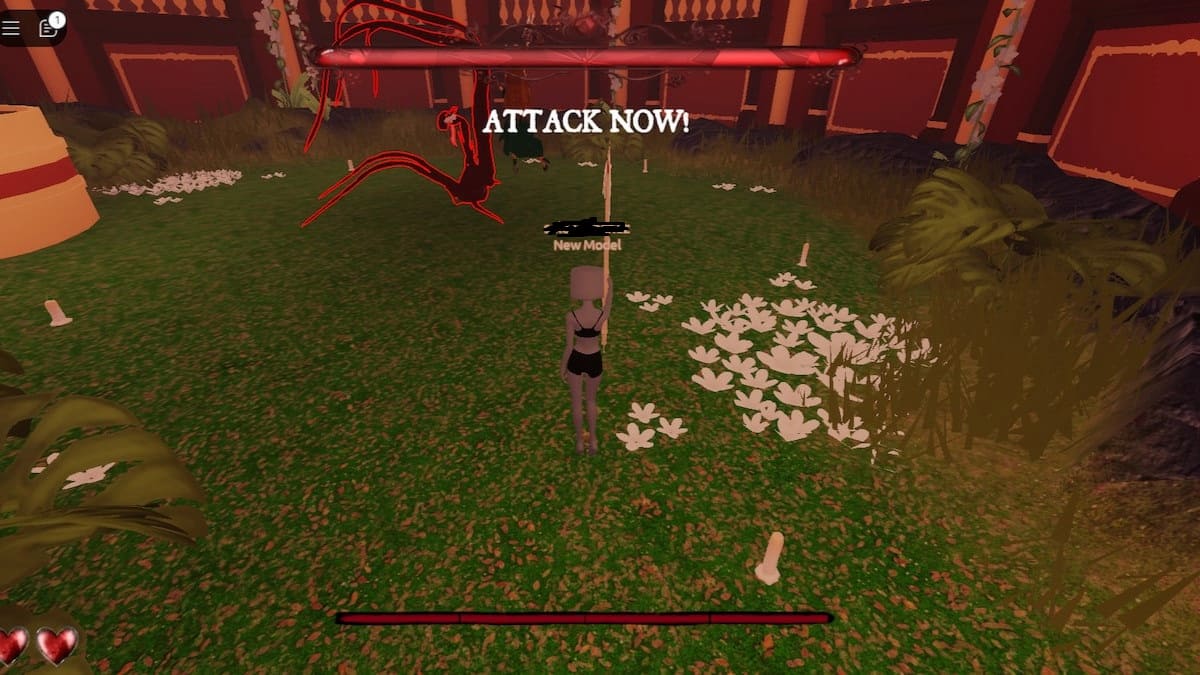
The goal of the sixth phase is simple: attack Lina as many times as you can. She’ll be in a vulnerable state, allowing you to deplete a ton of her health. If she isn’t brought down, the phases restart again (her health will still be impacted). Survive through the rounds and land the final blow the next time around. You’ll be rewarded with an achievement for defeating Lina in DTI’s Halloween event. It’ll also offer unique cosmetics like the Shield, Bird Cage, Leg Out Slit Dress, and Chiton.


