
The Witness always seems to have the upper hand throughout The Final Shape campaign. However, the pivotal Iconoclasm mission finally equips players with enough strength to mount a counterattack. We’re here to guide you on how to defeat the Witness in Destiny 2: The Final Shape.
Destiny 2: The Final Shape Witness boss guide
Destiny 2: The Final Shape’s Witness boss fight is the culmination of everything you’ve done in previous missions. Like most enemies, you won’t be able to attack it initially until its defenses have weakened. Although you won’t be able to strike the Witness, it will still come after you; keep an eye out for the notification, ‘The Witness unleashes an attack!’
Phase 1: Defeat the two Subjugators
Attack the Subjugator first until it generates a shield (wait for a waypoint to appear). This will take you to a relic shield to eradicate the Subjugator’s defenses. Shoot a node on your way there to pick up the Shielded from Darkness ability, similar to what you’ve done with Dolgith, Blade of Reasoning. Pick up the relic shield and blast the Subjugator’s defenses.
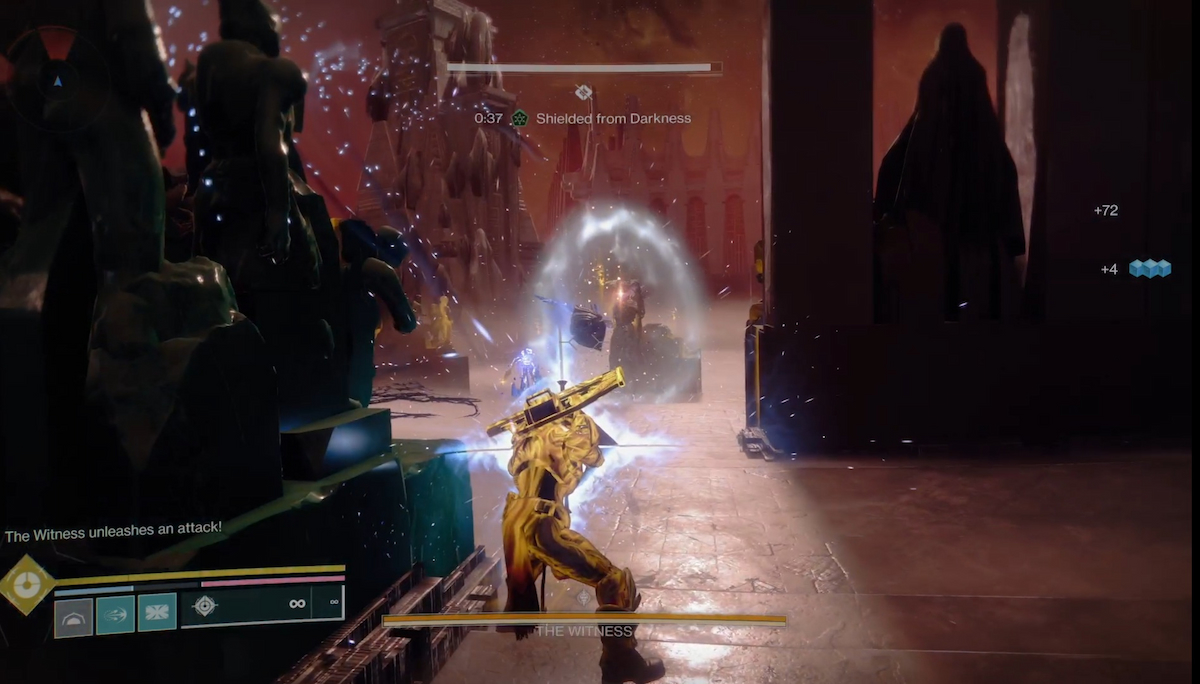
At this stage, charge the Aegis with Light and withstand the Witness’ attacks. Look for the light source (indicated by a waypoint) and stand on it to gain the ‘Granted Light’ buff. This buff is your lifeline, so hold your ground and use the relic’s shield to weather any attacks. Be careful not to step out of the light’s range, as it may result in an instant kill.
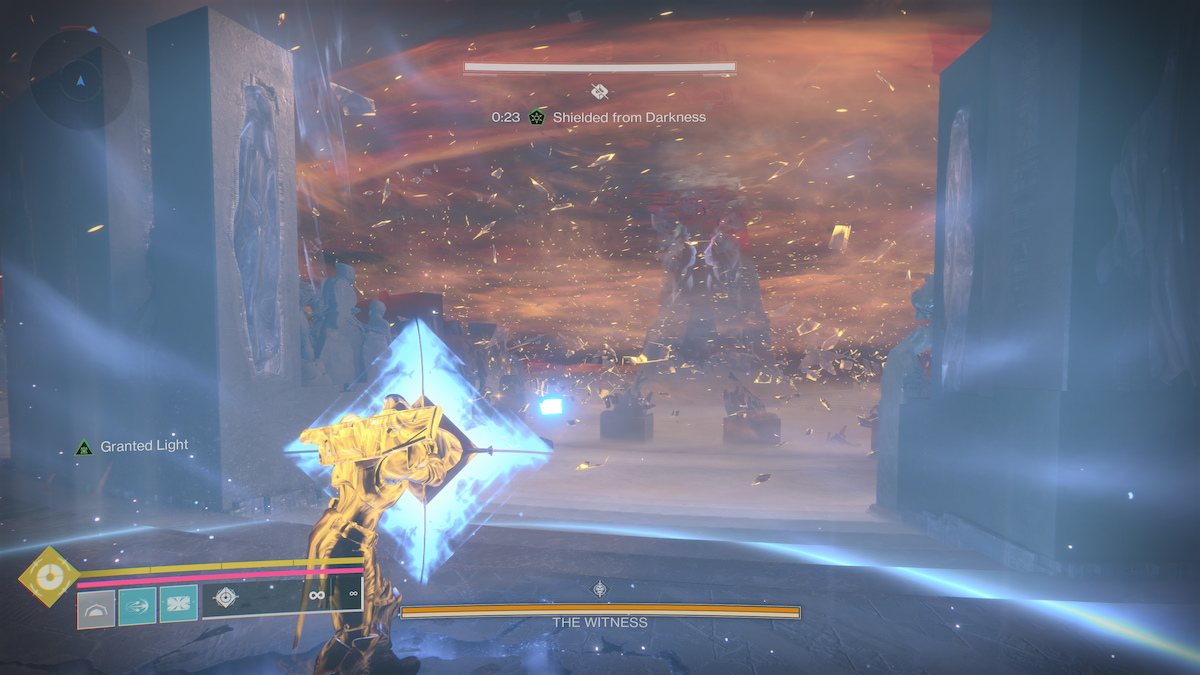
Continue to eliminate the Subjagator and pick up the new relic sword. Use the Sword of Light on the waypoint target and initiate ‘Embrace the Darkness.’ You’ll transport somewhere else and then return to the battlefield.
Players must use the nodes again for the Shielded from Darkness ability. Repeat the same process with the Aegis shield against the second Subjugator.
As you transport back to the battlefield once again, your allies will join the fight, providing much-needed assistance. Together, you’ll bring down the Witness’ defense, marking a significant turning point in the battle.
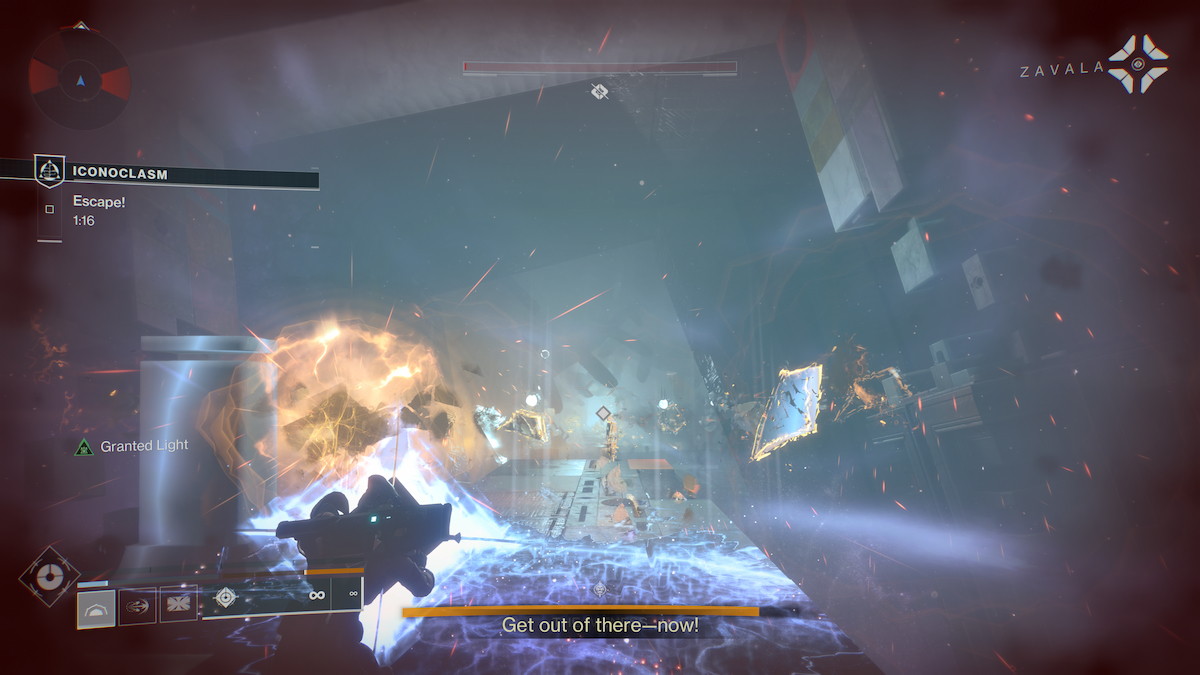
Phase 2: Escape!
Now, it’s time to escape, where you must pick up another relic to protect you from oncoming projectiles. I highly suggest keeping the shield up the entire time since you’ll instantly be brought down the minute it goes away. Don’t worry about it depleting, as there will be a few light sources along the pathway for replenishment.
Once you’ve reached the end of the route, the battle against the Witness will reach its conclusion. However, the fight is far from over, unlocking post-game content. The Destined Heroes quest will also be available to increase your team’s strength for the following showdown. This mission paves the way for the Wild Card quest, a pre-requisite for the competitive raids.


Published: Jun 7, 2024 7:23 PM UTC