
As you make your way across Avarex in Warhammer 40K: Space Marine 2, you’ll encounter evidence that a Necromunda is causing havoc on the Forge World. It’s preventing The Imperium’s other forces from advancing, but you volunteer to take it out in a three-on-one battle.
The Necromunda is the first truly worthy boss you’ll face in Warhammer 40K: Space Marine 2. While others, such as the Lictor, are a challenge, the Necromunda is a really difficult boss to fight if you don’t know what you’re doing. It’s got a few distinct attack patterns that you must counter, or you’re never going to kill it and avenge those fallen Space Marines who attacked it before you.
How to defeat the Necromunda boss in Warhammer 40K: Space Marine 2
The fight against the Necromunda is a battle that goes through phases. The first is a pretty standard fight between you, the boss, and a few smaller Tyranids who will try to slice your knees open. Kill the smaller Tyranids and then focus gunfire on the Necromunda. This floating foe will throw psychic attacks your way, but they’re all broadcast with on-screen icons. Dodge them when you see them coming, and keep dealing damage.
The boss won’t always stay in the air, but while it’s up there, it’ll also summon green lighting to your position to cause damage. This can impact most of the arena, and the only way to get away from it is by dodging. I managed to keep away from most of the damage by remaining far away from the boss. The further you are away, the less damage you should take. It’s similar to the Carnifex boss fight, but the Necromunda won’t hit a phase where it just hunts you down relentlessly.
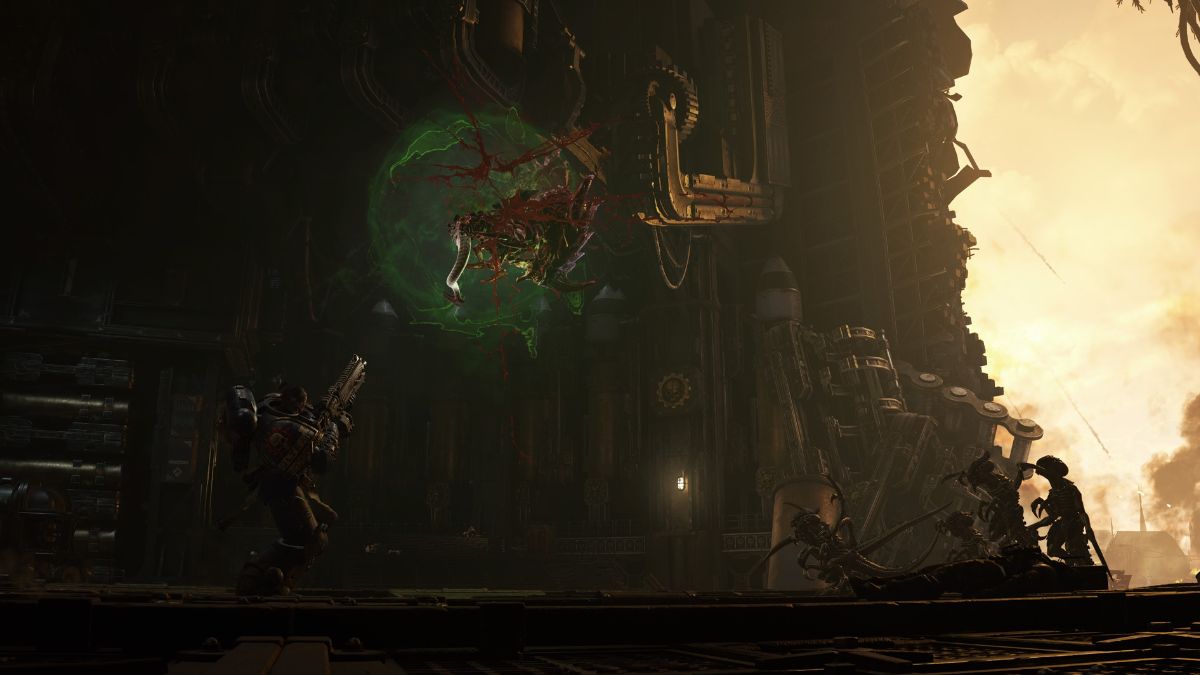
When the boss lowers to the floor, it’ll start emitting a green pulse that knocks you over. You need to dodge through this and get up close to the Necromunda. You can get through its shield and start hacking away at it with your melee weapon. This deals the most damage possible of any phase, but it doesn’t last long. Soon after your onslaught, the boss will rise up and hit you with another pulse that’ll deal a tonne of damage.
Keep up your attack, and you’ll eventually wear the boss down enough to hit it with an execution and kill it. The best weapons are really whatever you want to use, but I recommend the Heavy Bolter. This can deal with a ton of damage, and you should be able to reload it pretty easily from ammo crates in the arena. If you have any grenades, throw them at the Necromunda when the boss is on the ground because they won’t deal any damage if it’s in the air.


Published: Sep 5, 2024 01:48 pm