Just because you’ve completed The Final Shape campaign in Destiny 2 doesn’t mean you’re done. It’s quite the opposite as Cayde-6 is recruiting you and Crow for a special mission which is also a prerequisite for participating in the Salvation’s Edge raid race. Here’s how to find and complete the Wild Card Exotic mission.
Where to get the Wild Card Exotic mission in Destiny 2: The Final Shape
After completing The Final Shape campaign, you’ll find the forces of Light have set up camp in the reimagined Tower. Head to the back to find Cayde-6 hanging out behind some crates. The resurrected Hunter Vanguard will give you the Wild Card Exotic mission. Select the mission from your quest tracker and follow the marker to the banner that starts it.
Part 1 – Identify Wild Card’s target creature

The first part of this quest chain requires you to investigate the area for screebs. There’s a large number of both them and Cabal war beasts, and they’re fond of swarming, so I recommend something like Graviton’s Lance or anything with Firefly to thin them out.
As you contend with the biters and exploders, Crow and Cayde will direct you to various spots that require investigation. After checking a few spots, you’ll be tasked with setting up a base camp overlooking a scenic waterfall.
The next step is to collect some Tainted Dark Ether. Some of it may clip through the ground, as is the Destiny 2 way, but don’t sweat it as you’ll eventually get what you need. After collecting five, begin tracking the signature of the creature behind all of this.
Follow the clues, gumshoes, and you’ll find a Cabal camp tucked away in a cave with a war hound boss called the Devourer of Tainted Light. This fight is a game of cat and mouse, as once you’ve dealt enough damage to the pooch, it runs away to a shielded area full of reinforcements. Clear them out and engage with the boss until it flees again. Repeat this process until it’s finally down.
With that taken care of, it’s time to regroup at the base camp. It’s unlikely the Devourer of Tainted Light was the source we’re looking for, so it’s time to put on our thinking caps. Upon getting back to camp, we discover the barrel of Tainted Dark Ether has been stolen. It’s time to track it down.
Part 2 – Clear the way forward and destroy the Taken Blights

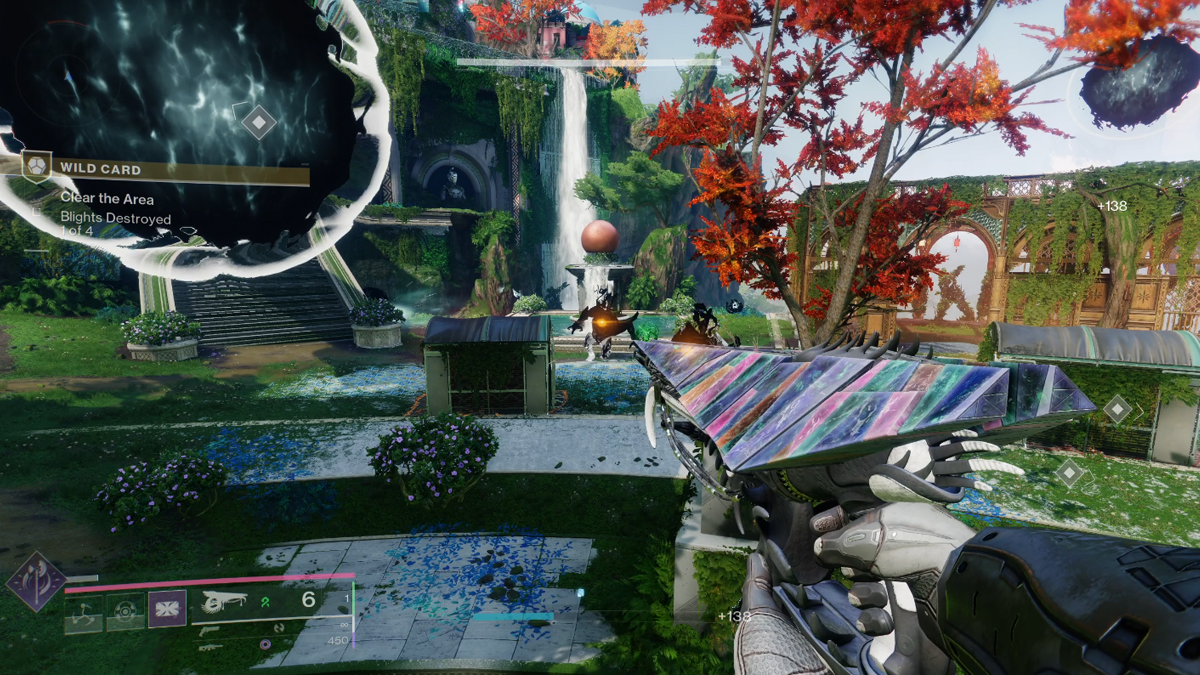
After a brief respite, clear out the Taken that have invaded the camp. This leads to destroying four Taken Blights around the area. Different powerful enemies guard each of the Blights. Drop them, and you’ll see the ticker for destroyed Blights go up. Once that’s done, two additional Blights, guarded by Dread forces, will appear. Do what you do best, and wipe them out.
Head back to camp and speak with Crow. After some downtime, the former Prince and Cayde will inform you they’ve tracked down the shanks behind this.
Part 3 – Head to the rendezvous point and deal with the Mega-shank

Take your sparrow to the rendezvous point and drop down to the cave mouth. Inside will be an option to “use the shortcut.”
Once you’re on the other side, there will be a littering of dead Eliksni. The goal is to draw out their murderer, the Mega-shank. Don’t make the same mistake I did and jump across the chasm. This encounter is done entirely from the side you spawn on.
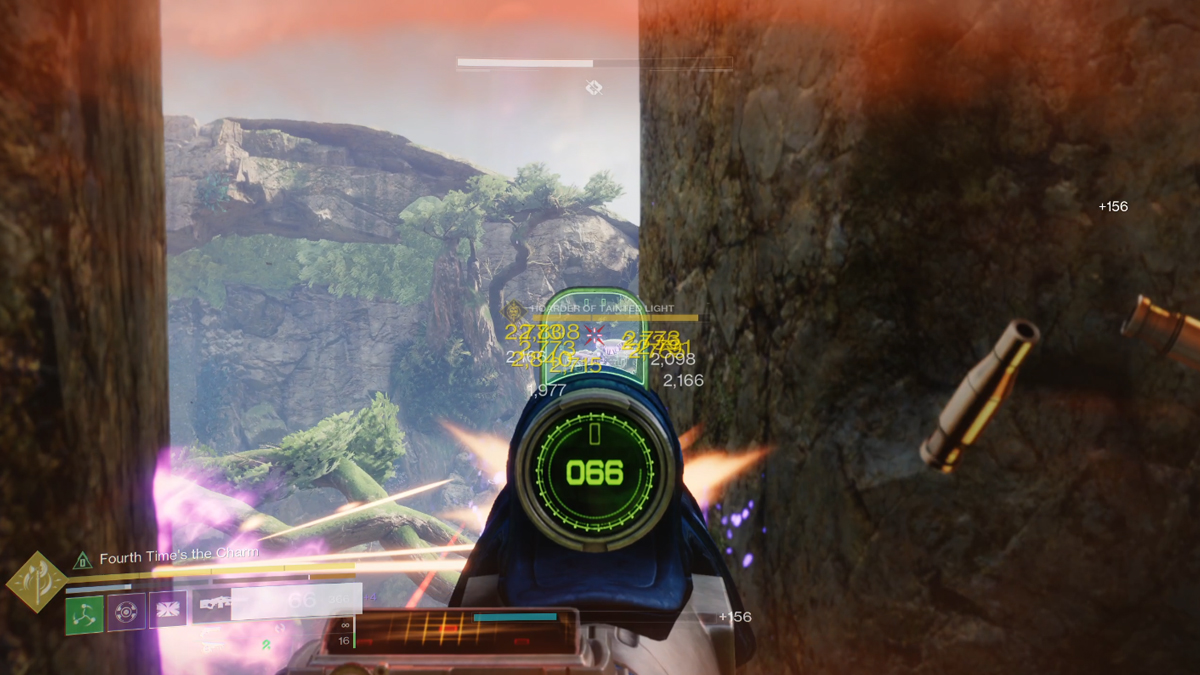
I recommend using long-range weapons like a scout rifle, sniper rifle, or pulse rifle for this next bit. After equipping your preferred ranged weapon, rally to the banner to begin the encounter. Across the canyon will be an ever-increasing swarm of shanks. Eliminate them to bait out the Mega-shank, Hoarder of Tainted Light. The boss will become temporarily immune after losing each third of its life. Just keep its minions thinned out and you shouldn’t have too much of an issue with this big boy.
Take the shortcut back to camp and witness another heartfelt conversation between Crow and Cayde. Once they’re done, you can start tracking the Dark Ether, triggering the next step.
Part 4 – Defeat Lii’liks and collect your rewards

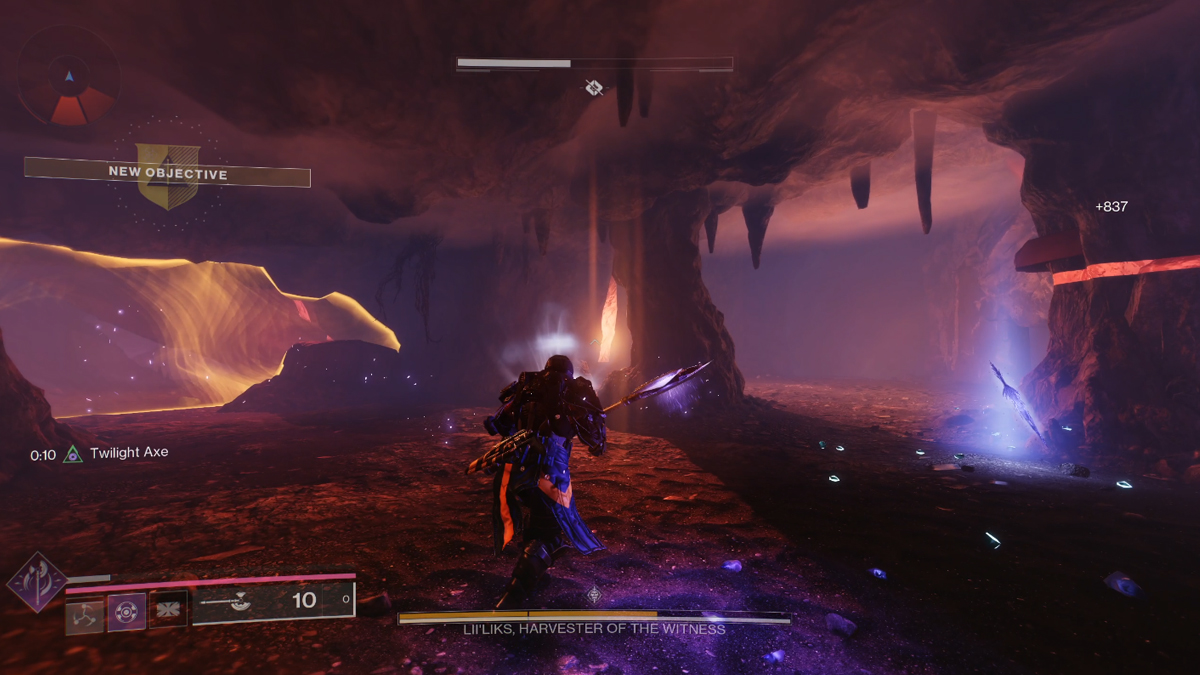
Follow the marker to a cave filled with screebs. Proceed slowly and pay attention to your radar to avoid being flanked. At the end of the tunnel will be a cavern with the stolen barrel and boss, Lii’liks, Harvester of the Witness.
This fight is all about keeping your head on a swivel as the abomination will summon loads of Taken allies and screebs. It will disappear once a third of its life is gone. You’ll need to kill the screebs and collect their Ether to deposit it in the barrel. Once 10 are deposited, the boss will reappear and spawn more Taken.
Be patient and make a concerted effort to keep the minions at a minimum as it’s easy to be overwhelmed. Try to keep a pillar between yourself and the boss to soak its ranged attack. With some perseverance, it’ll be down in no time.
After what may be the best cinematic in The Final Shape, you’ll be back at camp. Crow and Cayde have yet another important conversation before the former departs. Make sure to speak with Cayde before the mission ends to reaffirm an important matter.
Back in the pseudo-Tower, listen to the radio next to Ghost, and head over to Cayde to collect your reward. You’ve certainly earned it.


Published: Jun 5, 2024 01:52 pm