
As you begin your journey in Destiny 2‘s last major expansion, The Final Shape, you’ll need to enter the Traveler, pick up your new Subclass, and find your way into The Pale Heart. To do this, you’ve got to complete Transmigration, but it’s a mission with twists at every turn for newcomers.
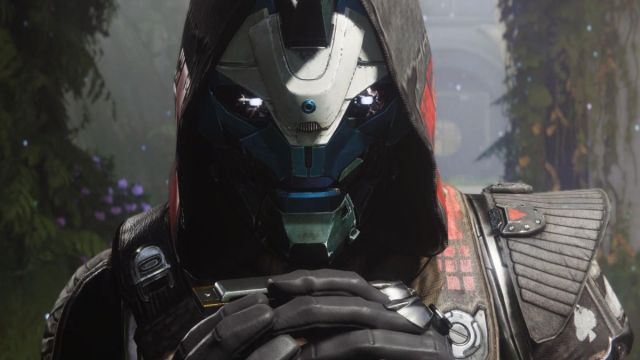
When you begin The Final Shape campaign for Destiny 2, the first mission you’ll be thrown into is Transmigration. This mission sees Mara Sov use her power to hold open the Threshold into the Traveler for you to pass through, but you’ve got to do it before she’s overcome by The Witness. This mission is a fantastic introduction to the strange things that’ll become commonplace in The Pale Heart, but it can be tricky in places.
How to complete Transmigration in Destiny 2: The Final Shape
Below, I’ve broken down Destiny 2: The Final Shape‘s Transmigration mission into steps. Whilst some parts of the mission are easy to get through, some had me scratching my head or butting up against tough enemies for ages.
Step 1: Reach and activate the well
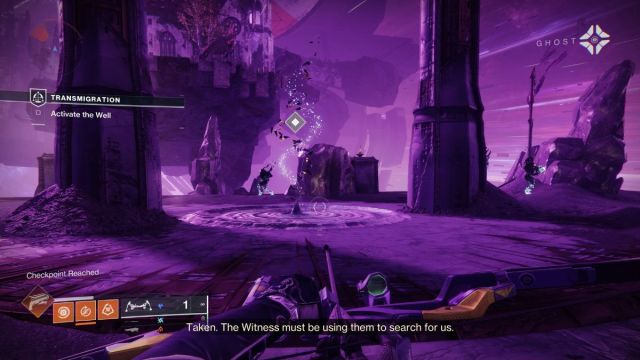
Once you begin the mission, follow the quest marker until you reach the well. This is a new gameplay mechanic in Destiny 2 that you’ll be using a lot. When you walk up to the well, it’ll become an orb of darkness. Shooting it will reveal a path forward, but you can’t access it just yet.
Once you’ve unraveled that darkness, enemies will spawn. You need to kill all of them until you find a powerful one carrying an Icon of Light. As soon as you pick this item up, more enemies will spawn, so be ready. You’ve got to return the Icon of Light to the well and activate it to bring the path you saw into reality and progress.
Step 2: Reach the blocked hatch
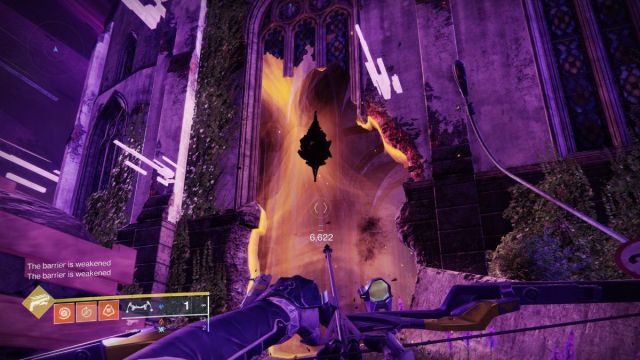
Head over the new path, and you’ll be stopped by a barrier. There are three locks on the barrier you must shoot to pass through. Remember how you did this because these barriers are about to become pretty frequent. Next, you’ll make your way through more of this twisted nightmare and face off against some of The Dread, the new enemy race in The Final Shape.
The next stopper on your journey is a hatch blocked by another barrier. This one also has three locks, but you’ll only notice one to start with. In addition to the lock on the barrier, there’s one in the environment up and to the left and one behind the structure opposite the hatch. You can see the structure on the right-hand side of the image above.
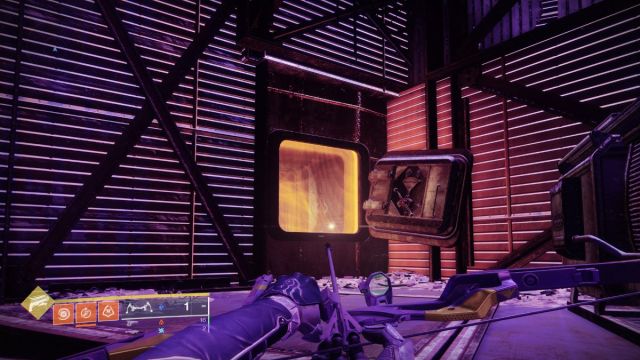
After opening the hatch, you’ll enter an arena where you’ve got to defeat a series of waves of fairly powerful Taken enemies. You’ve got to get another Icon of Light to activate a well, but this time, a barrier will block the well after you pick the item up. Shoot all three locks dotted around the arena. There’s one on top of the barrier, and the other two are to the left and right of it in the environment.
Step 3: Evade and escape

Make your way through the short jumping section, and you’ll encounter your first Bound Taken enemy. Ignore these guys for now because you can’t kill them yet. Just escape them and get to the net encounter. The area is a repeat of what you’ve just been through, so activate the well, kill the powerful enemy, and pick up the Icon of Light.
When you need to bring the barrier down this time, look on top of it and to the sides again. The locks are floating just off the edge of the platform. Activate the well, and you’ll get another jumping section to work through. At this point, Mara Sov is really struggling, so you need to pass through the Threshold pronto.
Thankfully, once you’re at the top of the jumping section, you’ll be whisked away into The Pale Heart. There’s a slightly spooky cutscene that plays out, which is a great callback to the original Destiny and feeds into how many stories we’ve played through since then.
Step 4: Enter The Pale Heart and get your Prismatic Subclass

After zipping through space, you’ll emerge in a bright arena with platforms that appear in a line for you to follow. After a few of these, the only way forward will be a dark branch, and if you follow that, you’ll enter the stunning new location.
The Pale Heart is beautiful, and your only instruction is to explore. Follow the blue crow if you don’t know where to go. It flies off in the direction you should be moving. After a little exploring, you will encounter more of The Dread, so take them out and keep pushing on.
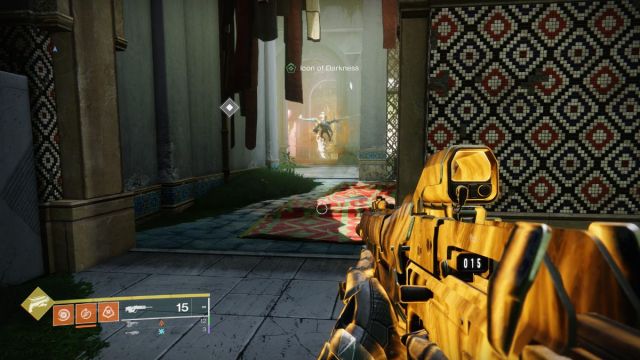
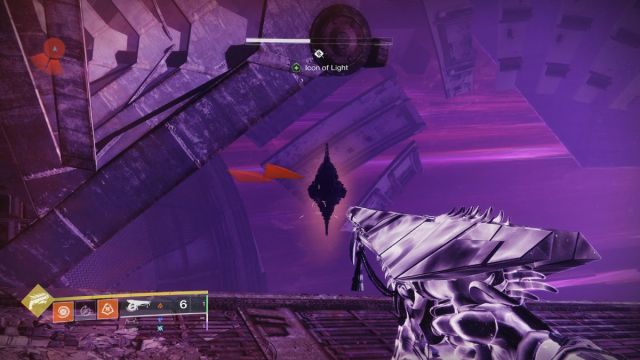
This next section is a play on what you’ve just been doing. There’s a barrier blocking your way, but you can’t shoot the lock. Instead, you’ve got to kill enemies until one of them drops an Icon of Darkness. This will then open the barrier after it spawns more enemies to try to kill you.
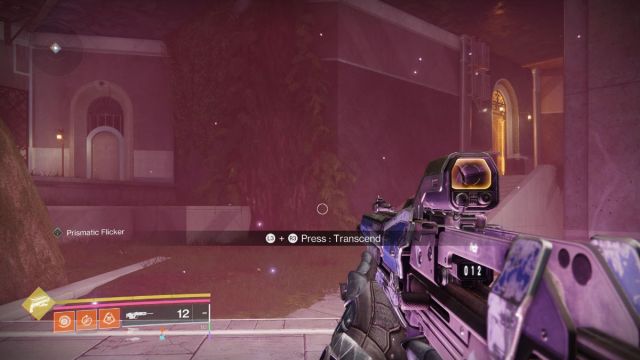
It’s after this that you’ll meet more Bound Taken enemies, except this time, you can kill them. There are Prismatic wells on the floor that will charge you with Prismatic energy. You can see it filling up in the bar under your health. Once full, you can press both joysticks to Transcend.
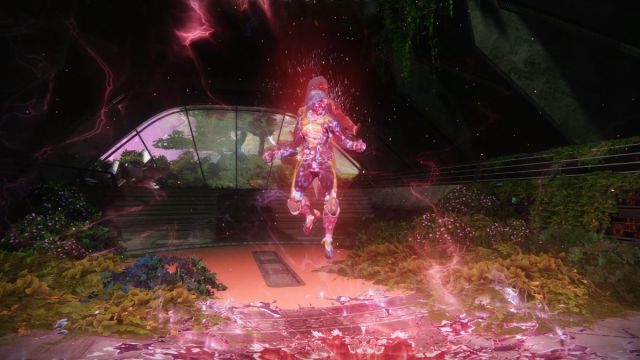
In this new state, you can damage Bound enemies and remove the Prismatic shielding they have. You’ll lose your charge every second after activating the state, but you only need a couple of good shots to remove that shield, and then you can finish the enemy without it.
You’re nearly there now. This next section takes everything you’ve just learned, the Transcend mechanic for Bound Taken enemies and the wells that require Icons of Darkness and smashes them together. You need to unlock a barrier with two Icons of Darkness, one from either side of the area, whilst dealing with powerful Bound Taken enemies and The Dread.
Take down the barrier and proceed. The next area is one you might recognize from the original Destiny. Inside it, you’ll weave together Light and Darkness and unlock your Prismatic Subclass. This allows you to combine abilities from across all your Subclasses and Transcend without using a well, meaning you can do everything you need to face the final boss of the mission.
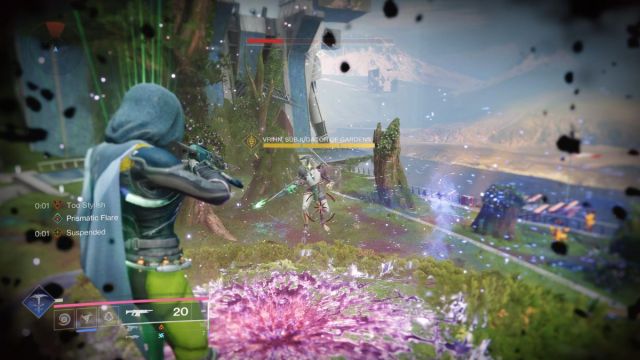
Step 5: Defeat Vrihn, Subjugator of Gardens
The next area in the mission is the last one in Transmigration. Lay down a Campaign Banner to restore ammo, energy, and health, and then walk forward. This will spawn in a wave of Taken enemies. Don’t get comfortable, though, because the real enemy will spawn after you’ve defeated them.
Vrihn, Subjugator of Gardens is a huge Dread enemy with three stages to its health and a mastery of Strand. It spawns with Dread enemies and will spawn more every time you hit a health threshold. This thing will wait until you’re distracted by the smaller foes and then launch a trio of Strand attacks at you that will hoist you up and suspend you. Then, it’ll jump in and try to kill you with a quick melee move.
Kill the smaller enemies first and dodge those Strand attacks. The other attack Vrihn, Subjugator of Gardens will pull is a set of Strand spears that can almost kill you in one hit. Taking out the smaller enemies first gives you plenty of room to move around, maintain distance, and deal the damage you need to.
I found that my Super was pretty useless against this enemy. Instead, I focused on grenades, thrown melee attacks, and my rocket launcher. If you die while facing Vrihn, Subjugator of Gardens, you’ll need to restart the entire encounter, and that’s incredibly annoying, believe me. Take your time, and you’ll kill the enemy and watch it transform into a tree before completing the mission.
Once you’ve completed Transmigration in Destiny 2: The Final Shape, you’ll be treated to a decent cutscene where your Guardian reunites with Cayde-6 and speaks for the first time in I don’t even know how long. It’s a fantastic reward for the mission and made me want to jump right back in to see more of my favorite character and where the story goes next.


Published: Jun 4, 2024 09:23 pm