You’ll find them all over the world map, but they kick off close to Hogwarts
Hogwarts Legacy is littered with sidequests, including the intriguing “Merlin Trials” puzzles: which bring a bit more lore into the wizarding world. Here’s how to kick off the questline, and how to solve every type of Merlin Trial in the game.
How to get more gear and storage space in Hogwarts Legacy
Completing Merlin Trials will increase your gear capacity. They’re relatively easy to clear so if you come across one (signified by a black and white leaf icon on your map), try to make a point to interact with it.
Gear space is very important, as you want to have room to expand your inventory as you come across items naturally. Note this warning that a community member uncovered in their time with the game: which surmises that the RNG system for gear is set when you open the chest. So if you want the best upgrades and plenty of space to store them, you should think about completing some Merlin Trials early.
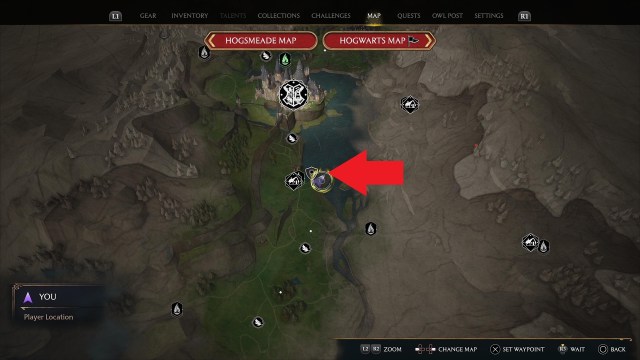
Start the Merlin Trials questline near Hogwarts, to the south
Several hours into Hogwarts Legacy, you’ll wander south out of Hogwarts to meet a fellow classmate (the quest is The Girl from Uagadou). Veer off the path and speak to the NPC in the location marked in the map above. After fending off some rogue wizards, she’ll share a bit of lore on Merlin (yes that Merlin) and his Slytherin heritage in the form of Merlin Trial puzzles.
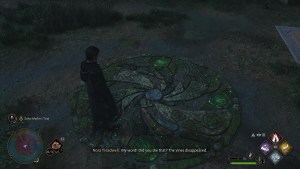
The NPC will gift you five Mallowsweet Leaves (a required reagent to start them) for the first few trials. Use these on the circles on the ground to start the trial.
Merlin Trial Puzzle 1: How to light the pillars
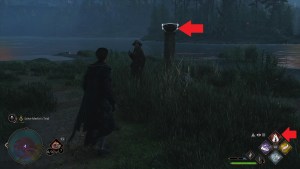
For the first trial, which functions as a tutorial, all you need to do is cast Incendio (the red fire spell) or Confringo on the pillars around the circle. After each pillar lights up, the Merlin Trial will be complete, the NPC will move on, and Merlin Trials will be highlighted on your map.
In the future you may need to cast Arresto Momentum on some pillars to stop them, as they’ll slowly drop to the ground (and the fire will go out). You can also cast a fire spell on the tallest pillars first, moving to the shortest pillars last: which will clear the challenge.
Merlin Trial Puzzle 2: How to destroy the orbs
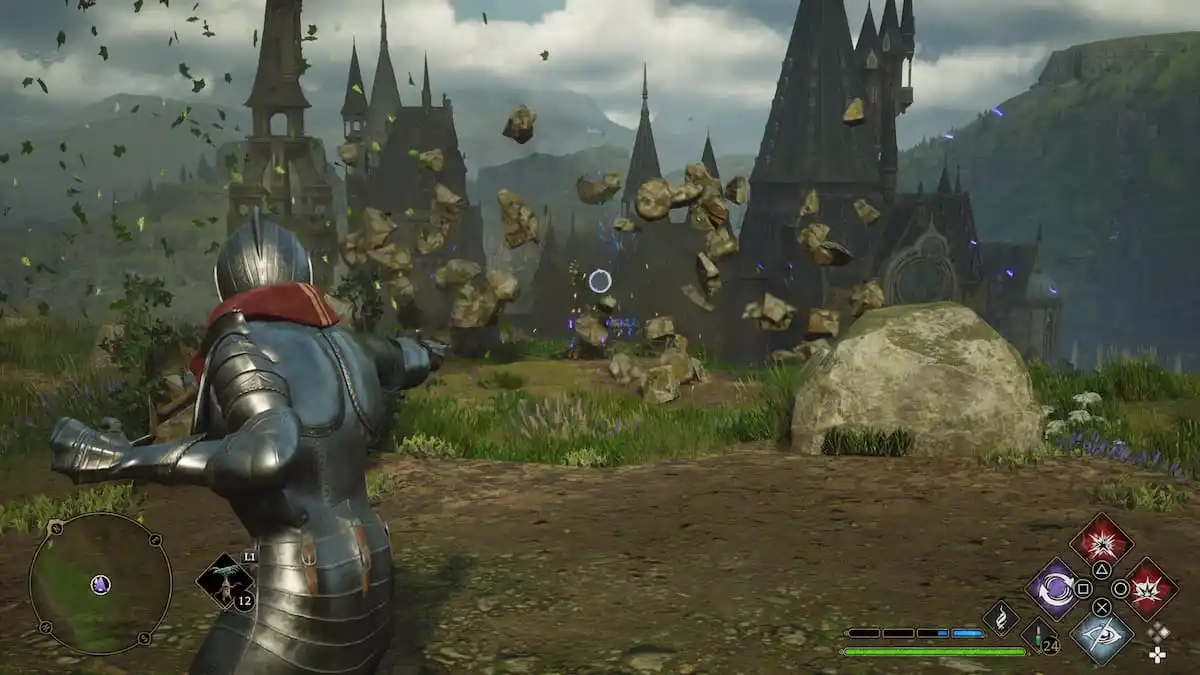
Head south (mark the icon on your map if needed) to get to the second Merlin Trial. For this one, you won’t be using Incendio. Instead, you’ll just use your regular wand attack (basic cast: not to be confused with the perfect cast) to take out several orbs in the immediate area (which will crumble). This is a good puzzle in terms of showcasing a wrinkle: you may need to look around a bit for these trials, rather than just brute force them.
Check behind the rock walls and hills for more orbs to attack and cast Revelio constantly. After taking all of them out, the puzzle will be complete.
Merlin Trial Puzzle 3: How to push the ball into the goal
For this trial, you’ll need to roll a ball down into the “goal,” which is a hole in the ground that typically has leaves fluttering about it.
Use Depulso to push the ball, typically down a hill, into the goal. You can do a bit of recon (it’s easier to do this while flying) to see where the ball needs to roll first. 9/10 times it’s down a hill that potentially needs to be cleared of debris.
Merlin Trial Puzzle 4: How to light up the crystals in the pillars
This one seems tough but it’s actually pretty simple.
You need to use Lumos on the fireflies around the puzzle area, then move them toward the pillar with crystals in it. Bring them back like the Pied Piper and you’ll clear the Merlin Trial.
Merlin Trial Puzzle 5: How to rotate the symbols on the pillars
For this one, you’ll be casting Flipendo on the pillar to rotate the symbols until they match (type and orientation).
Note that there are symbols on all four sides of the pillar, so you can move around it and cast Flipendo from the side to continue to rotate them/until you find a match.
Merlin Trial Puzzle 6: How to destroy the giant cracked pillars
This is one of the easiest Merlin Trials in the game. You just need Bombardia to blow up each cracked pillar.
Use Revelio constantly to see the pillars, and aim manually (with the left trigger) if you need to.
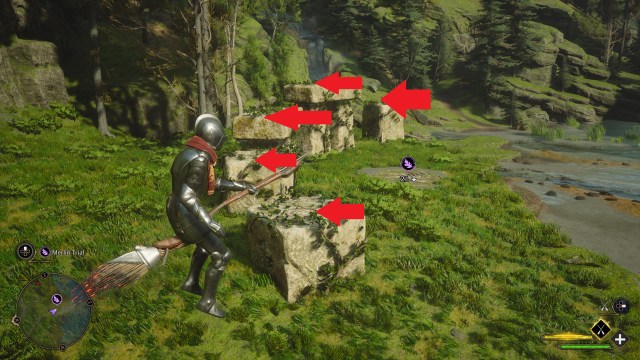
Merlin Trial Puzzle 7: What to do with the platforming challenge
This is another easy one that will typically provide ample margin for error.
After activating the trial, all you need to do is jump from pillar to pillar (or each platform marked with a vine) without touching the ground. After touching the last pillar/platform, you’ll finish the challenge automatically.
Sometimes you’re able to “cheat it” with flying on your broom, but most of them can be done legitimately without much issue.
Merlin Trial Puzzle 8: How to move the spheres into the hole in the ground
This is more like a scavenger hunt than a puzzle.
Each platform on the ground has holes to support spheres: which are lying around on the ground nearby. Spam Revelio, as the spheres often show up very faintly in the overworld. Use Wingardium Leviosa to manipulate the spheres, and move them into a platform.
What do you get for finishing every Merlin Trial?
- For clearing out all of the challenges in the exploration portion of the challenge log (pictured above), you’ll get a total of 40 gear slots to work with
- For finishing out every Merlin Trial in the game, you’ll earn an achievement/trophy “Merlin’s Beard!”
Where can you find more Mallowsweet Leaves and seeds in Hogwarts Legacy?
After you run out of your allotment of Mallowsweet Leaves, you can buy more from Hogsmeade. Head to Timothy Teasedale’s shop The Magic Neep in the western portion of Hogsmeade (exact location in the gallery above) to buy more for 100 gold. You can also purchase Mallowsweet seeds from The Magic Neep.
We have a full breakdown of Mallowsweet here.



Published: Feb 22, 2023 06:50 am