
The Specimen ID quests in Destiny 2 Episode Echoes have been lovely additions to the core story up until this one. That’s not to say that Specimen ID: NES006 is bad at all; it’s just one of the longest grinds you’ll have worked through since the first Episode was released.
This quest was released alongside the final part of A Rising Chorus: Act II in Destiny 2. It’s one of the few quests you’ll have to unlock without being prompted by the game. Instead, you’ve got to find the initial trigger and then work through it from there. As I’ve alluded to, this quest is a real slog, so if you want to complete it in one go, I suggest you clear a few hours in your schedule because you’ll be playing for a good long while.
How to start Specimen ID: NES006 in Destiny 2
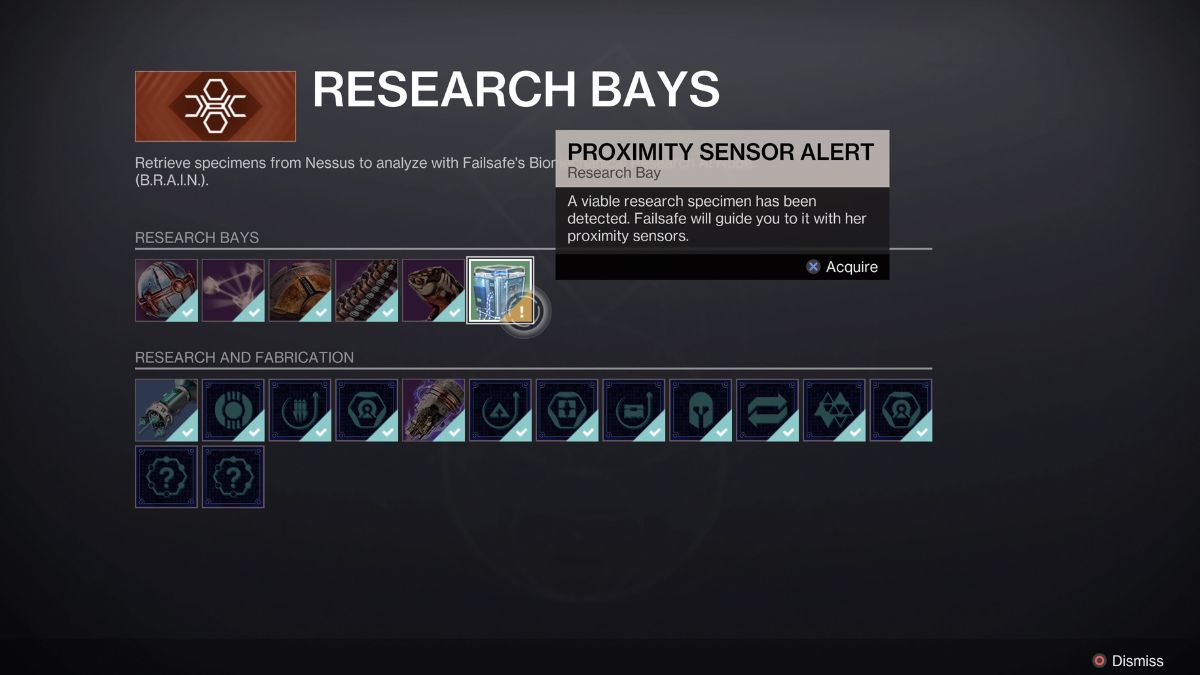


To start Specimen ID: NES006 in Destiny 2, you must first complete week 3’s story for A Rising Chorus: Act II. Once that’s done, you must visit Failsafe in the H.E.L.M. and pick up the Proximity Sensor Alert. You’ll find this in the AI’s menus, so you’ll need to interact with it first.
Once you’ve picked this up, jump into an Echoes Battlegrounds activity and keep an eye on the proximity sensor. You’ll get an alert when it’s nearby and should see an on-screen waypoint for it when you’re within 20 meters or so of what you need to pick up.
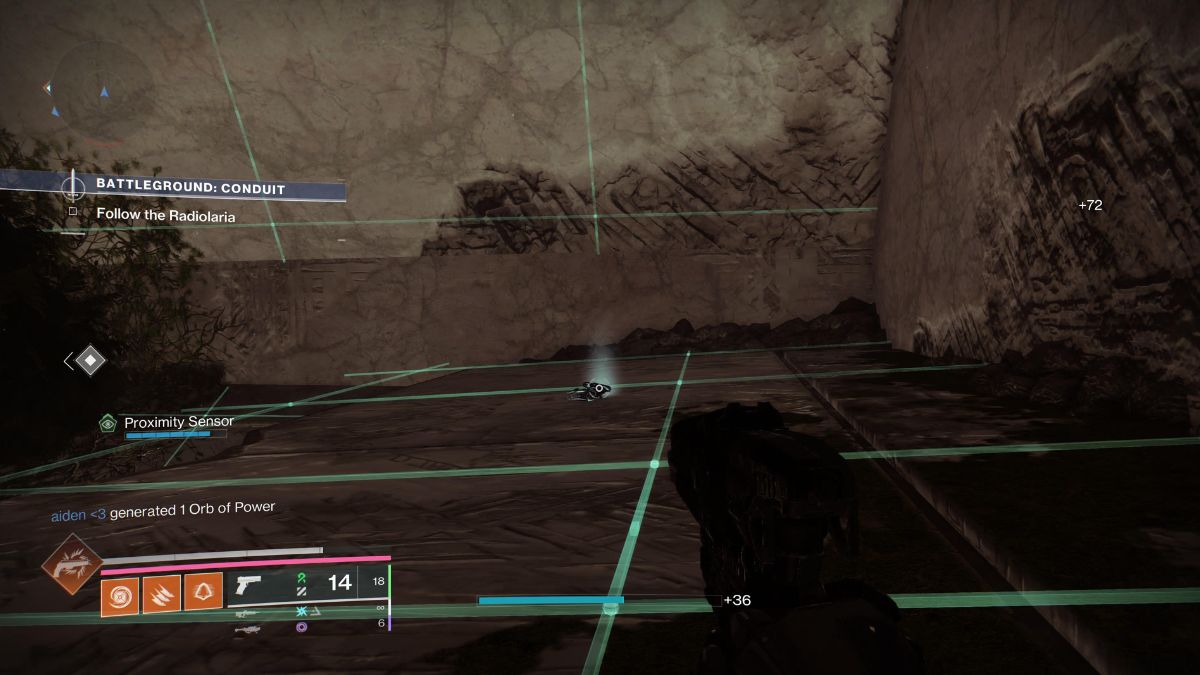
The location of each Specimen is different across all three of the Battlegrounds activities, so keep an eye on your sensor and really pay attention to it. In every activity, the Specimen appears just before the first major encounter. Once you’ve picked up the specimen, you’ll get the Specimen ID: NES006 quest and can follow each objective in order.
How to complete Specimen ID: NES006 in Destiny 2
Below, I’ve outlined every step of Specimen ID: NES006 in Destiny 2. If you’re stuck on one part of the quest or all of it, read through and figure out what you need to do next to get through it. The time requirement of this quest is absolutely bonkers, so I’ve included details on what I did but also what I believe will help you get through each step the quickest.
Step 1: Get kills with Sidearms and Auto Rifles
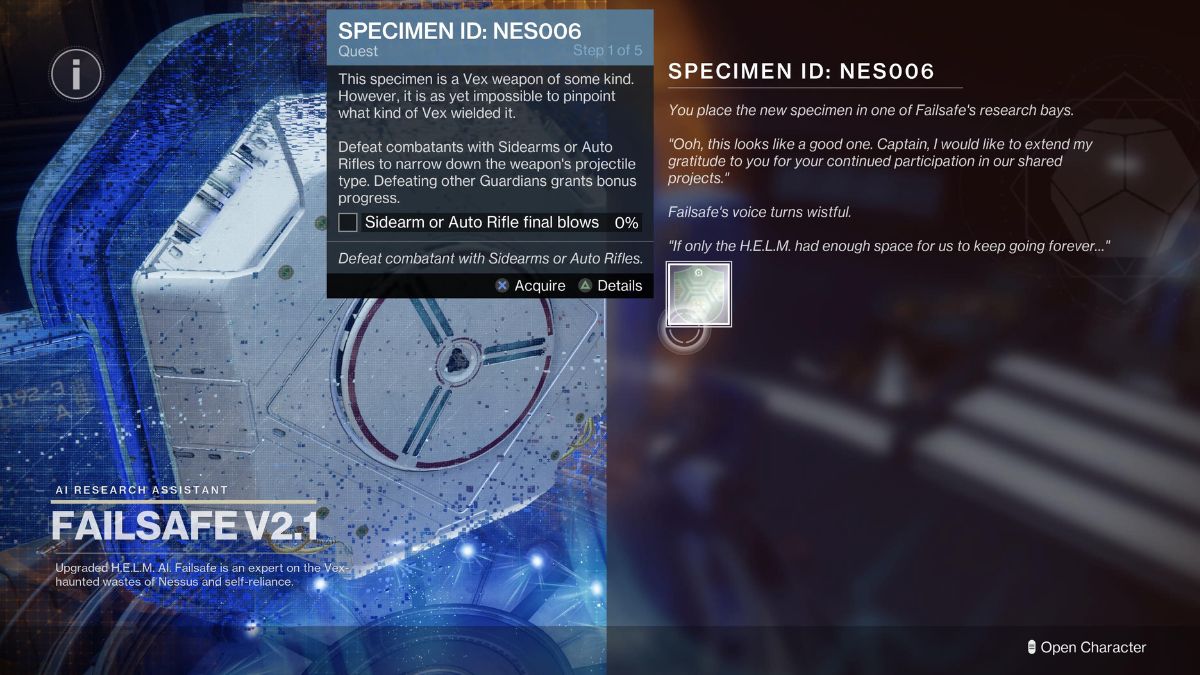
Your first task is to get out there and get kills with Sidearms or Auto Rifles. I’ve been using The Call ever since the release of The Final Shape, so this wasn’t an issue. I worked through this step in about four Breach Executable activities. However, you’d likely be just fine with an Auto Rifle, too, if Sidearms aren’t your thing.
Note that kills against Guardians count for more progress, so if you’re good at Crucible or Gambit, those may be better options for you. I am not, so I opted for PvE activities for my progression.
Step 2: Get kills with Arc or Solar final blows
Now you’ve got to get kills with Arc or Solar final blows. Progress here is tied to the weapon and element of the skill used to kill an enemy. I equipped all my Solar abilities to my Prismatic Subclass, ran a kinetic weapon with a Solar element on, and worked through this in roughly three Echoes activities.
If you’re struggling, you can try using Banners to help boost your Super and use more of them in every activity. These are fairly rare, so don’t spam them if you don’t want to. They’ll definitely help you out if you’re struggling with this step.
Step 3: Generate Orbs of Power
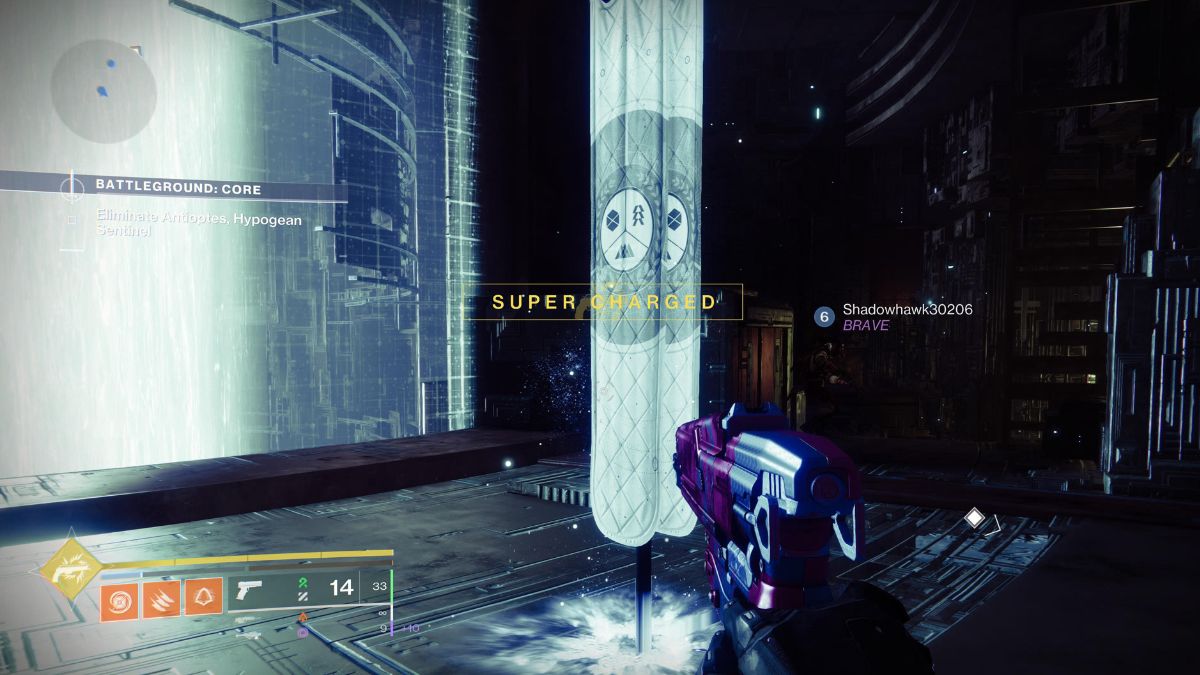
This step of the quest took me the longest. Generating Orbs of Power is something you do when you score kills while using your Super, so you’ve got to time your Super so it’s used when it’ll get maximum kills. I ran a lot of Echoes activities to try to work through this step, but you get bonus progress from Crucible and Gambit, so I’d say you’re better off hammering either of those. If Mayhem happens to be on, I’d be surprised if this took you more than two matches.
Step 4: Report back to Failsafe
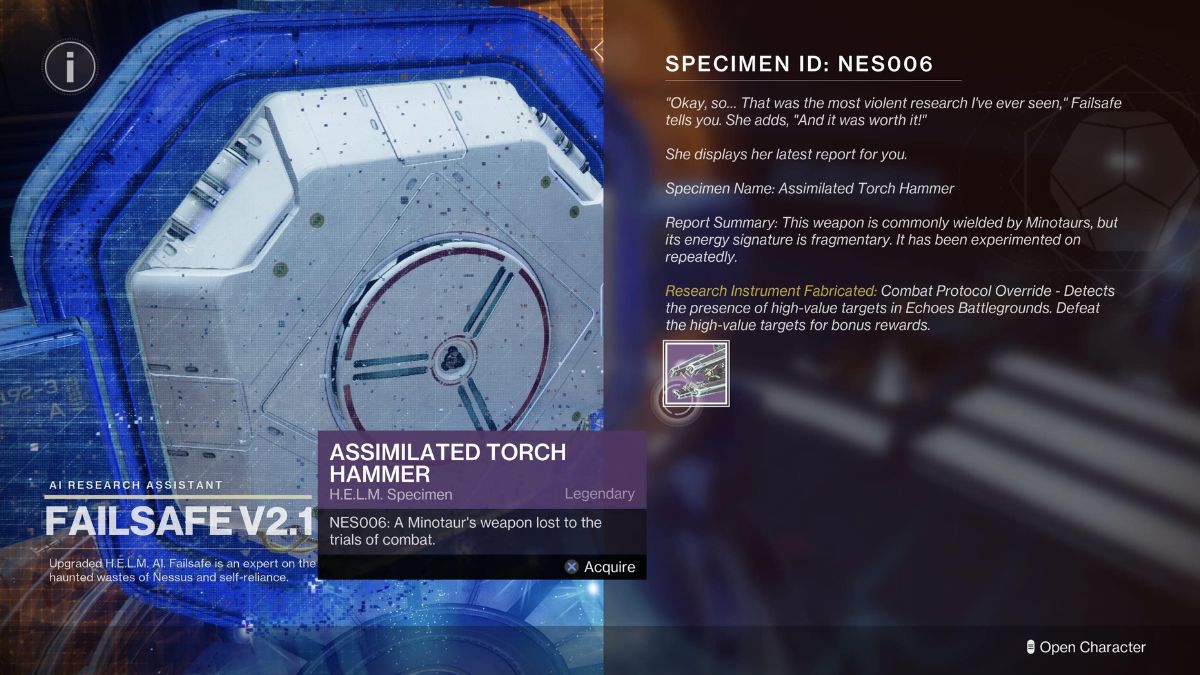
Finally, after what feels and likely was hours of grinding kills and Orbs of Power, you’re called back to the H.E.L.M. to speak to Failsafe. The AI will even note how violent this quest has been, which made me feel a bit better about all the hard work I had to put in.
You’ll be pleased to know that there’s no more grinding for this quest now. You get to pick up a gnarly-looking Assimilated Torch Hammer and place it alongside all the other Specimens you’ve gathered during Episode Echoes so far.
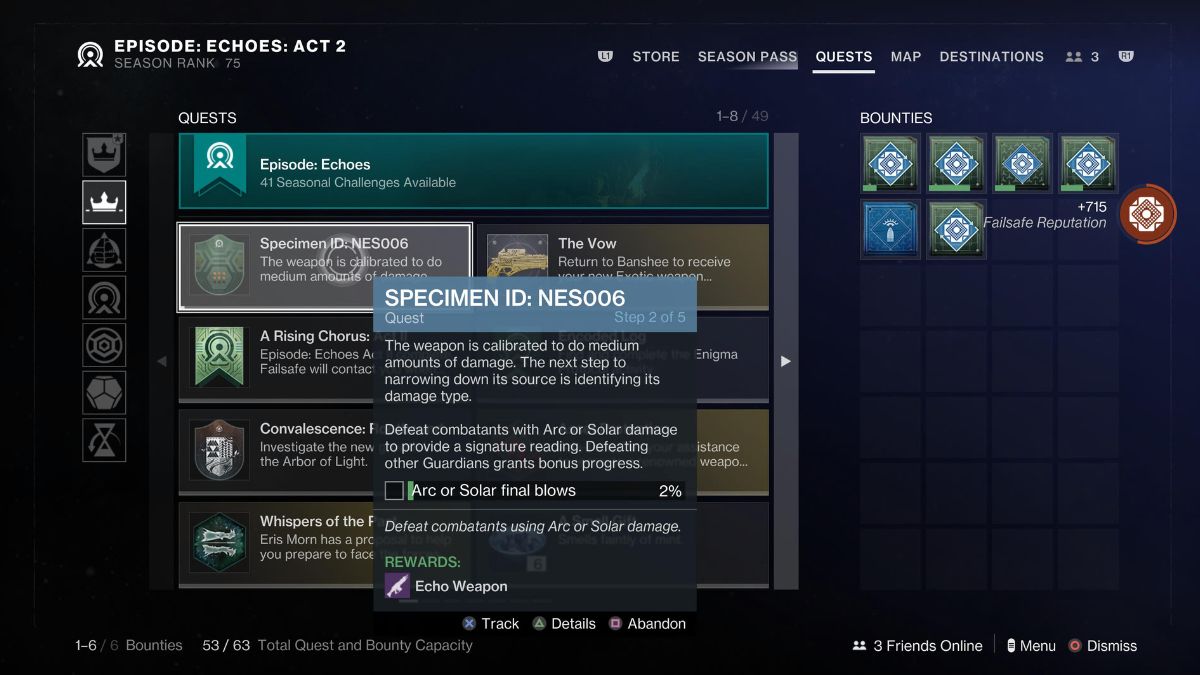
Specimen ID: NES007 will likely drop with A Rising Chorus: Act III. There are a couple of weeks between the end of Act II and the start of Act III, so there’s certainly time for another, but given that this is the end of the current storyline, I think we’ll have to wait.


Published: Aug 1, 2024 10:43 am