As part of V’s mission to de-escalate the situation in Cyberpunk 2077: Phantom Liberty‘s Dogtown, they must hack a driving service’s network and track a car. This goes off without a hitch until the incredibly annoying network admin, Ashlay, contacts V about the infiltration of the system following the events of Phantom Liberty. Now V must break into the facility and steal a car in the Moving Heat mission.
Now, I’m going to be honest with you folks. I am not a stealthy person. I have all the subtlety of a blunderbuss. So, my method of remaining “undetected” is to turn off all the cameras and then murder everyone with a silenced weapon before they have a chance to sound the alarm. My weapon of choice for this mission was Her Majesty.
Moving Heat Mission Steps

Part One
After making your way to the facility, take the elevator down to the first room. The objective is to remain undetected. This room has three cameras and five guards. The first step is to use quickhacks to turn off the cameras and ping the guards’ locations.
Stay crouched and keep your optical camo on. Creep down the stairs and stay under the grated floor. Note that the guards can see you through the grate, so keep out of eyesight. If spotted, move away and they tend to drop interest quickly.
I then used the forklift in the back to distract the guard by the shutter and the camera on the column in the center to distract the two on the right side of the lower level. This created enough of a gap between all of them that I could drop each of them, one by one, without raising the alarm.
Part Two
This next part isn’t as tricky as the game would like you to believe. Again, stay crouched and keep your optical camo on. A truck will pull in. Your goal is to climb into the container on the back and ride it through the checkpoint.
To your right, behind the barrier, will be a turret. Use that to distract the guards. With them investigating, you’re free to hop in the container and ride it to the next section. Don’t worry about your head poking out. So long as you’re crouched, all will be well. Just don’t forget to turn off the security turret at the checkpoint.
Part Three
Now you’re in the garage with the car and in the home stretch. Scan the room and turn off the cameras. Be patient as there will be a car leaving the garage and another one coming in. From your hiding spot in the container, peek out and start landing those headshots. Be thorough because if one patrolling guard spots a body, it’ll be time to reload a quick save. With the guards out of the way, hop in the car and scrub the data.
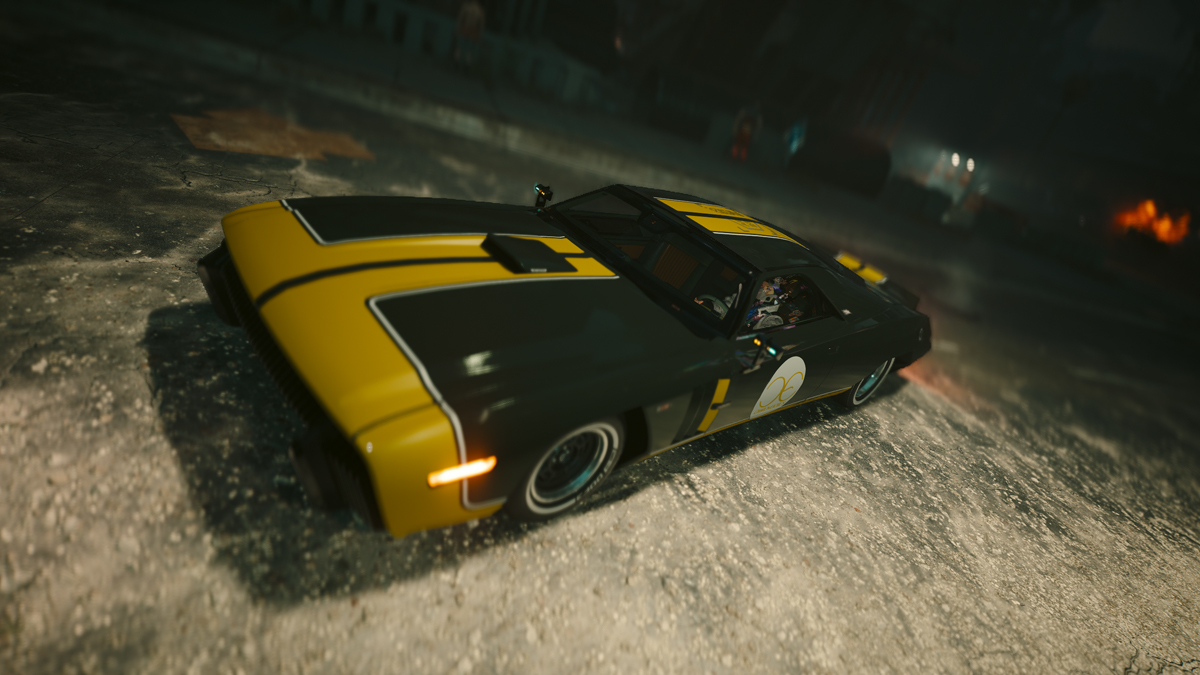
Part Four
This is literally the easiest part. Drive slowly and carefully. Upon exiting the garage, you’ll be stopped by a guard. Hang tight as Ashlay actually does something useful and glitches out his scanner. With that, you’re free to leave. Drive out of the structure without hitting anyone and the Charon will be added to your collection.


