Iconoclasm is the final mission in the main campaign for Destiny 2: The Final Shape. It’s the culmination of everything you’ve seen so far and forces you to take your fight to The Witness at last. You may not feel ready but don’t worry. You’re certainly not alone.
Once you complete Dissent, iconoclasm is the only mission remaining in the Destiny 2: The Final Shape campaign. From the very beginning, this mission will test your skills and perception of the environment that’s slowly crumbling into little more than indecipherable cubes around you. Equip your best weapons, like The Call, and jump in with at least an hour to spare. This is a long one that you don’t want to rush through.
How to complete Iconoclasm in Destiny 2: The Final Shape
Below, I’ve outlined how to complete Iconoclasm in Destiny 2: The Final Shape in easy-to-follow steps. Pretty much every encounter after the opening has some sort of mechanic for you to get your head around. Take your time, and you’ll blast through this one whilst thoroughly enjoying it.
Step 1: Break through the darkness
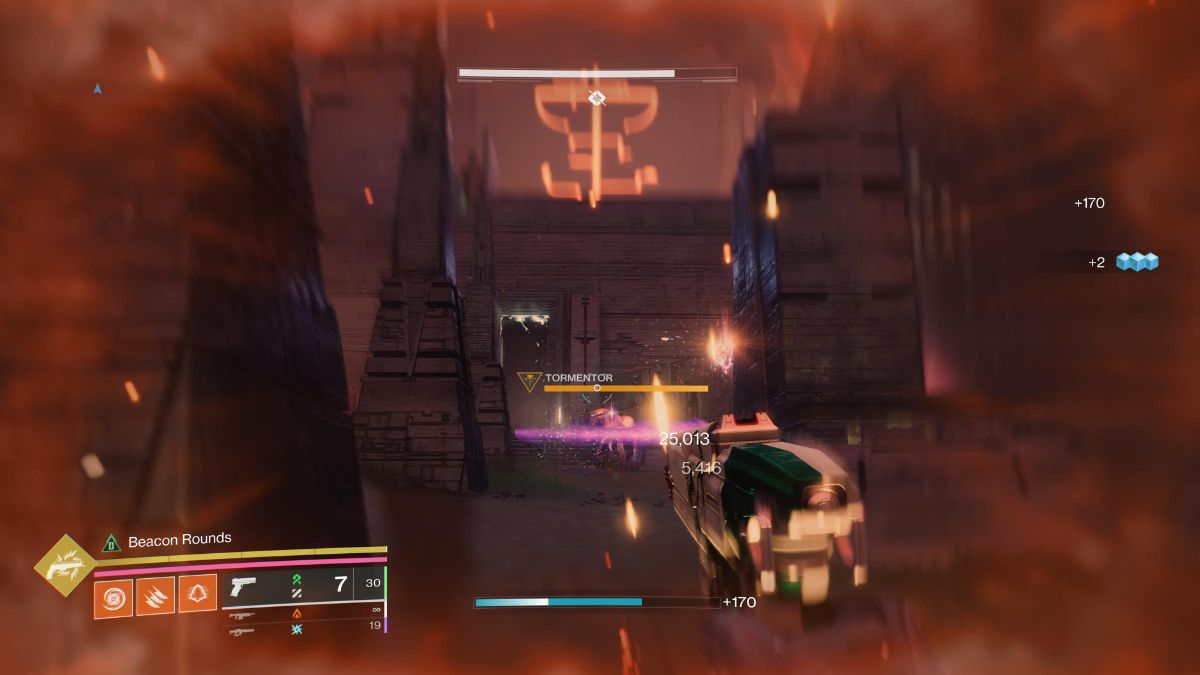
After launching the mission, follow the objective marker until enemies begin spawning in. Believe it or not, this is the easiest part of the mission, but dfon’t be afraid to throw everything you have at it. Once you’ve defeated enough enemies, a Tormentor will hop into the action. Kill it, and you can progress.
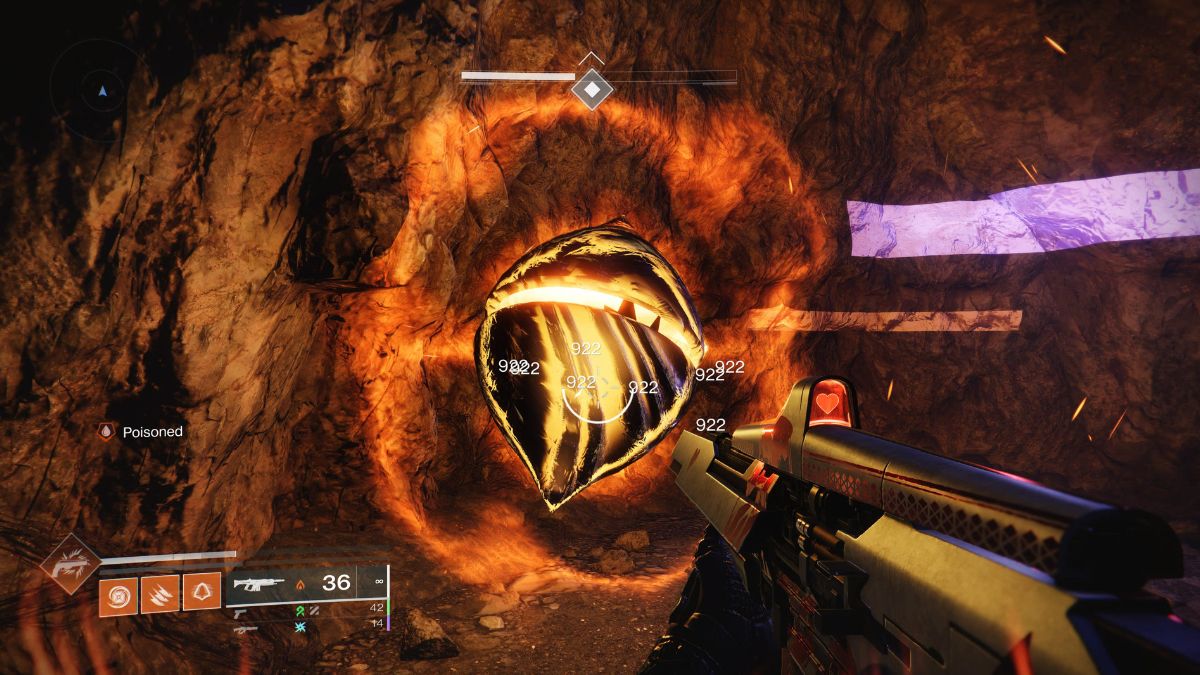
Keep moving on and follow the objective markers to the ritual site. There’s a Prismatic Chest to open on the way, but soon, you’ll come across an area where the influence of The Witness starts to damage you. To combat this, you’ve got to shoot the floating red orbs from within their radius until they explode and give you the Shielded from Darkness buff.
Keep pushing forward; eventually, you’ll find a mirror into darkness. Head inside and see what The Witness wants to show you. When you emerge, be ready for a challenging fight.
Step 2: Defeat Eshkin’Tuk Witness’s Blessed
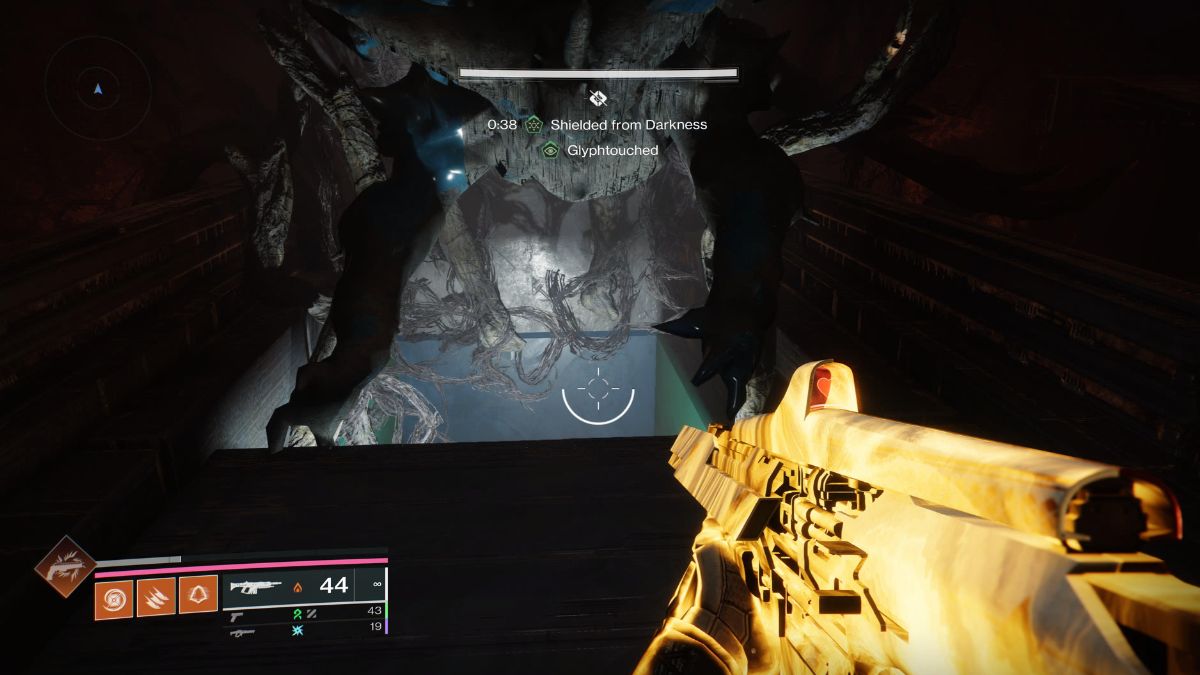
the room you find yourself in will quickly fill up with enemies. Some of them will be Bound, so don’t be afraid to pop your Prismatic Energy and destroy them quickly. After you’ve killed quite a few foes, you’ll need to shoot two objects. The first is one of those darkness locks that give you the Glyphtouched status, and the second is a red orb from earlier in the mission that grants you the Shielded from Darkness status.
After shooting the red orb, drop down behind it to the floor below through the gap in the floor, just like the one in the screenshot above. On this floor below the main room, you need to kill two large enemies and check what Glyphs they drop. Once you’ve got your Glyphs, use the portal to return to the floor above and then jump into the Glyphs you saw where they appear on platforms in each corner of the room.
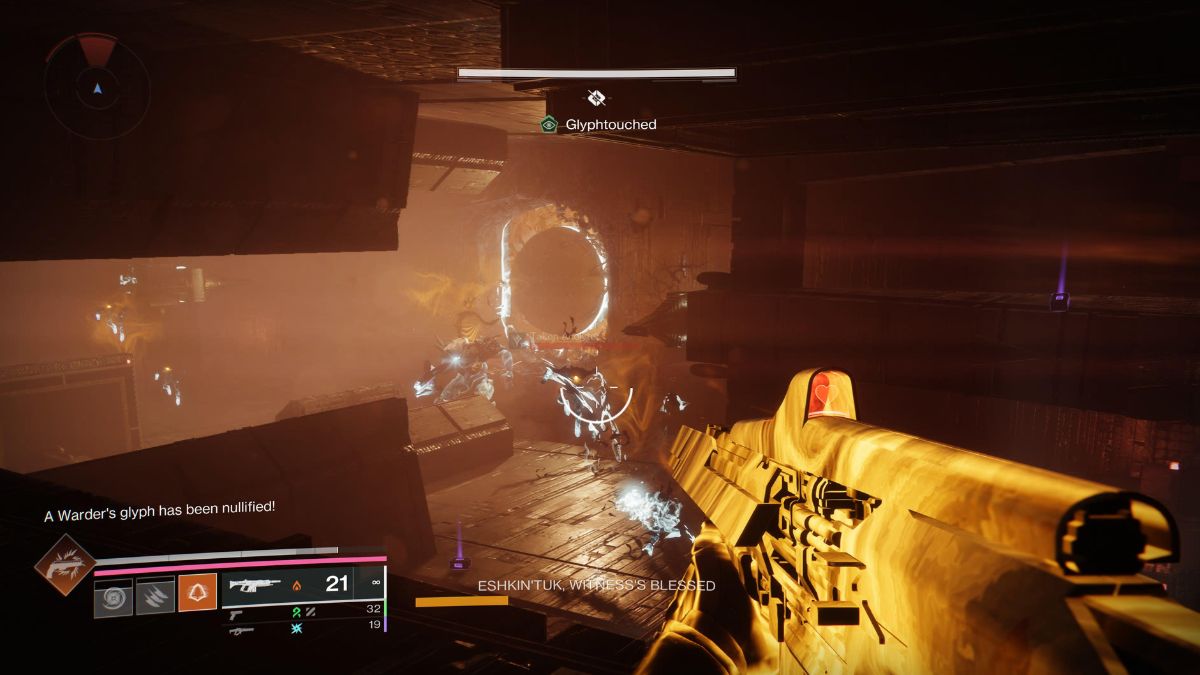
If you get this right, you’ll spawn in Eshkin’Tuk Witness’s Blessed, a pretty powerful mini-boss. Defeat it and everything else in the room, and you’ll have completed this encounter. The only way is forward through the Darkness mirror once more, so get ready for a few more revelations.
Step 3: Continue forward and defeat Dolgith, Blade of Reasoning
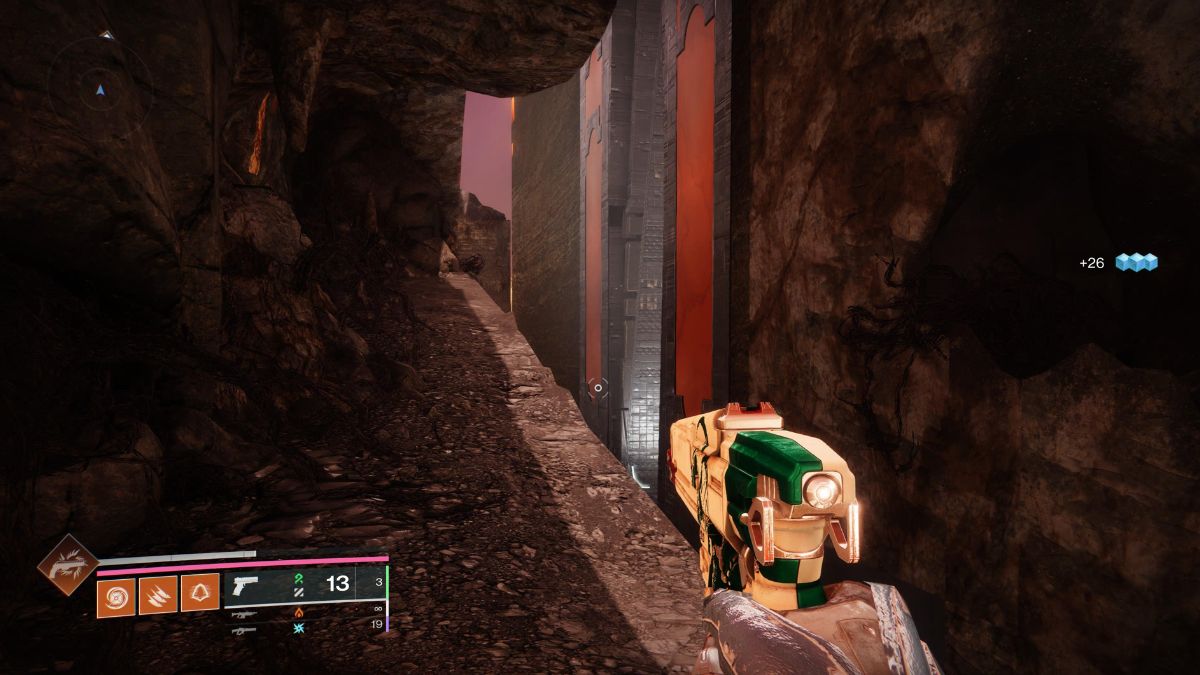
The first chunk of this step is mostly exploring darkness and platforming around The Pale Heart. A few enemies are dotted around, but this is mostly a break from combat before you get into one of the most intense fights of the entire campaign.
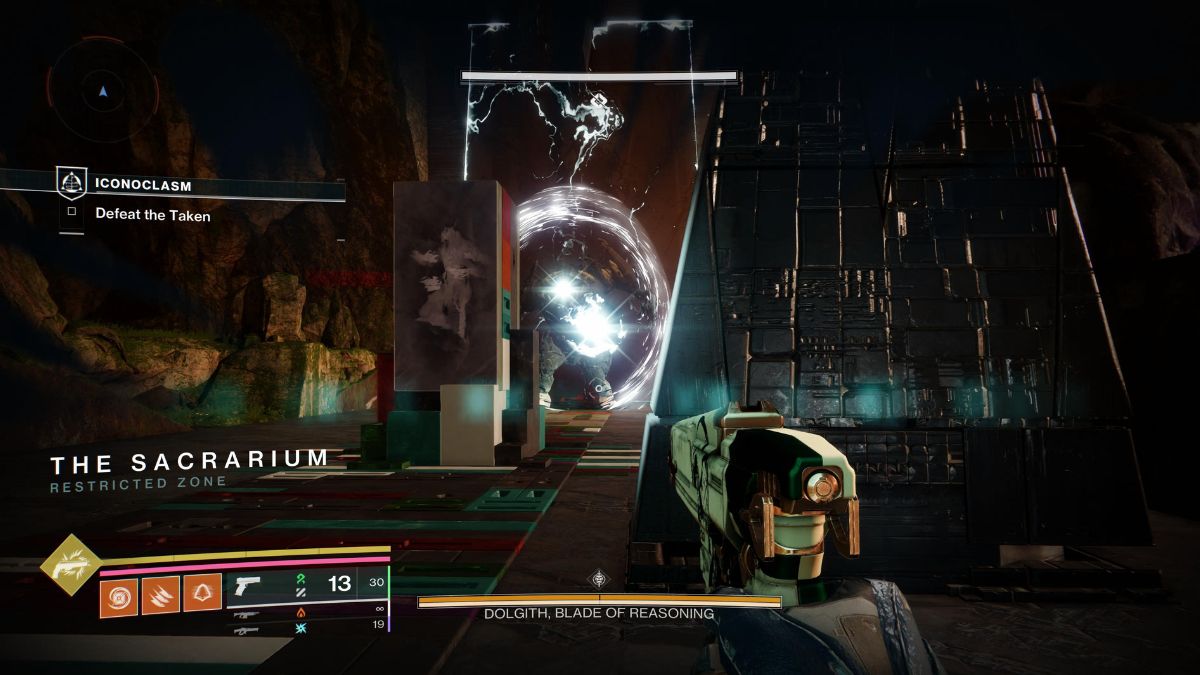
When you reach the large open arena, Dolgith, Blade of Reasoning, is going to spawn in. This colossal Taken Ogre isn’t messing around, and neither are the enemies around the arena. Jump up and away from Dolgith right away and clear out all the enemies, as well as the Taken Blights around the area.
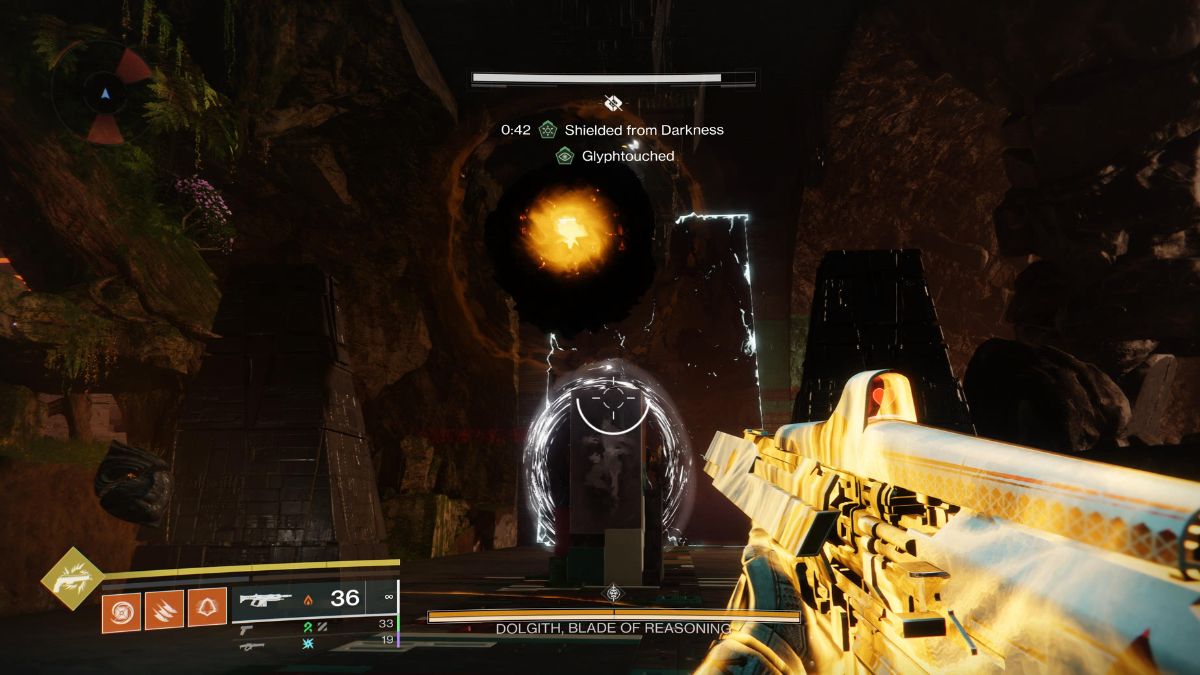
Once all the Taken Blights are down, shoot the darkness lock and red orb to become Glyphtouched and Shielded from Darkness. Then, hop into the orange portal that should have appeared in the center of the arena. This will take you to a new area underneath the floor.
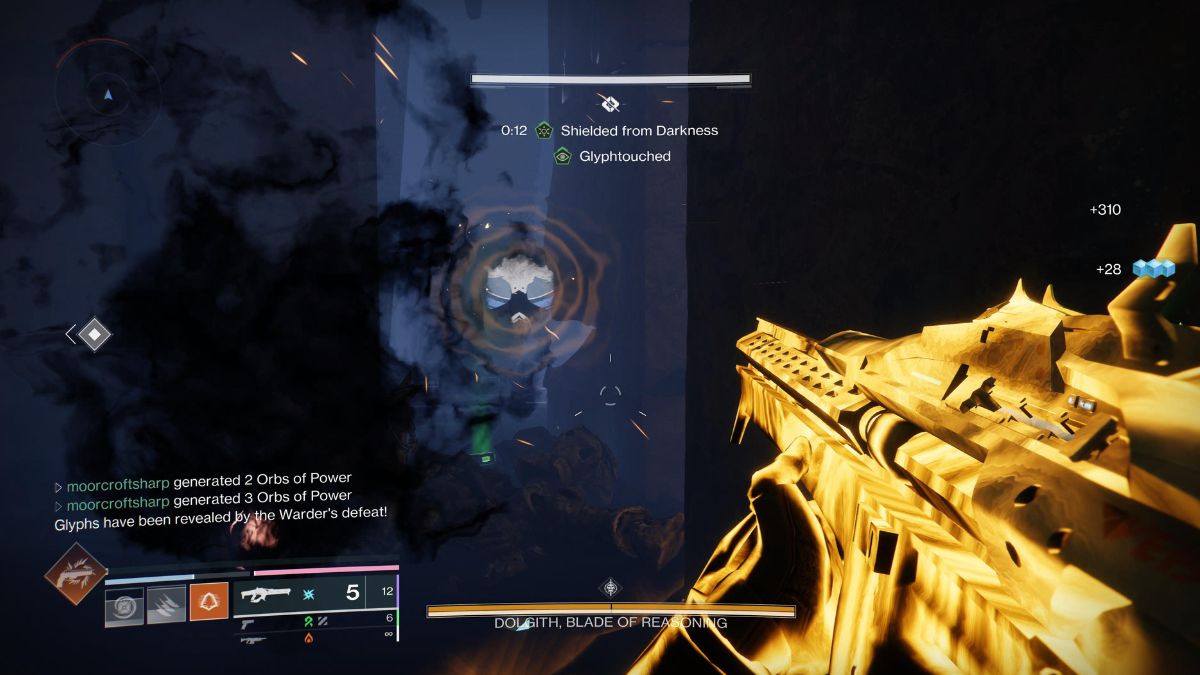
The new area is dark and spooky and packed with Taken enemies. Move cautiously around, killing anything that comes your way. There are two massive Taken Knights, one on each side of the floor, and you’ve got to kill each one to get them to drop Glyphs. Note that you must also keep shooting the red orbs now and then to retain your Shielded from Darkness status and avoid a grizzly death from exposure.
These Taken Knights are tricky. At first, they’ll disappear when you shoot them. Then, when you see them again, they’ll rush you. Stand your ground and shoot them until they’re dead. Then, move on, find the second one, and ensure you memorize the Glyphs they drop.
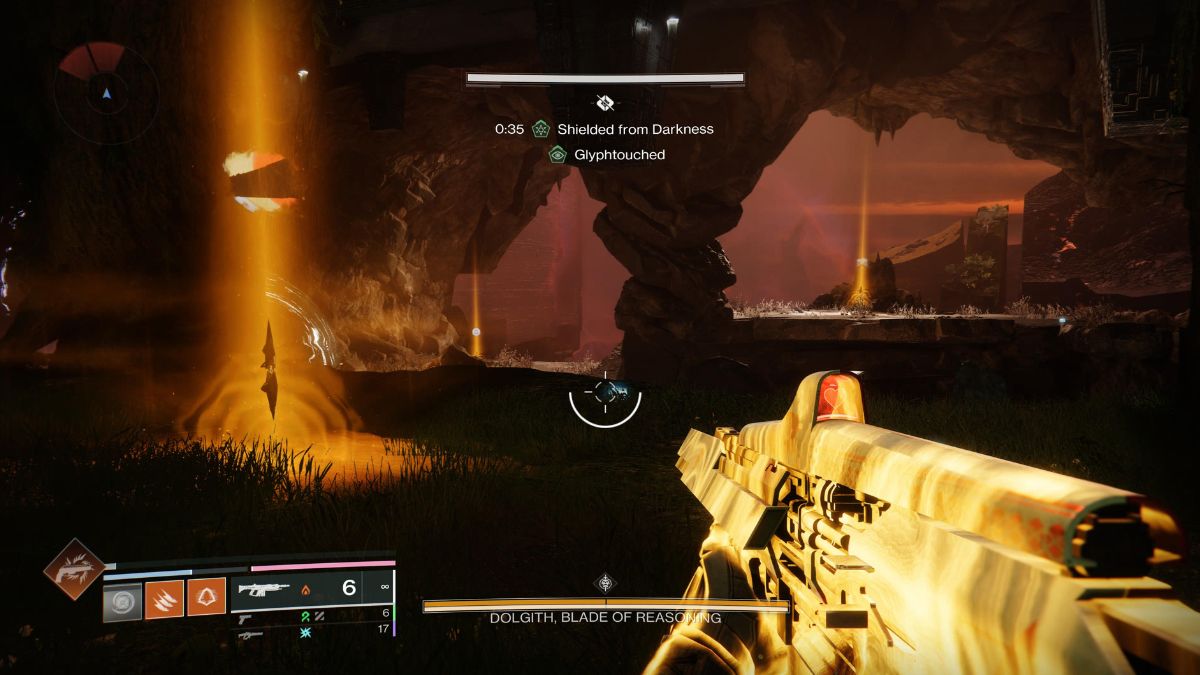
Once you know what both Glyphs are, return to the surface through another orange portal, and you’ll see Glyph around the arena. you need to activate the Glyphs you saw when you killed the Taken Hive, so jump around and activate only those Glyphs to summon a Relic.
Pick up the Relic and wait for it to charge up. Once it has, fie a shot at Dolgith to remove its shield. This will allow you to shoot it and take out half of its health before its shield returns. Never stay on the same level as this Taken Ogre mini-boss because it will annihilate you. Maintain distance, use your Super, and stay alive.
The second phase of this fight is the same as the first, but it feels a lot more intense. Stay calm, take out. the Taken Blights, then the Taken Hive Below, hit the Glyphs, and finish off Dolgith. Once you know the pattern, it’s not difficult at all. Just don’t go too fast, or you’ll die and will need to repeat the entire process again.
Step 4: Defeat The Witness
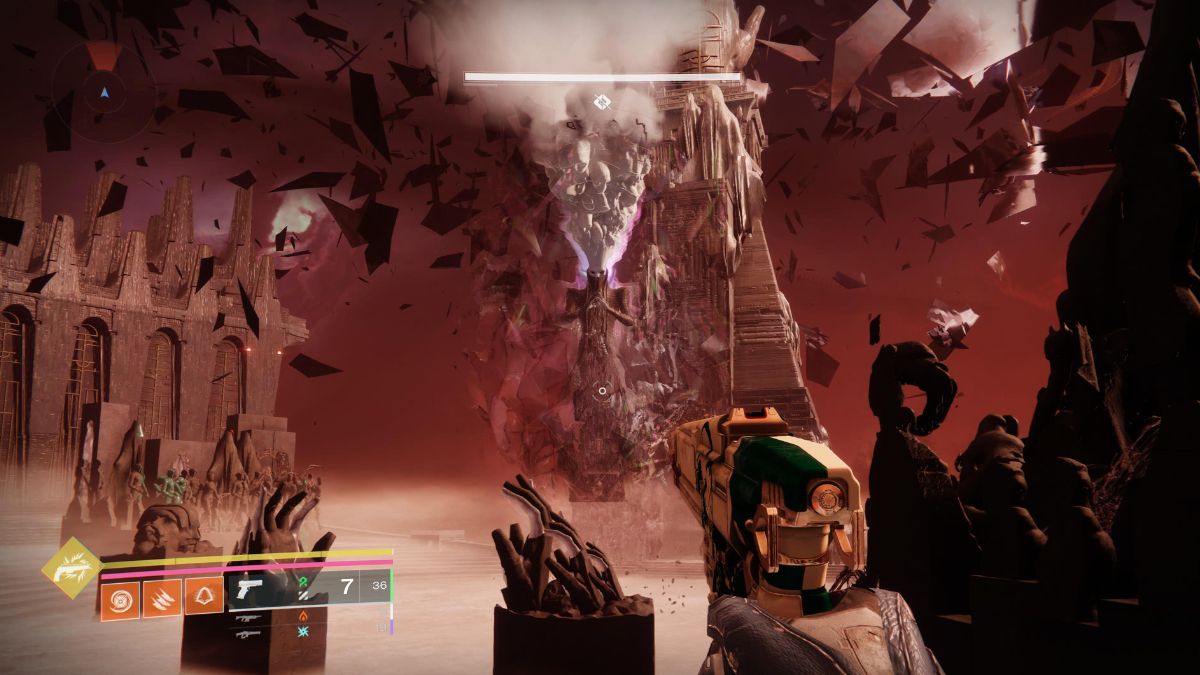
Push through the next few rooms, and you’ll reach the final platform, which is your encounter with The Witness. This isn’t a traditional boss fight by any means. Instead, The Witness will summon other enemies to badger you that you’ll need to kill while it darts around the area and occasionally shoots shards at you.
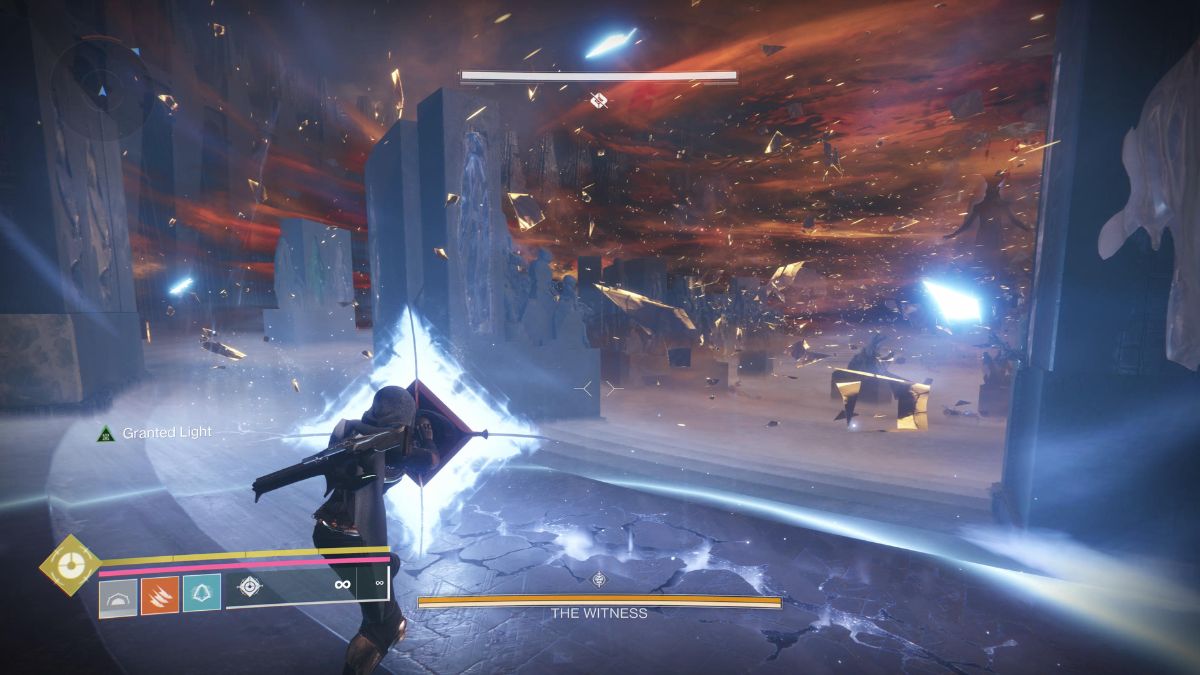
Get some cover between you and The Witness so you don’t end up dying to one of its shots. When the large yellow health bar enemy with a shield spawns, run to one side of the area. You need to go behind the bars and pick up the Relic there. Use it to take out the enemy’s shield and kill it.
Keep that Relic close, though, because The Witness will spawn a storm that will kill you. To avoid it, pick up the Relic and get to the crack of Light energy on the floor. Use the Relic’s shield power over the crack to stay alive and endure through the attack.
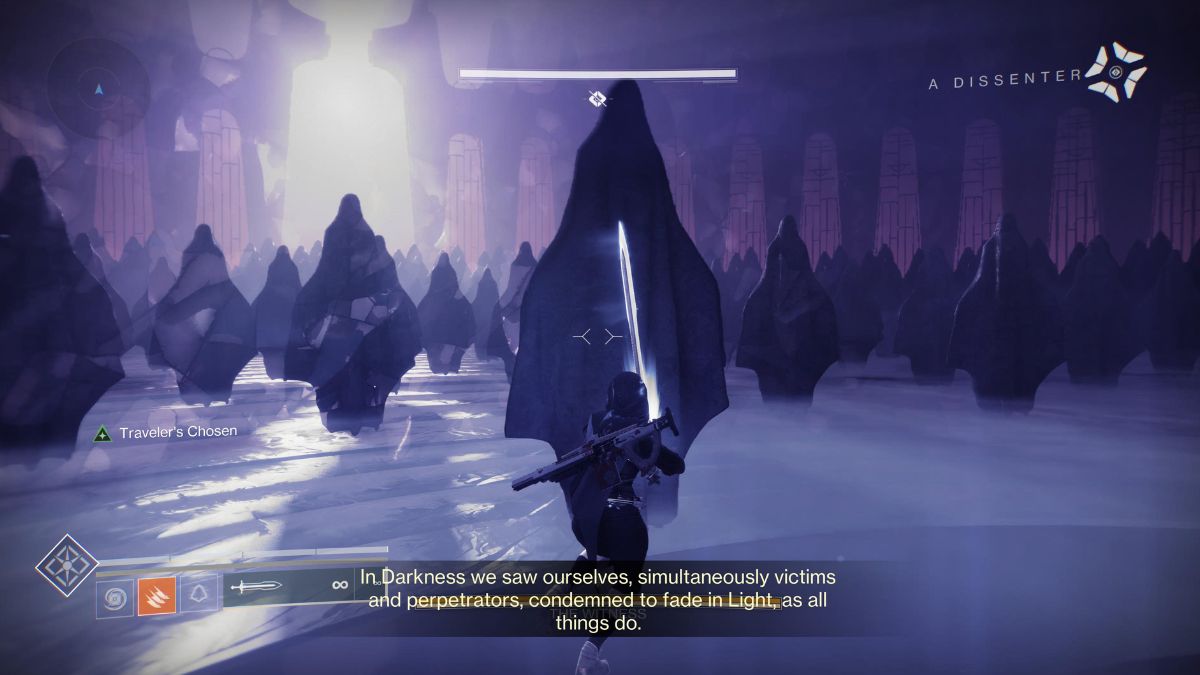
Following that storm, a sword will appear. Pick it up, run to the center of the arena, and attack the Darkness lock. This will transport you to a new area with veiled statues. Listen to what they have to say, then destroy one of them.
You’ve now got to repeat this process two more times. Yes, it does get a bit more intense the second time with even more enemies, but on the third try, you’ll have the Vanguard helping you kill anything that moves.
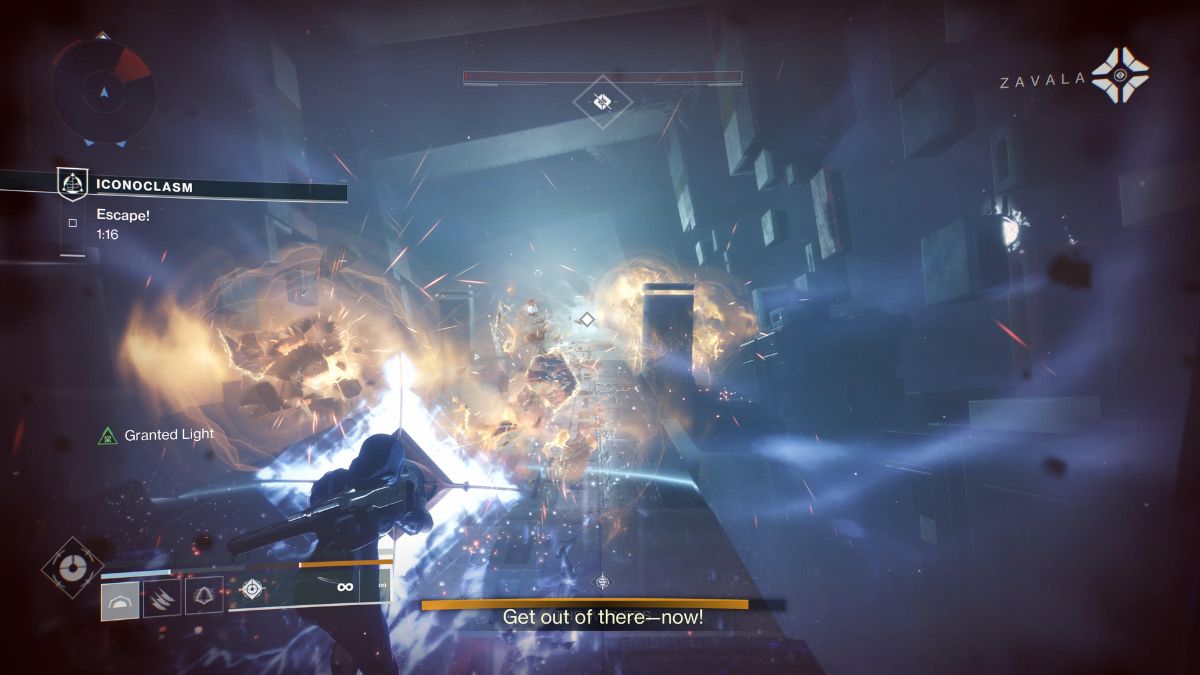
After the last statue is down, you’ll find yourself in a corridor with almost no health. You need to fight your way forward by picking up the Relic and using its shield to protect you from enemies. Don’t worry about losing energy because the Traveler will break through and recharge you at key points as you walk.
After reaching the end of the corridor, the mission is over. It’s not a total victory, but it does show you that The Witness can be injured. This leads to Salvation’s Edge and Excision after that.


Published: Jun 16, 2024 04:17 pm