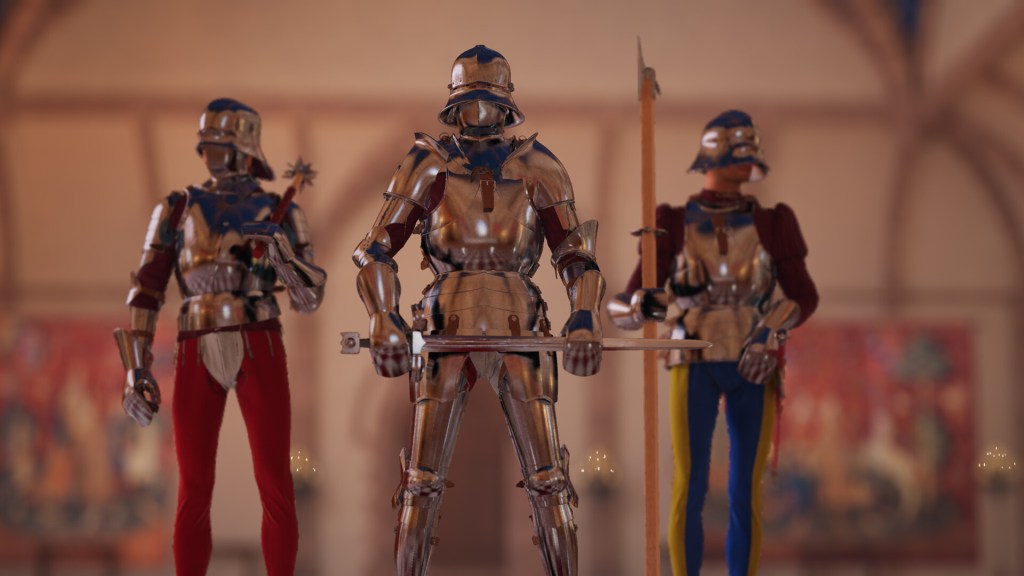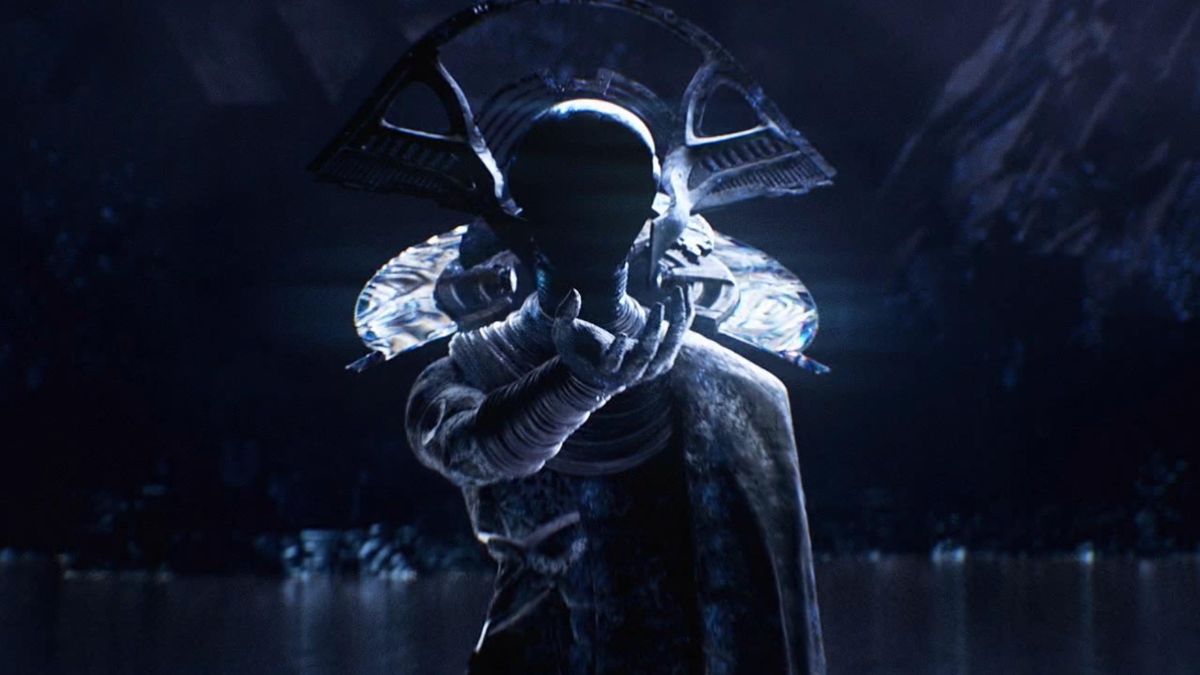
A Rising Chorus: Act II is the second major part of the story for Destiny 2 Episode Echoes. Now that we’re done with A Rising Chorus: Act I, we’re introduced to the force that’s been controlling the Vex from the shadows for the entire story arc so far: The Conductor.
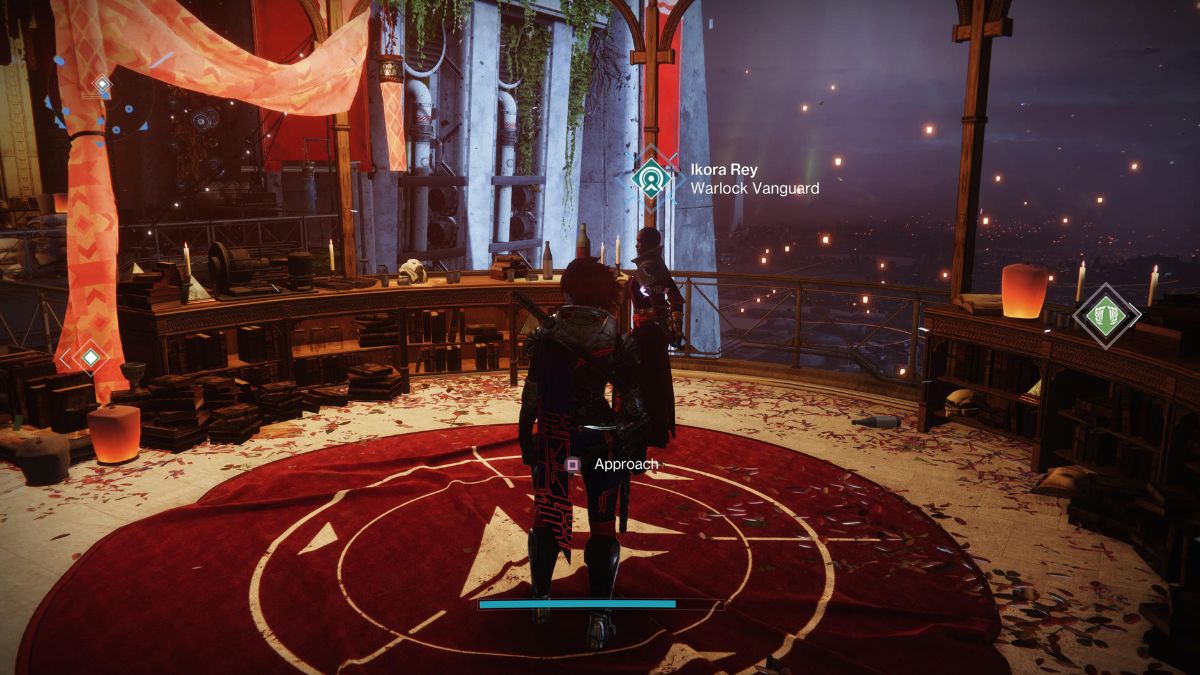
Provided you’ve completed A Rising Chorus: Act I, you should automatically receive A Rising Chorus: Act II as a quest in your Quest tab. The first part of this quest requires you to visit Ikora Rey in the Tower, where you’ll be treated to an introductory cutscene that sets the stage for the next few weeks of the story for Destiny 2 Episode Echoes. This still feels jarring to me because we’ve gone from rescuing Saint-14 to simply knowing The Conductor exists without much in between. Regardless, the cutscene is pretty great, so enjoy it and then get into the quest proper.
How to complete A Rising Chorus: Act II in Destiny 2
Below, I’ve outlined how to complete A Rising Chorus: Act II in Destiny 2 in easy-to-follow steps. I’ll update this guide each week as new parts of the quest are added to the game. I’ve included initial details of where each week ended to help you keep track. Note that Episode Echoes is the last time that the main story quest will be time-gated in this way. From the second Episode, we’ll have every stage unlocked as soon as the content has been released.
Step 1: Complete Echoes activities to upgrade Failsafe
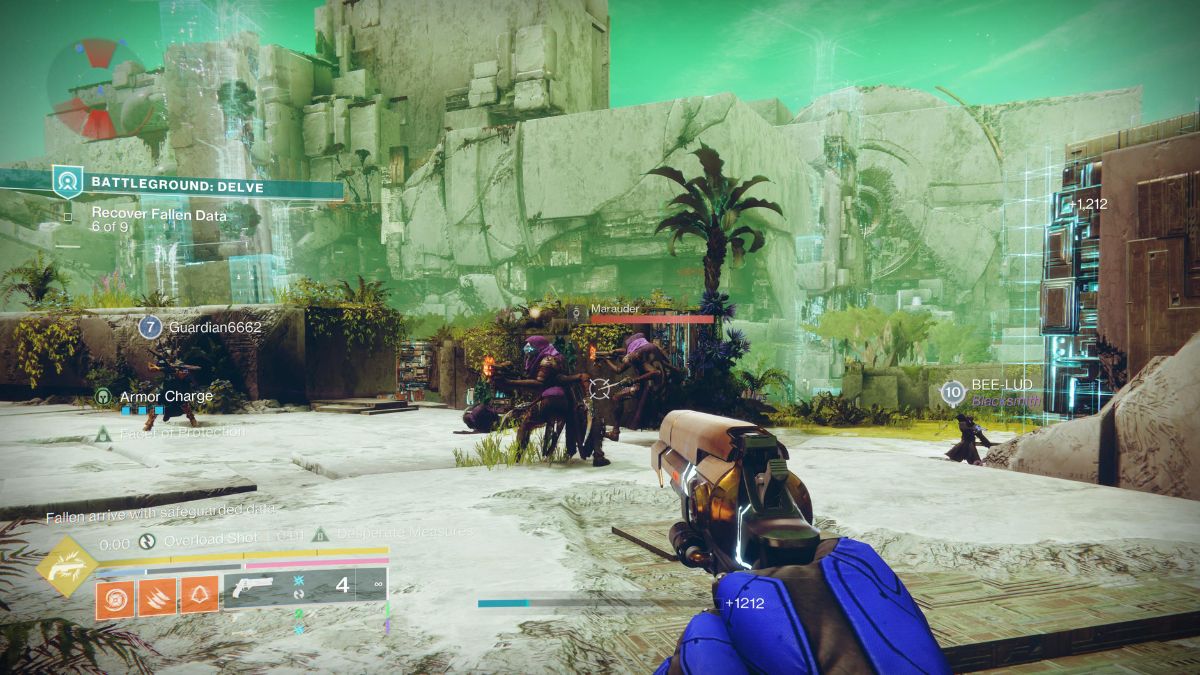
The first few parts of A Rising Chorus: Act II are all about upgrading Failsafe. Initially, this quest is just a good excuse to try out the new Battleground: Delve activity. It’s a pretty simple run through a section of Nessus with a boss at the end. However, it’ll introduce you to a new way to collect Radiolite Samples. There are several different types of samples to collect in every Echoes activity, and it’s worth upgrading your Ghost so it can detect them to ensure you don’t miss any. I have a feeling this will link into some seasonal challenges at some point.
The next part of the quest tasks you with collecting Radiolite Samples, which I managed to do in a single run of Breach Executable. Don’t stress out about this because it’s incredibly easy. In the next few stages, you will return to Failsafe to upgrade them and pick up a new Tuned Radiolite Sampler.
This will help you hold more samples and claim bigger and better rewards at the end of each Echoes activity. While upgrading Failsafe, you’ll also be given the Specimen ID: NES004 quest. You can complete this in your own time, but it’s worth doing it sooner rather than later because it’ll block progress if you haven’t finished it. Note that this is where week 1 of A Rising Chorus: Act II ended and week 2 began.
Step 2: Collect more Radiolite Samples and deploy the Nanobots

After you’ve completed the Battleground: Conduit activity to unlock it in the H.E.L.M., it’s time to start collecting Radiolite Samples for Failsafe. These are super easy to get, especially if you’ve Masterworked your Ghost and leaned into resource collecting Mods. After a single Breach Executable, which is the easiest activity to get Radiolite Samples from, you’ll need to report back to Failsafe.
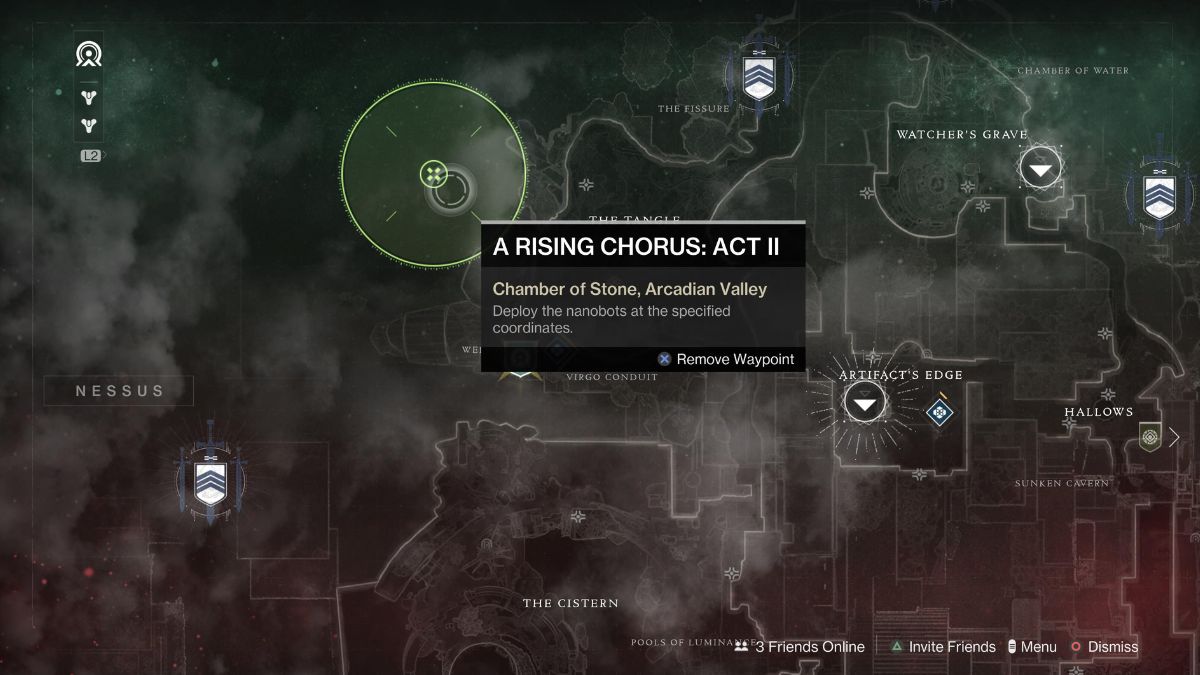
After a quick chat with the AI, you’ll have a new task: locate a specimen by deploying Nanobots. Head to Nessus and follow the green map icon to your first destination. I recommend also adding a waypoint. This leads you to a cave filled with Vex.
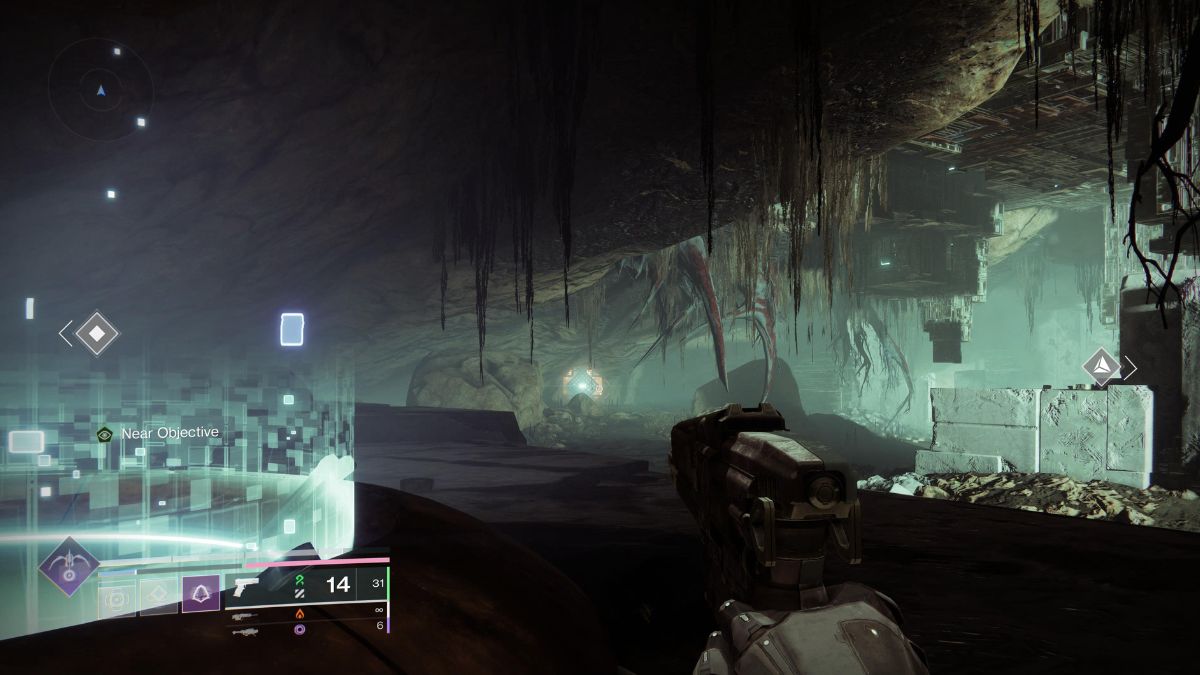
Defeat all the enemies first, then interact with the holograms to place beacons through which the Nanobots will be deployed. After you’ve done the first four, the waypoint will point you to the teleporter, but you need to deploy the fifth first. Stand next to the teleporter and look into the cave. You should be able to see the only hologram that gave me trouble at this point during the quest.
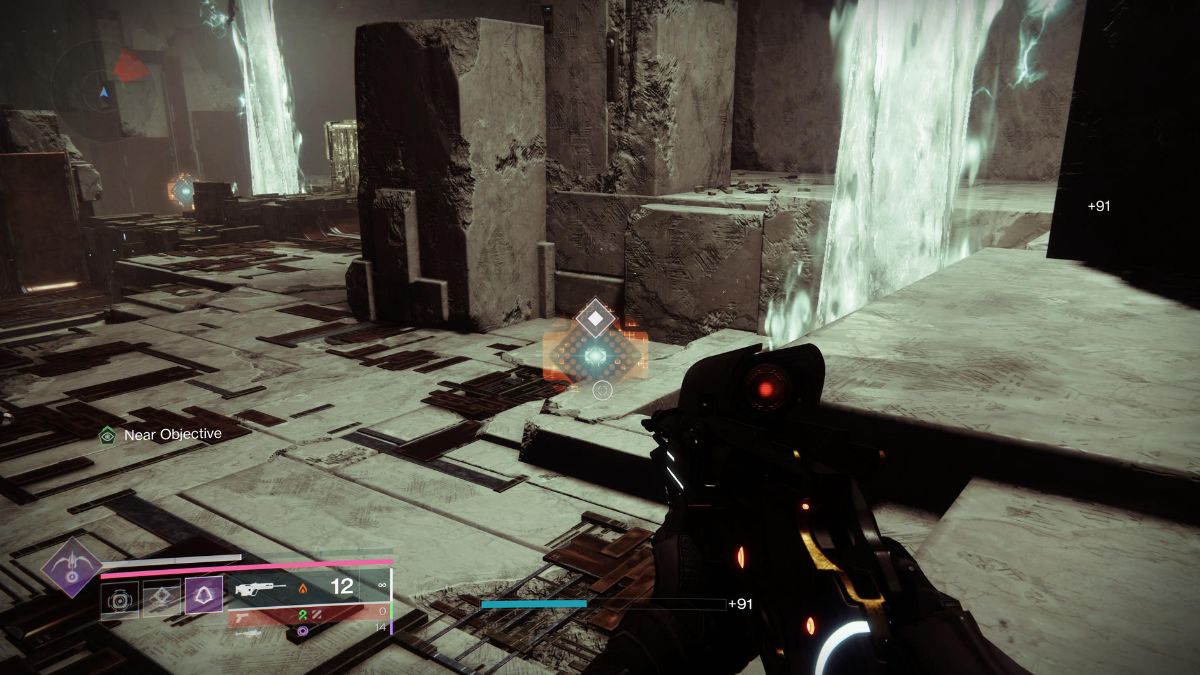
Once you’ve interacted with every hologram, you need to move to the second waypoint on the map on Nessus and deploy the Nanobots. Follow the waypoint as before until you enter another cave. This one is also a Lost Sector, so you need to clear out every enemy. There’s one hologram on the right-hand side of the room and two on the left-hand side.
Step 3: Battleground: Core and sample location

After deploying Nanobots to analyze what The Conductor is doing with the Radiolite, you’ll need to complete another new activity. Battleground: Core is initially highlighted on the Nessus map and will be a repeatable activity. It’s pretty fun and has a boss that I think is one of the best this Episode has offered Destiny 2 players.
After completing the activity, Failsafe is going to send you out in search of a specimen. You’ve got to go to Nessus and follow the icon for the A Rising Chorus: Act II quest. I thought this was going to be another lengthy mission within a quest, but it’s not.
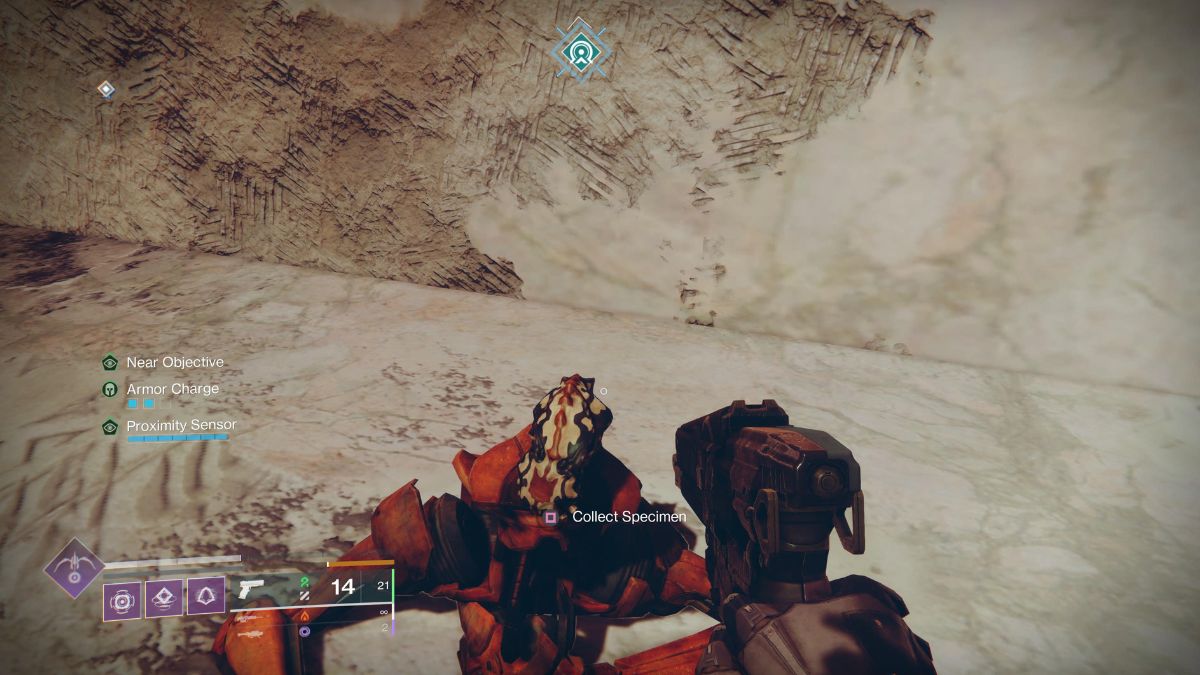
Follow the waypoint and scan the hologram you find there. At first, you won’t be able to pinpoint what Failsafe is looking for, but after heading to a second location, you’ll find a primordial frog that’s evolved alongside the Vex. That’s your new specimen.
When you return to the H.E.L.M. and present this frog to Failsafe, it’ll give you the Specimen ID: NES005 quest. This should keep you busy over the week or so between story beats if you’ve been playing this quest as it drops in Destiny 2.
The final stage in this step of the quest is to speak to Ikora Rey back at The Tower. She has a pretty chilling revelation for you, and it’s one I won’t spoil here. Her speech confirmed a few things I’ve been wondering since the launch of Destiny 2‘s Warmind expansion, and now it calls into question quite a few things that could change in the game’s future.
Note that this is where week 2 of A Rising Chorus: Act II ends.
Step 4: Explore the sunken cavern

The third main section of A Rising Chorus: Act II in Destiny 2 is probably the best for the story. It all kicks off with chatting with Failsafe and heading to Nessus to find a sunken cavern. This is one of the most eye-catching areas on the planet, and it genuinely took me off-guard when I first saw it.
There’s nothing much special to do here. Follow the quest waypoint to the sunken cavern and wait for the next part of the quest to trigger. You’ll see a notification to head back to the H.E.L.M., and that’s where things get interesting.
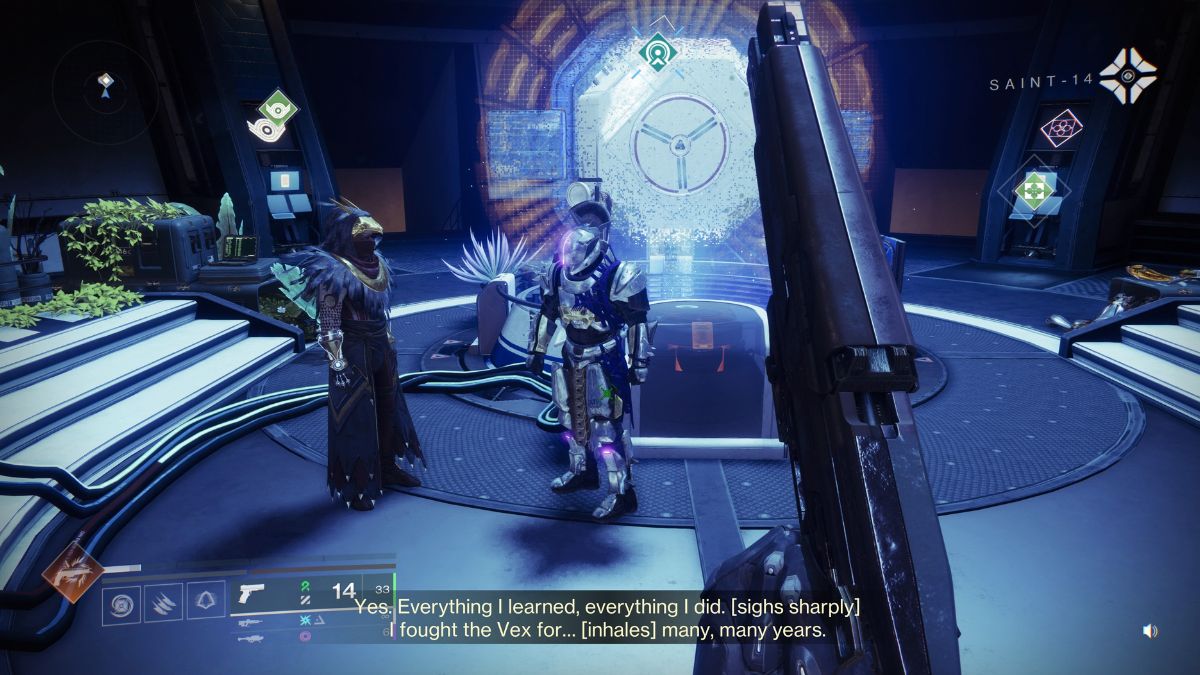
Osiris, Failsafe, and Saint-14 will all have a big chat about what comes next, and Osiris isn’t a fan. The plan is for Saint-14, this version of him, to connect with the dead version of himself, who has all the memories he doesn’t. Essentially, this would create the ultimate Saint-14 with all memories who can pinpoint the exact location of The Conductor.
Step 5: Complete Mission: Shell
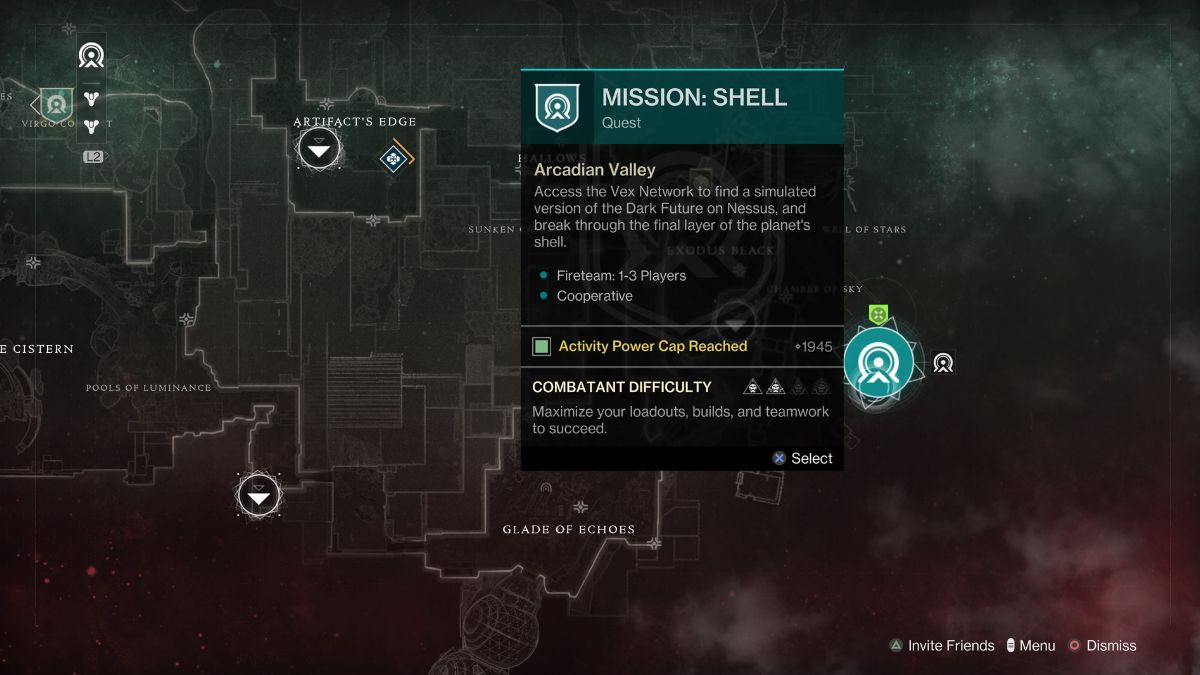
This next step in A Rising Chorus: Act II requires you to complete the mission, Shell. I can’t stress enough how difficult this mission is, but the payoff is worth it. While playing, I had to stop my treadmill multiple times to concentrate on the final boss, so do yourself a favor and give it your full attention while you play.
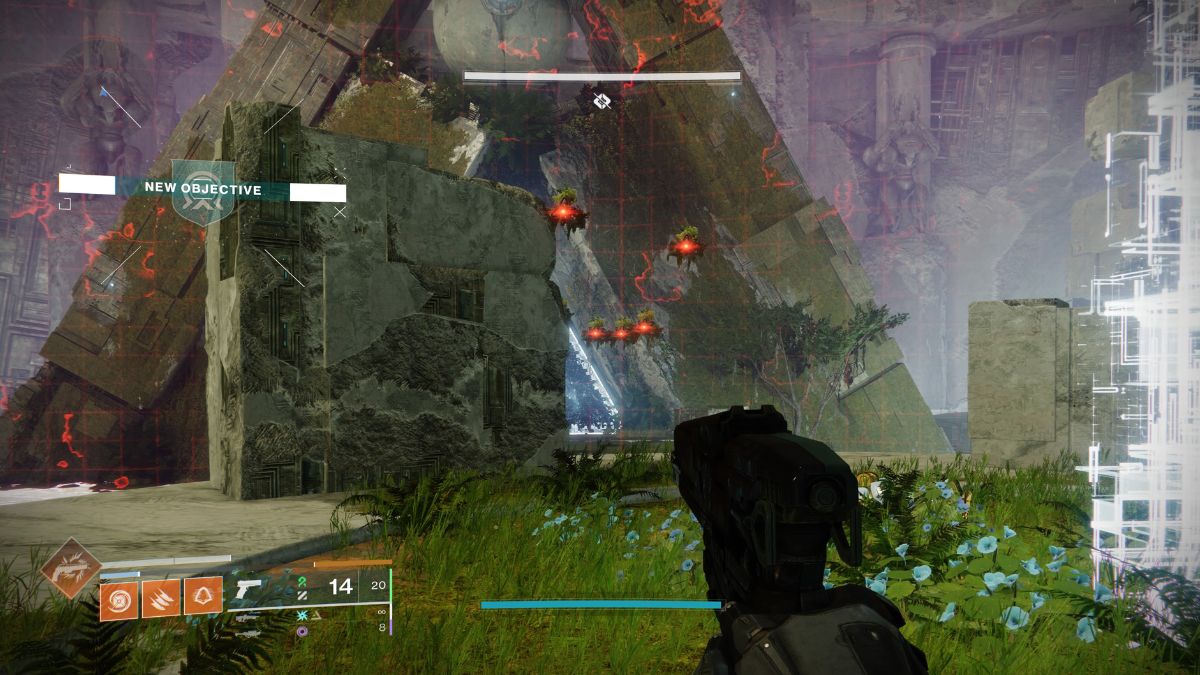
Right from the word go, this mission is about as stressful as solo experiences in Destiny 2 get. Harpies will spawn around the platform and start shooting you. Destroy as many of them as you can as quickly as you can because more enemies are coming.
When the pillars spawn, hide behind them because there’s a Hydra and two Hobgoblins near the portal. Take out the Hobgoblins first while taking potshots at the Hydra. After a couple of minutes, the Hydra and anything that’s still functional will move to the left of the arena, shooting you and likely killing you as they go.
The only way I managed to get through this encounter was by shooting as many Harpies as I could before the other enemies spawned. Then, I focused on killing both Hobgoblins and firing at the Hydra, but also killing more Harpies if they were in my sights. As the Hydra moved, I managed to defeat it, but the Harpies would still cause trouble.
Vex Fanatics will come through the portal at this point, so shoot one and cause them all to explode. Then, you’ll have two powerful Vex enemies to deal with as the final part of the fight. I used my Super to finish one off and damage the other. Then, I used whatever I had, probably The Call, to destroy that last enemy and finish the encounter.
The next section of this mission is a long interactive cutscene. You watch Osiris and Saint-14 interact with the dead Saint-14 and learn about the implications of that. The knowledge gained allows Failsafe to pull The Conductor into a specific location, but the AI has also pulled some Vex through with it, which isn’t great for you.
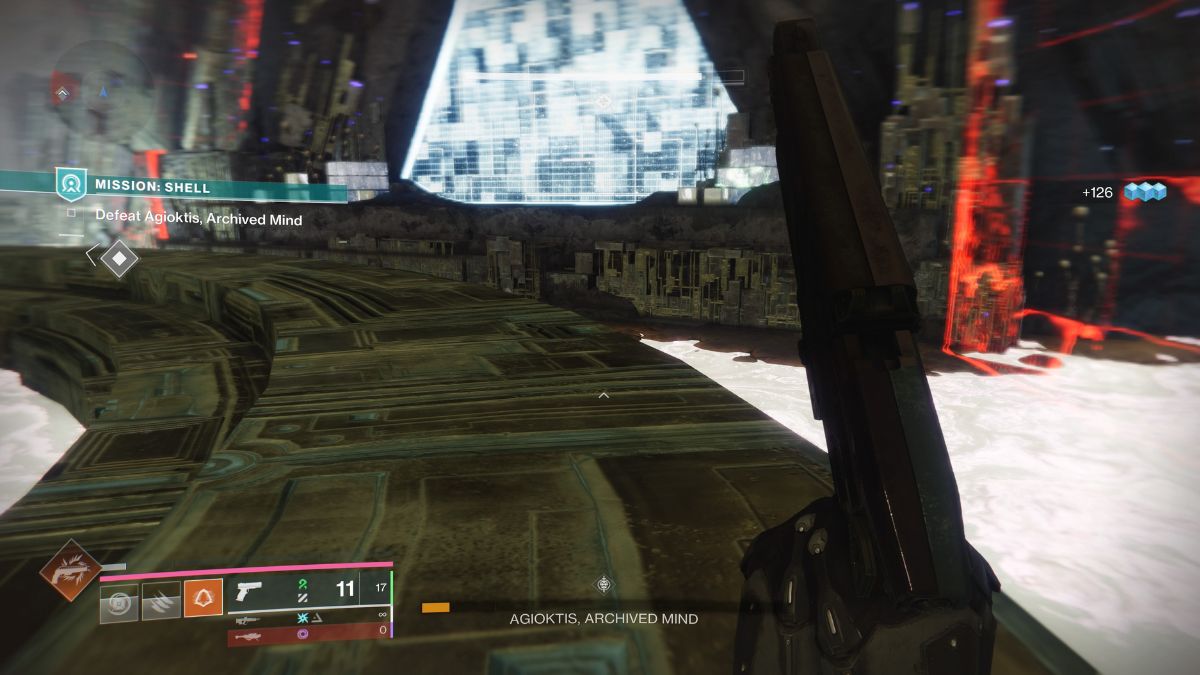
Failsafe has forced a boss, Agioktis, Archived Mind, to your doorstep. This enemy isn’t hard to put down, but the encounter itself is ridiculous. At first, you’ll have a single arena to fight in, but Failsafe will quickly start generating islands you can hop onto that have some cover.
These islands phase in and out, so you’ll need to learn their timings and move between them while also being fired at by the boss and the many other Vex that spawn in. The general pattern for the fight is that you should always be dealing damage to the boss, throw a few grenades to damage the smaller Vex, but kill every Harpy you can see as they spawn in.

The Harpies will hunt you down, so they can kill you while you’re taking shots at the boss if you’re not careful. If you check on the health bar for the boss, you’ll see a small section on the left. Once you’ve caused that much damage, all the islands will disappear, and you’ll have no cover.
To survive this final part of the boss fight, run around the two semicircular rings in the arena. If you’re quick, you won’t take damage. Then, as you reach the top level between each ring, fire a few shots off at the boss, including your Super.
After two runs of this, I managed to kill the boss. But it took me five full attempts, getting to the final sliver of health each time, before I’d worked out the correct formula. Don’t do that. Read the method I’ve outlined here and save yourself a lot of time.

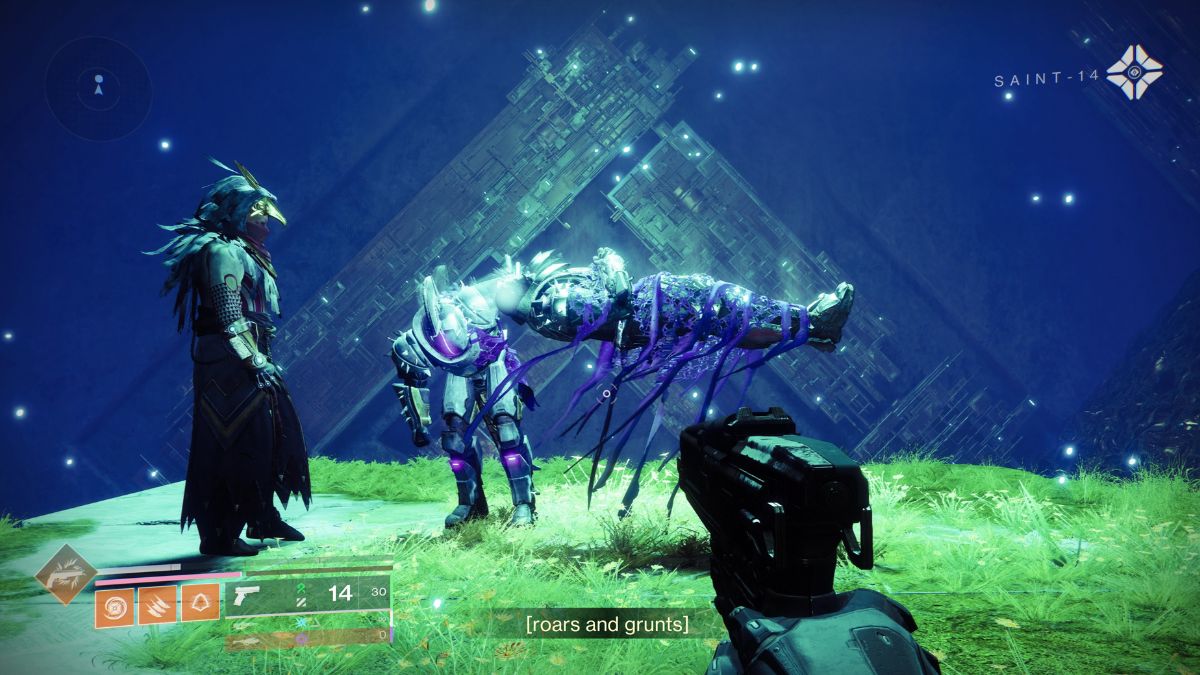
Once the boss has been defeated, follow the path ahead. The cutscene that plays has some huge story implications that reach all the way back to the first Destiny game. So, this is a real treat for fans who have been playing since the Alpha and Beta.
Watch the cutscene, head to the Tower to chat with Saint-14, and then you’re done. This marks the end of A Rising Chorus: Act II. Act III should start on August 27, 2024, so you have plenty of time to complete seasonal challenges and earn some pinnacle gear.