A Rising Chorus: Act I is into its third week, giving Destiny 2 players a few new steps in Episode Echoes to work through. As you’ve been doing for the last couple of weeks, your goal here is to continue your research with Failsafe.
To kick off A Rising Chorus: Act I Week 3, you need to head to the H.E.L.M. and speak with Failsafe. When I did this, the AI repeated what it had ended Week 2 with, so don’t be alarmed if you also hear the same thing. You’re not going mad; Bungie likely just wanted to remind us of where we left off. Your first step will begin after this conversation, so pick up a bunch of Bounties and get ready to drop onto Nessus once more.
How to complete A Rising Chorus: Act I (Week 3) in Destiny 2
Below, I’ve broken down A Rising Chorus: Act I (Week 3) into easy-to-follow steps so you can track where you are or where you need to go. Don’t forget to track the quest from your Director so you always have a waypoint to follow when picking your destinations.
Step 1: Locate sites from which to extract radiolaria samples
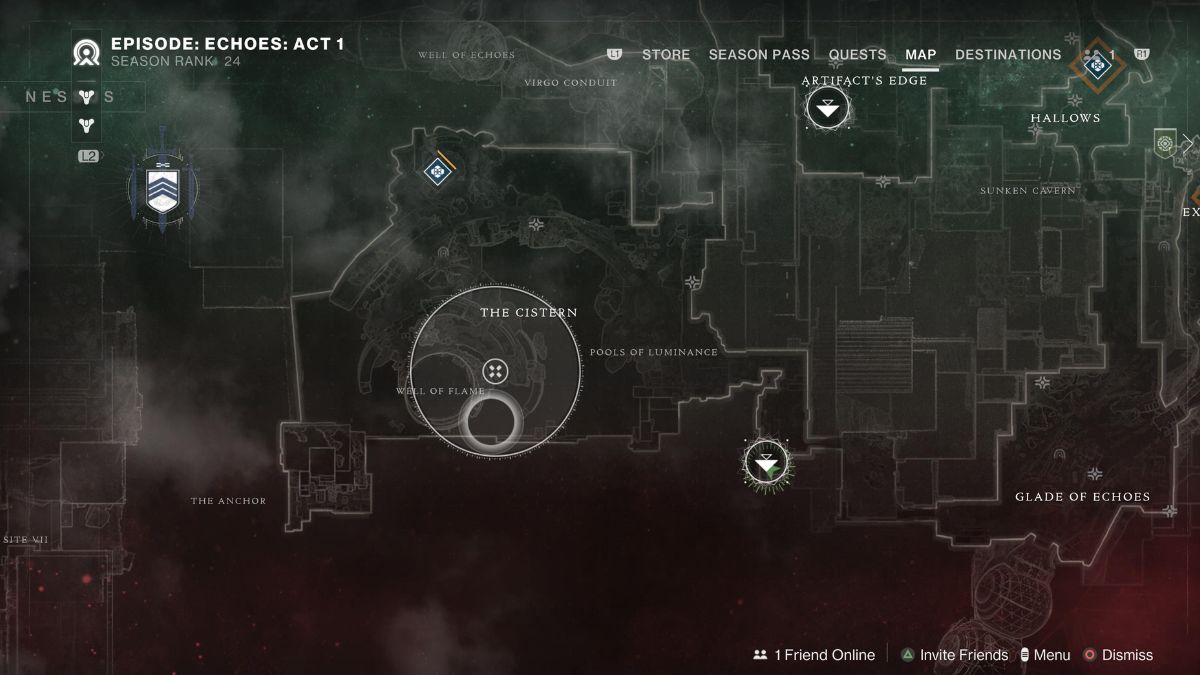
To locate sites from which to extract radiolaria samples, you need to open the Nessus map and look for the icon that shows you roughly where to go. Land at The Cistern and make your way over there to begin your search. When you arrive at the location, you should see a radiolaria sample, so pick that up.
Next, Failsafe will contact you and start beeping and bopping, which means it’s time to use its proximity meter to locate even more samples. There are five to collect, and you’ve just picked up the first one.
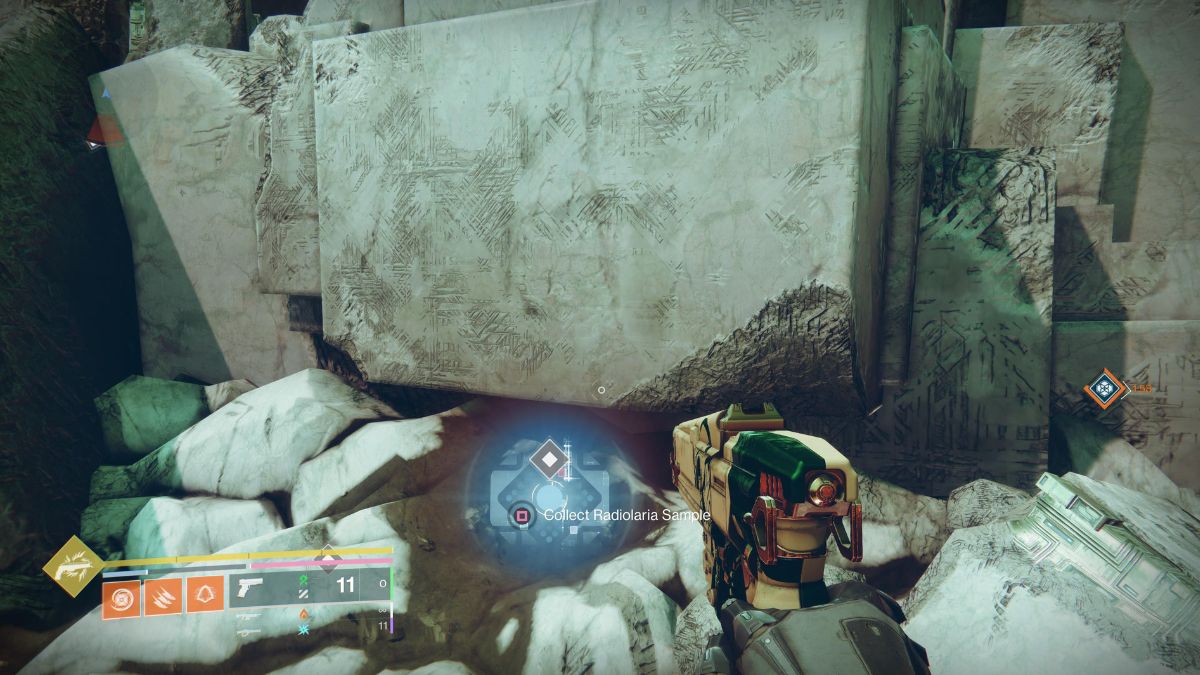
The second radiolaria sample is across the radiolaria river and up a few steps on the Well of Flame. If you can’t see it right away, climb up until you reach the stairs to the entrance and look left, the sample is there.
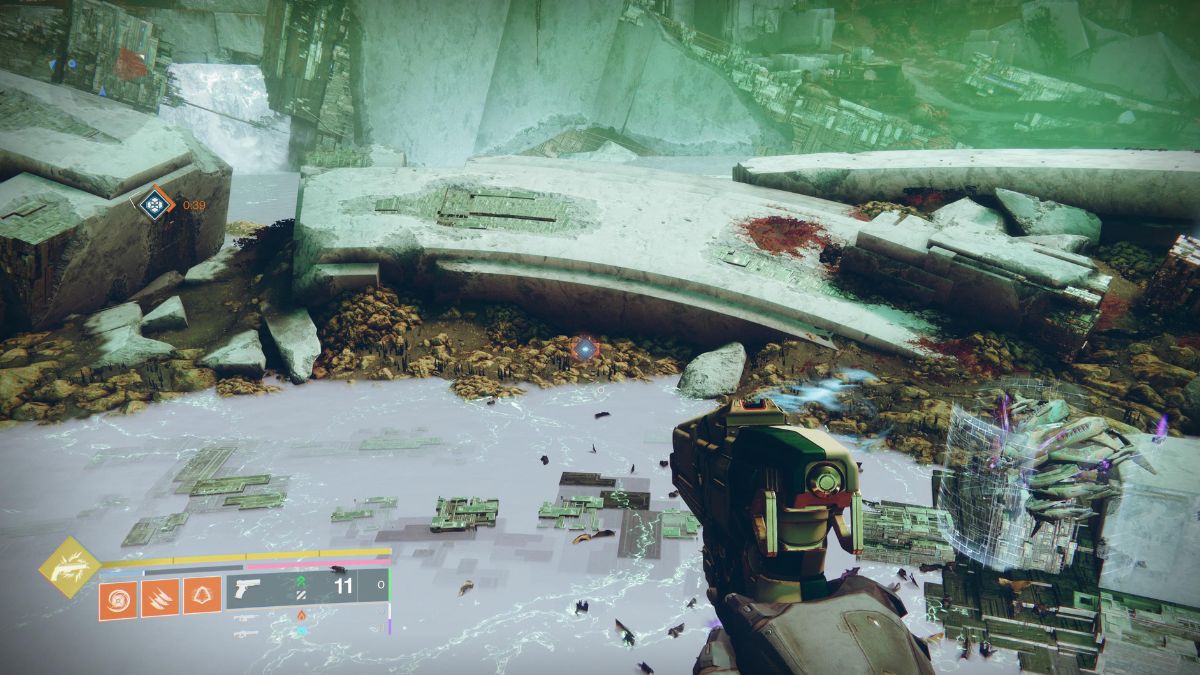
The third radiolaria sample is back across the radiolaria river from the Well of Flame. You could get this one second if you like, but I saw it from up on the Well of Flame and picked it up after.

The fourth radiolaria sample is across the radiolaria river again from the third. It’s lower down on the Well of Flame’s steps.

The fifth radiolaria sample is to the left of the Well of Flame’s lower level. As far as you can go before stepping into the radiolaria river.
Step 2: Locate the next site from which to collect radiolaria samples
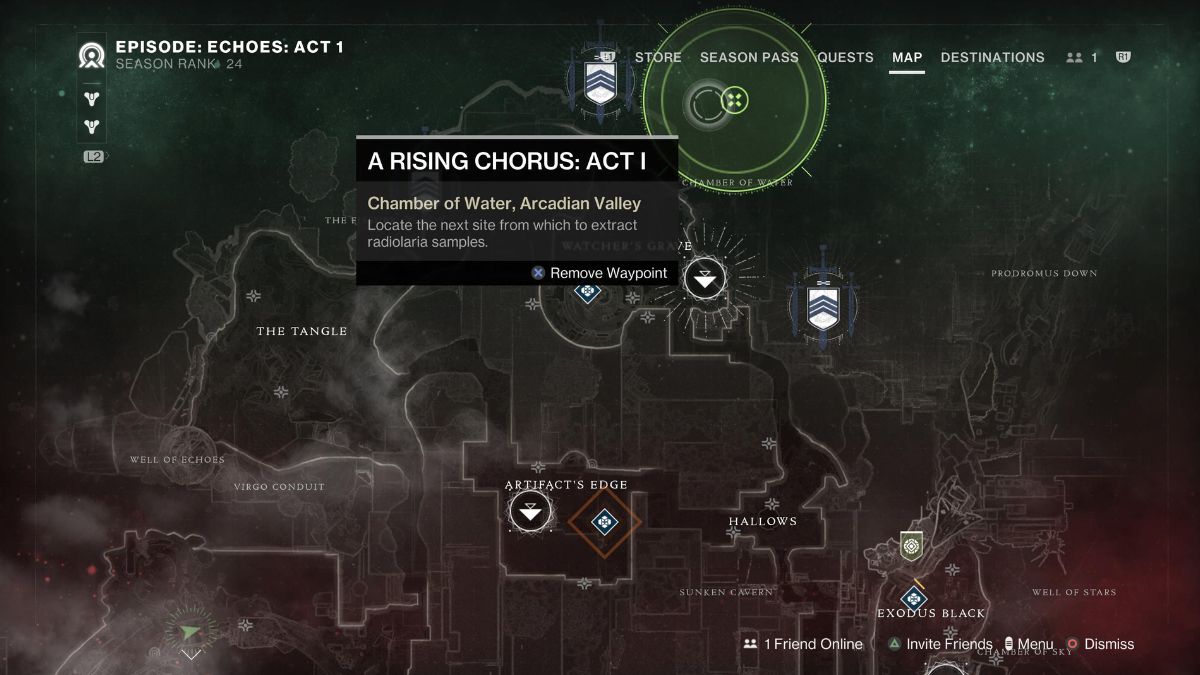
The next step is similar to the first. It sends you off up to the top of Nessus in Chamber of Water. Fast travel to Watcher’s Grave and make your way over there to collect another five samples.
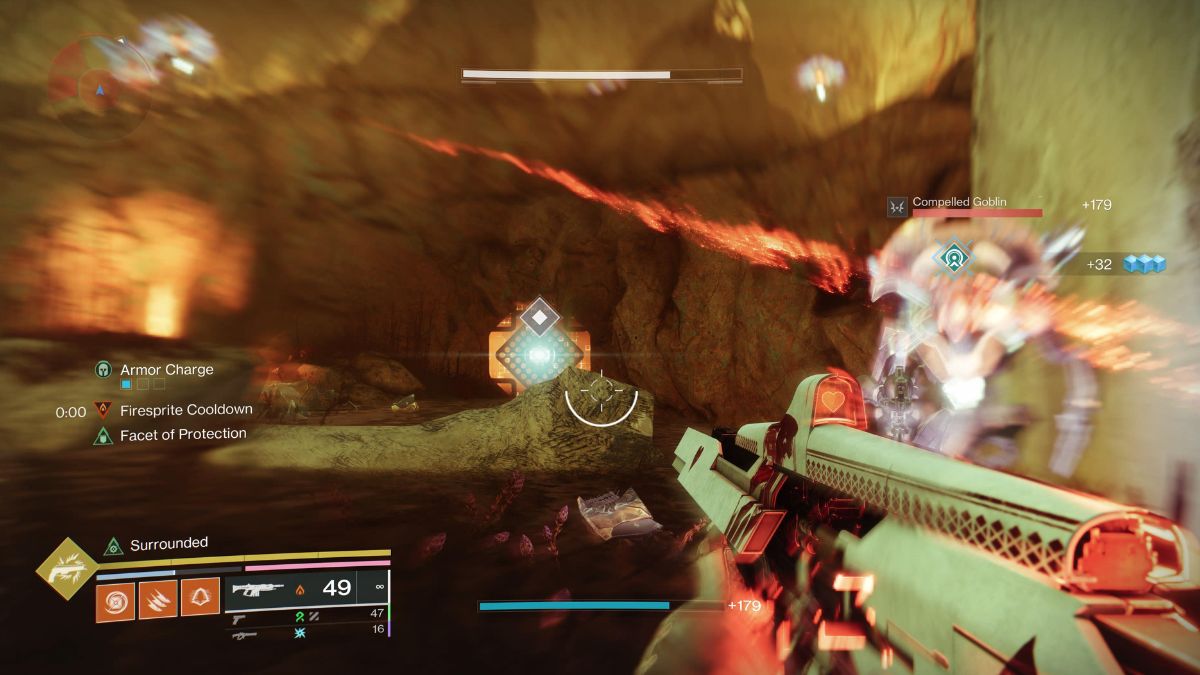
You should find the first radiolaria sample amid a Vex ambush as you enter this location.
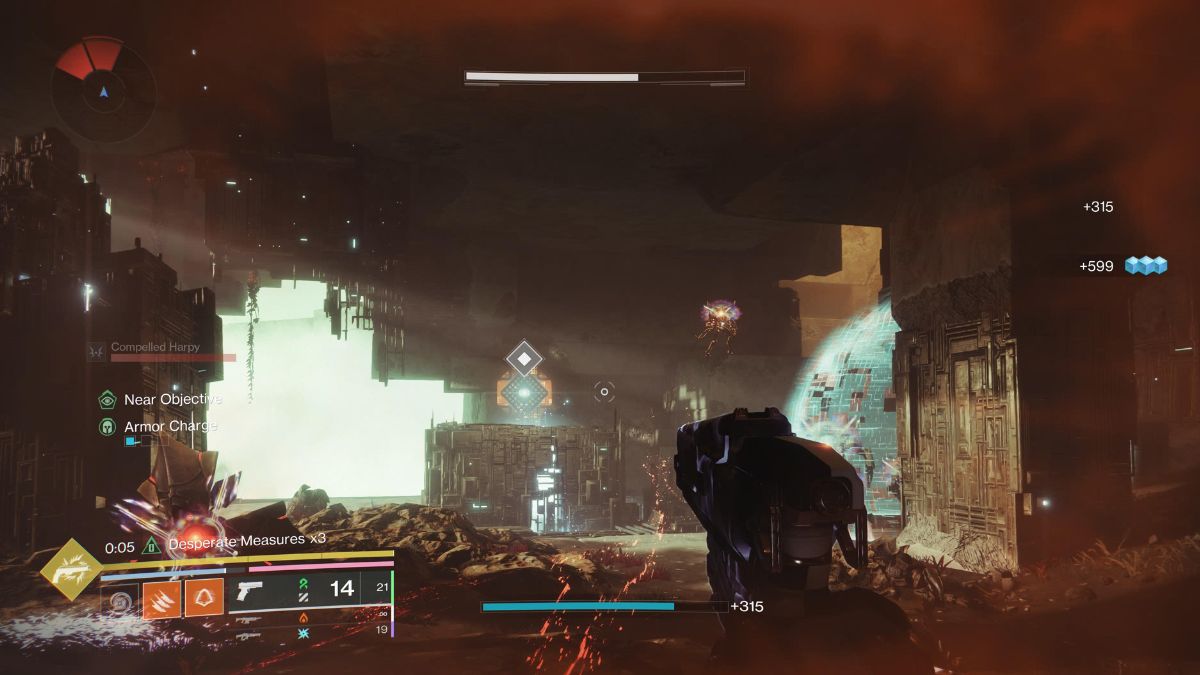
The second radiolaria sample is on top of a podium in the central arena.
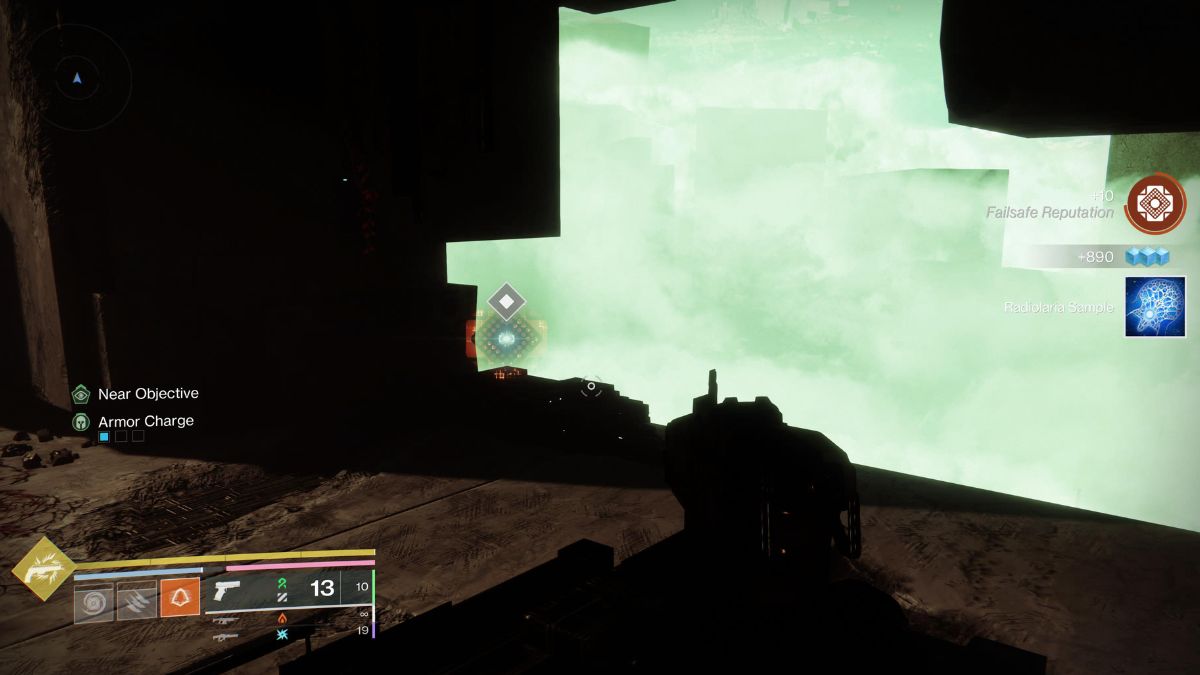
The third radiolaria sample is to the left of this podium, at the back of the arena.
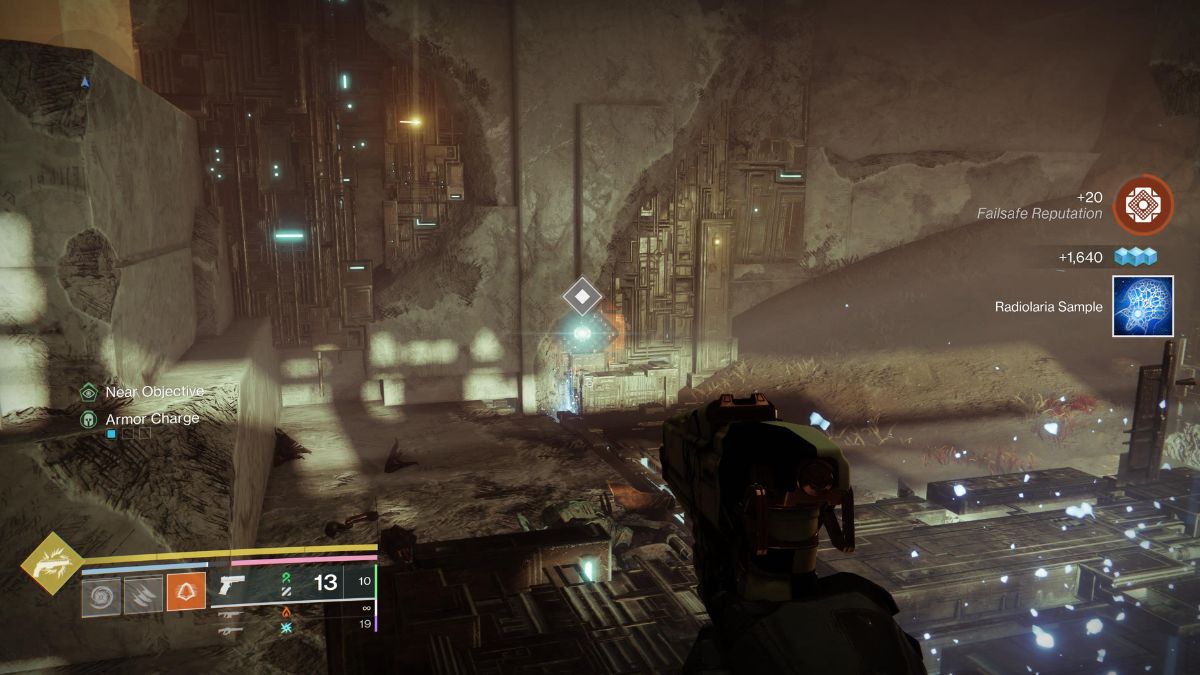
The fourth radiolaria sample is to the right of the podium in the arena, against a wall.
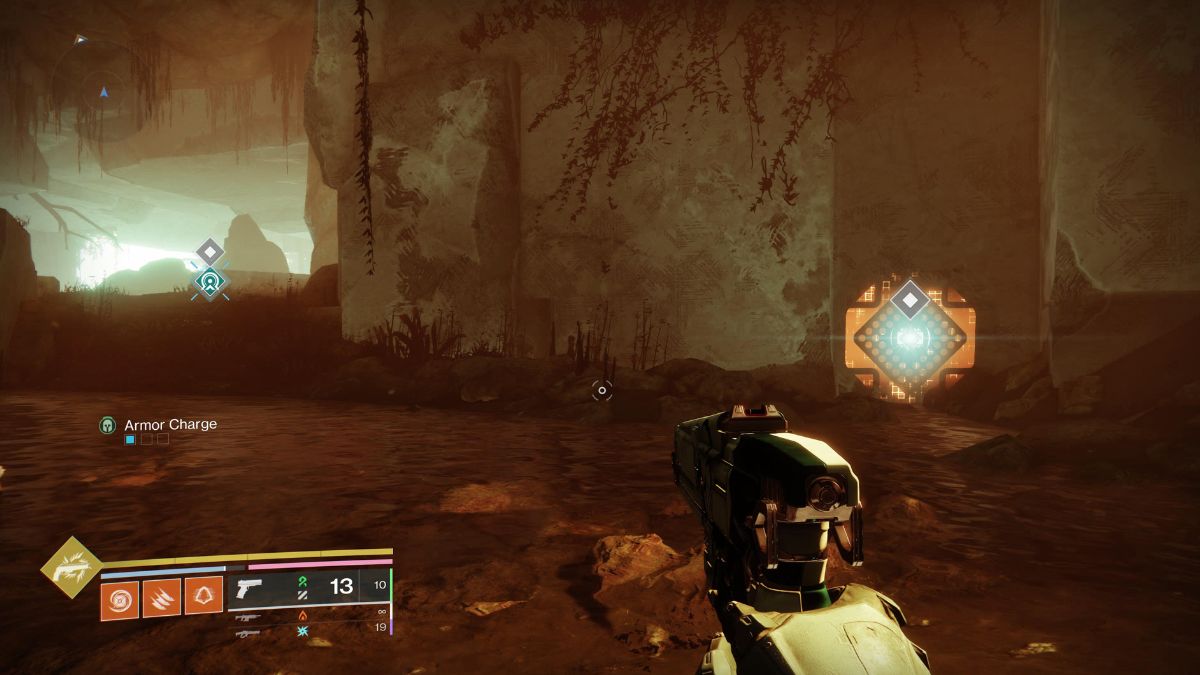
The fifth radiolaria sample is found when heading back the way you came. Just above the location where the Vex ambushed you is a circular outcrop, and the radiolaria sample is to the left-hand side when running back through it.
Step 3: Locate yet another site from which to extract radiolaria samples
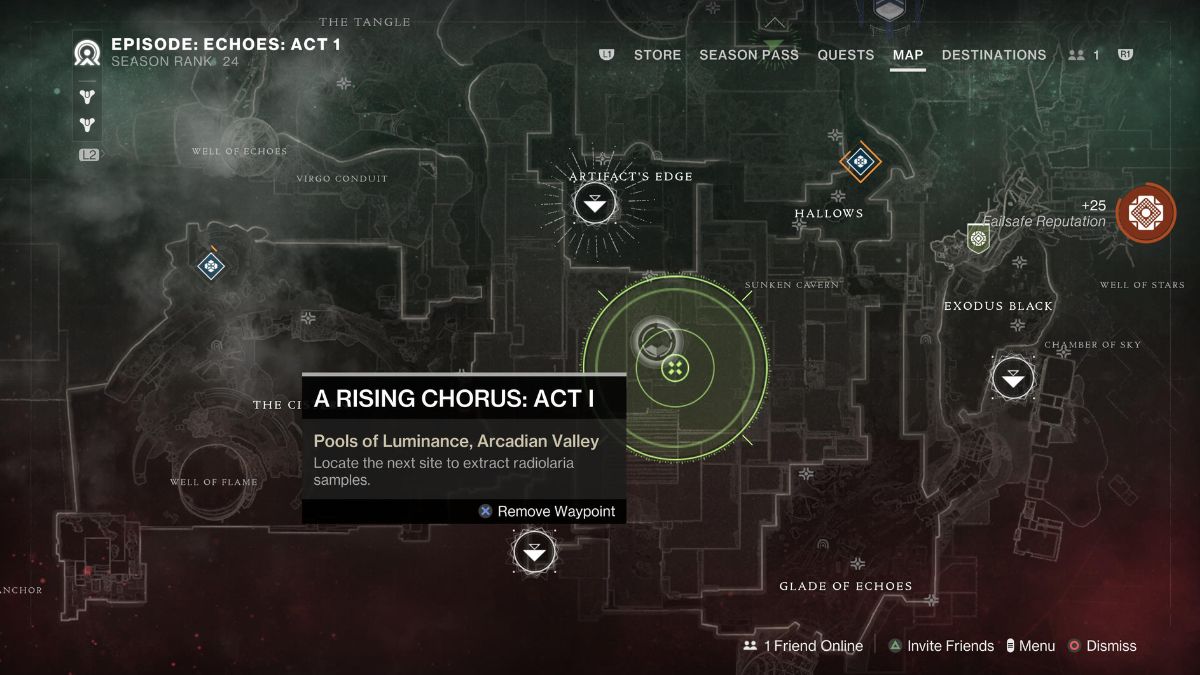
Keeping up the grind, this third step sees you repeat what you’ve been doing for the last two. Fast travel to The Cistern and not Artifact’s Edge, even though the latter looks closer, and make your way to the location where you’re finding radiolaria samples.
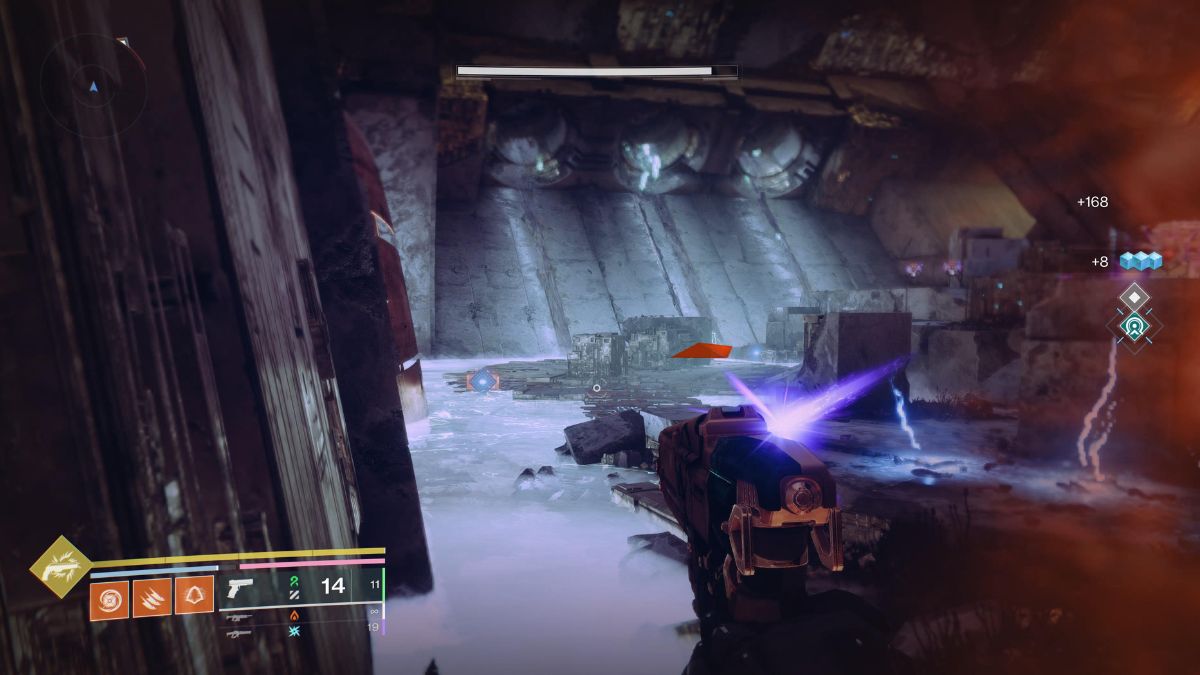
The first radiolaria sample is to your left as you enter the area filled with Vex trying to kill you.
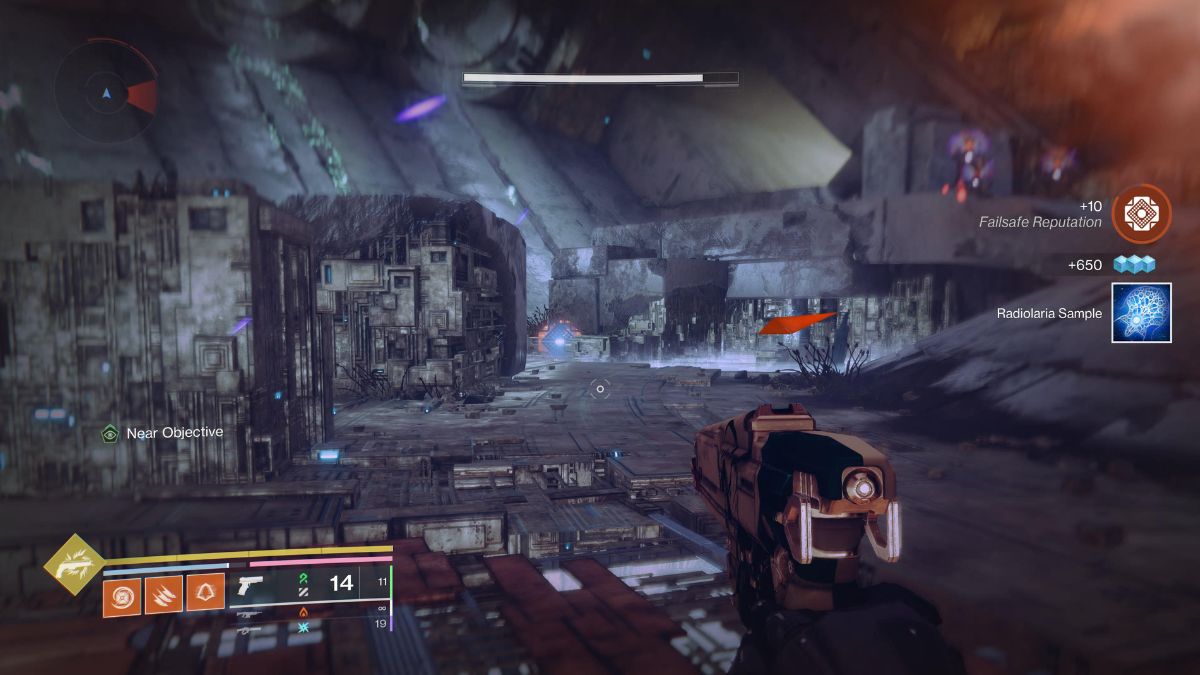
The second radiolaria sample is a little further along the edge of this area, right before you need to jump onto the platforms.
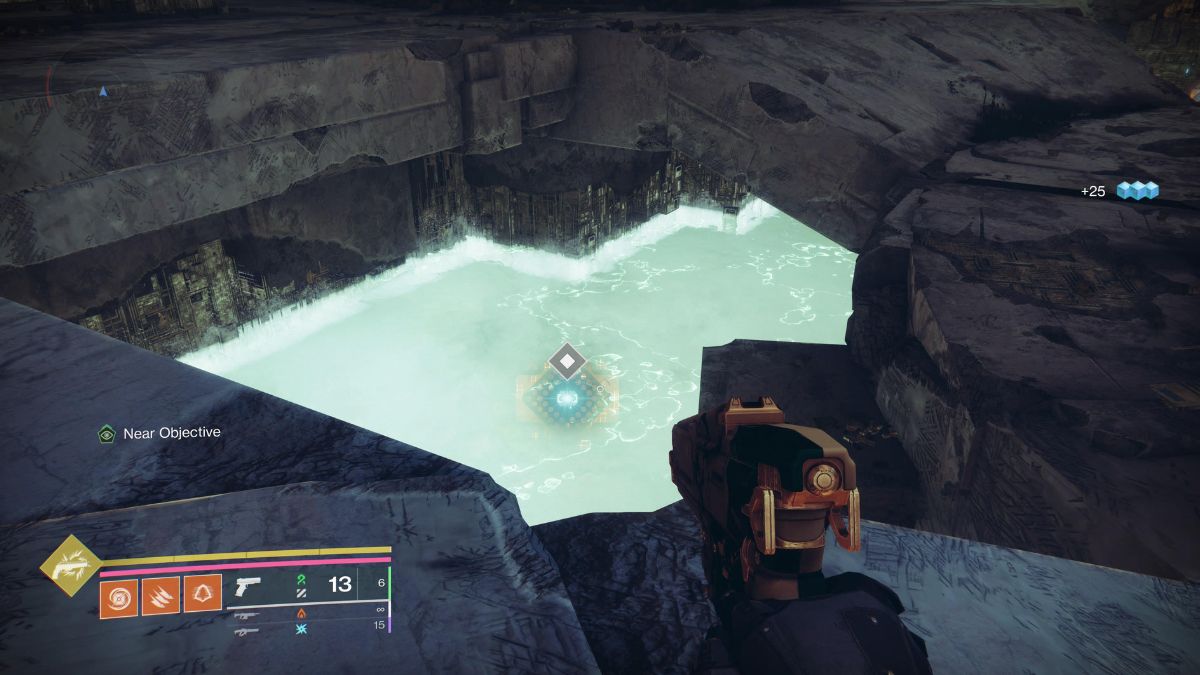
The third radiolaria sample is below the slopes heading up to the back of this area. It’s hovering over the radiolaria ponds.
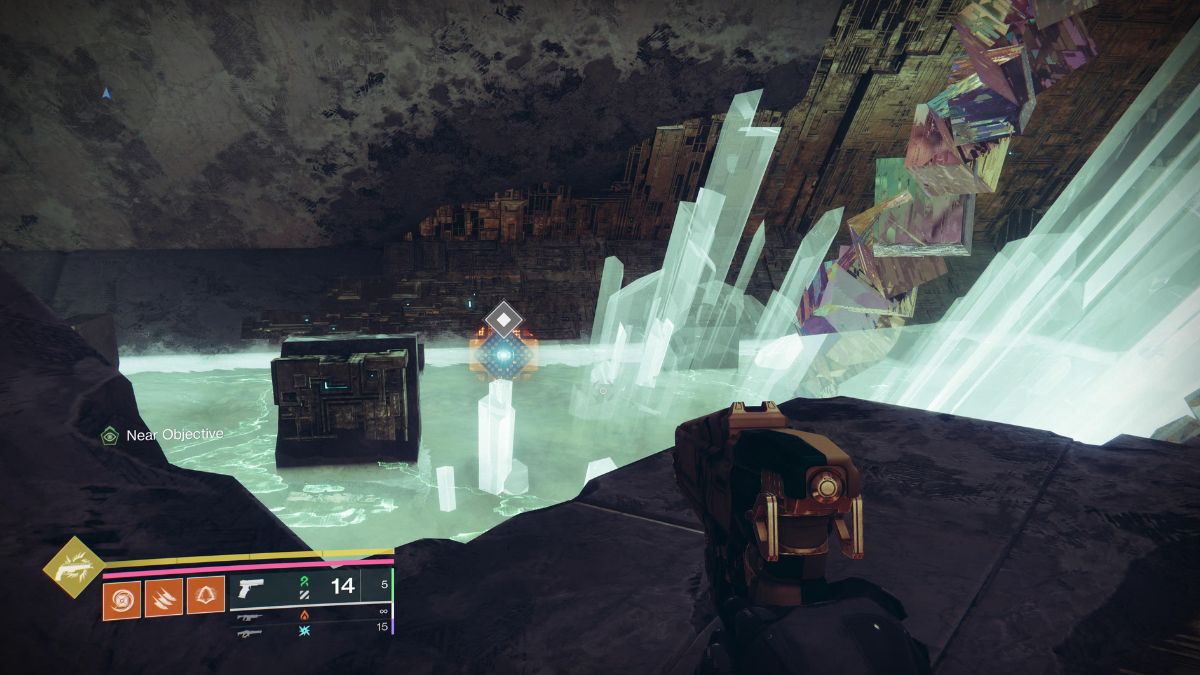
You’ll find the fourth sample to the right of the slopes. It’s hovering in the radiolaria next to the sharp-looing crystals sticking out of it.
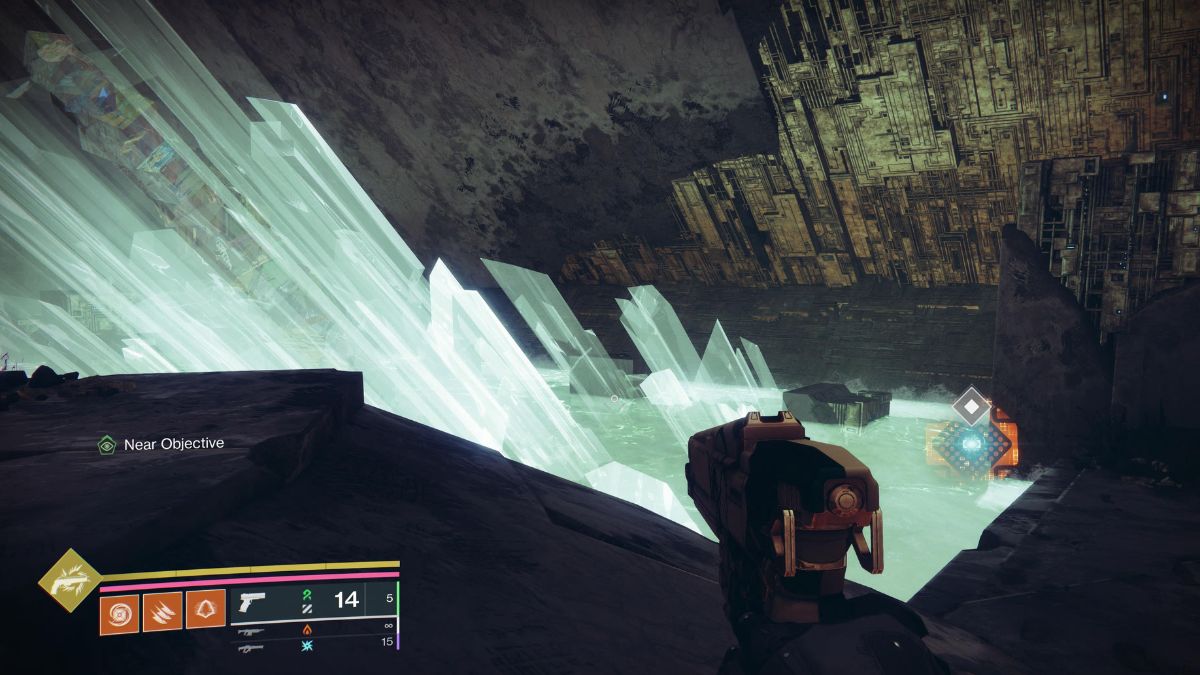
To get the fifth radiolaria sample, get to the other side of those crystals. After collecting it, you’ll get a call from Osiris and must return to the H.E.L.M. At this point, I saw a lot of the Prismatic apparitions that you can occasionally find on Nessus appear all around the cave. They disappeared as soon as Osiris stopped talking.
Step 4: Speak with Osiris and complete Mesmerize
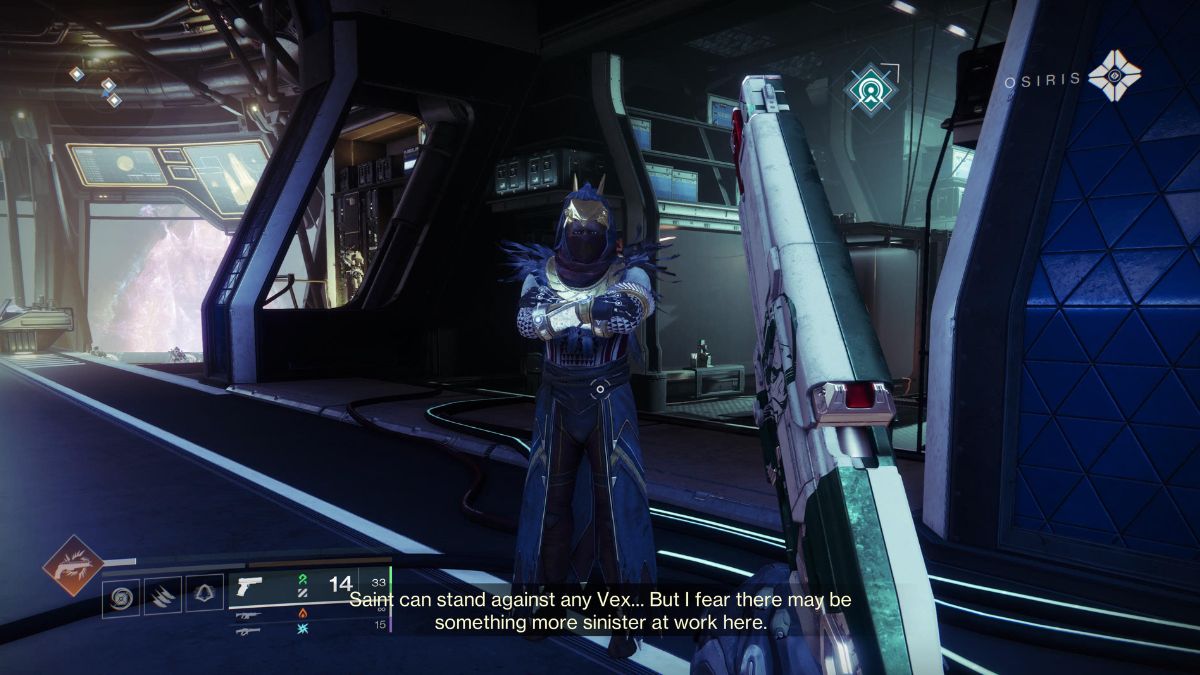
It’s time to report back to the H.E.L.M. and hear what Osiris has to say. Note that this happens automatically. It’s not a conversation you can trigger. So be ready to hear what Osiris is saying as soon as you get to this location because you’ll miss it if not.
After Osiris is done, interact with the computer on the left-hand side of the room to hear a message from Saint-14. Now, you’ve got to head to Nessus and complete the mission Mesmerize. You can find this mission on Nessus after hitting this step.
This mission is the closest we’ve gotten to seeing something sinister in Destiny 2 since the end of The Final Shape‘s campaign. Enjoy it, and pay attention to everything Saint-14 says.
Step 5: Reconvene in the H.E.L.M.
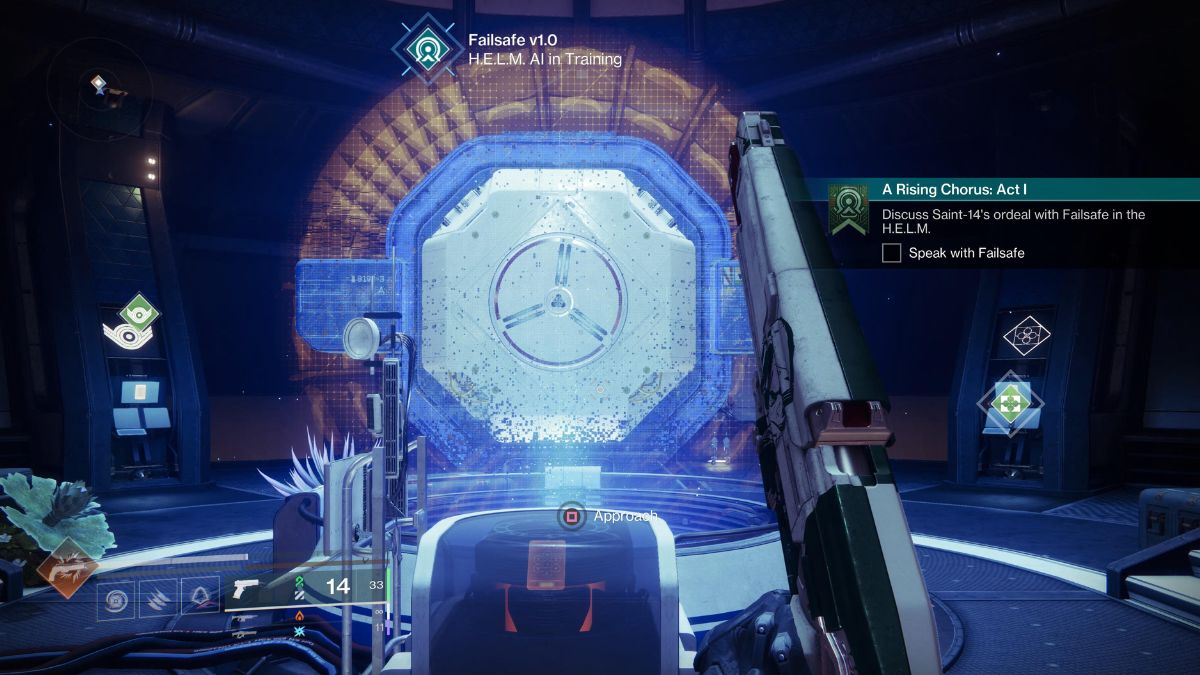
Unlike with Osiris, this conversation with Saint-14 won’t trigger until you approach and interact with him. This will be a big story dump where you’ll learn about The Conductor, so sit back and enjoy everything that’s about to unfold.
You need to discuss what just happened with Failsafe after everyone teleports away. The AI is affected by the idea that Saint-14, such a strong character, could be shaken by whatever he heard on Nessus. This marks the end of A Rising Chorus: Act I Week 3. You’ll have to wait until next week to continue this gripping story.





Published: Jun 25, 2024 06:08 pm