
Morgryph is the second boss most players will face in The Legend of Zelda: Echoes of Wisdom. This monstrous mammal has a massive mobility advantage over you. Still, victory can be yours if you keep your wits about you and use Zelda’s Echoes and Bind ability to your advantage.
Zelda Echoes of Wisdom Morgryph Boss Guide
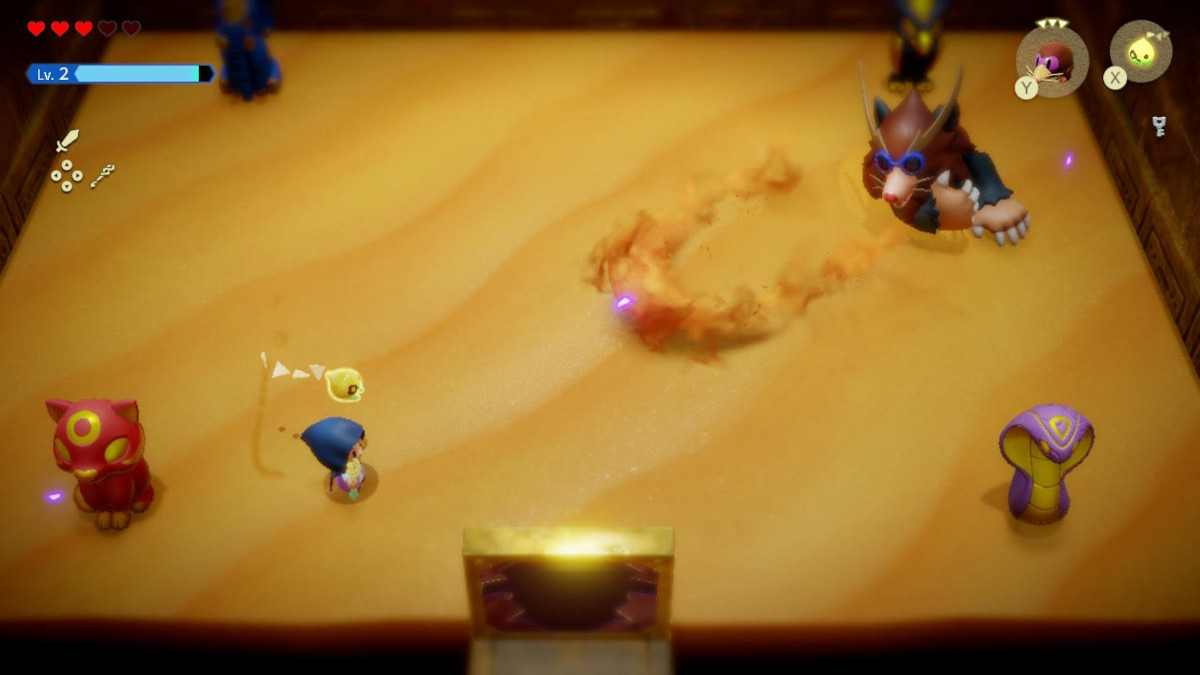
Burrowing around the depths of the Gerudo Sanctum, Morpryph is a beefed-up version of the Holmills you ran into in the Ancestor’s Cave of Rest. Morgryph is far more formidable than his minuscule cousins, darting beneath the sand with surprising speed and sending shockwaves of sand your way with a swipe of his claws. Once he’s done this a few times, he’ll dive and start kicking up plums of sand, telegraphing that he’s about to rush you.
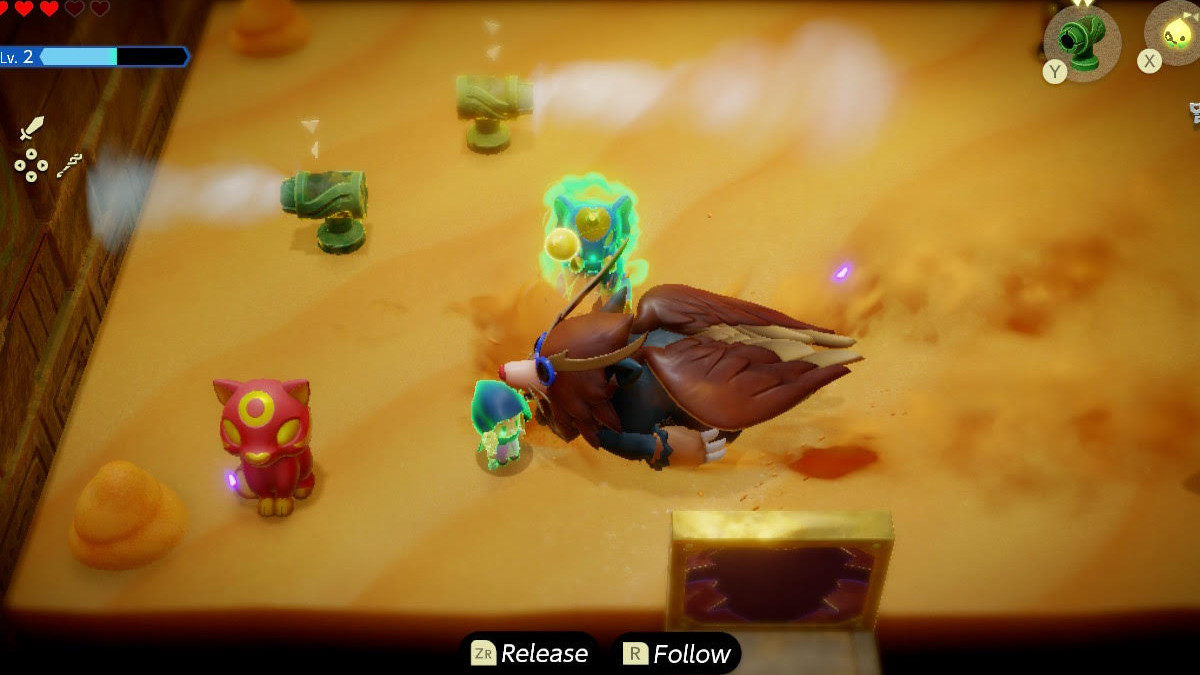
Fortunately, this is where you can turn the tables on Morgryph. By now, you’ve probably noticed the elephant, hawk, snake, and cat statues sitting in the room’s corners. These statues are the same ones you used to solve the Gerudo Sanctum’s central puzzle, and they’re back to help you again. Once Morgryph gets ready to charge, grab a statue with Bind and put it in Morgryph’s flight path. If you’ve angled things right, he’ll smack into the statue and fall over, exposing his bald, vulnerable butt.
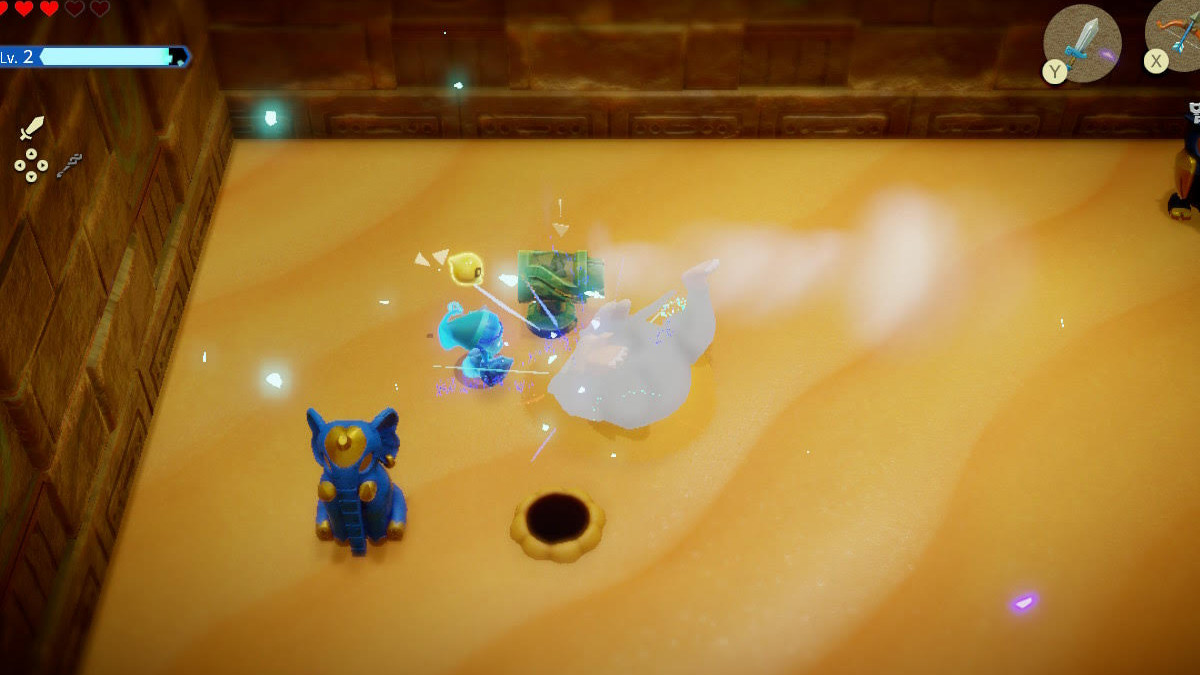
Once you’ve flipped Morgrpyh over, summon your hardest-hitting Echo, swap into Swordfighter Mode, and start attacking. Working together, you should be able to do enough damage to send Morgrpyh into his second phase. If you don’t, you’ll have to repeat the first phase. Don’t worry about running out of statues; you need to grab the Echo of each one to solve the dungeon’s puzzle so you can summon new ones.
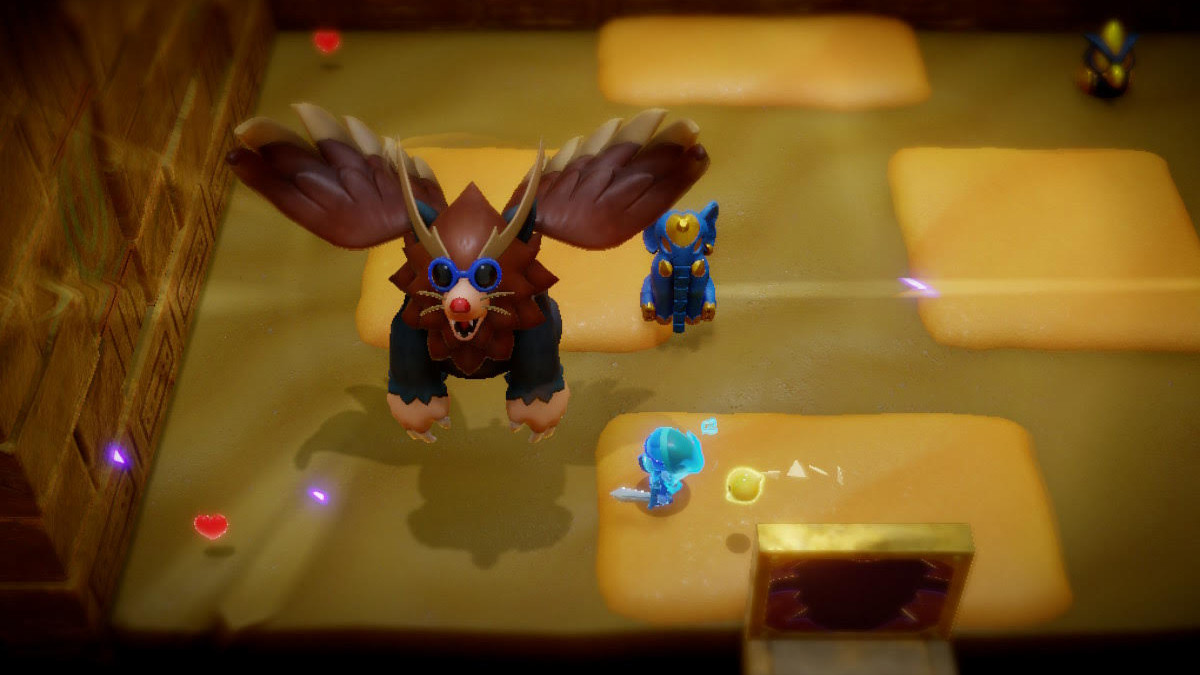
Once Morpryph hits his health, he’ll glow red and take to the skies, proving the wings on his back aren’t for show. Even worse, most of the floor beneath you will turn into quicksand, so you must stay in the safe patches unless you bought the Gerudo Sandals for 400 Rupees back in Gerudo Town.

While he’s in the air, Morgrpyh attacks by conjuring cyclones of sand and trying to dive-bomb. Eventually, though, he’ll return to the ground, and you can make him vulnerable again by making him run into another Bound statue when he tries to charge you.
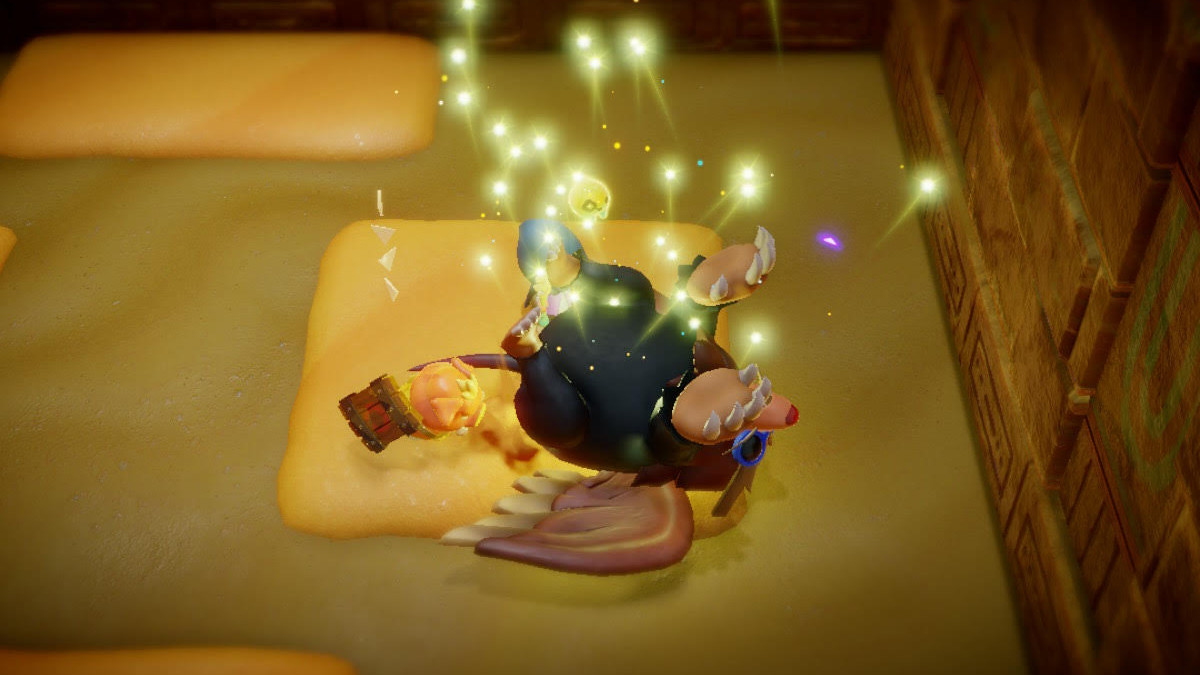
Once you and your Echoes have done enough damage, Morgryph will explode, releasing Tri’s captured friends. Once they’ve repaired the rift in Gerudo Desert, you’ll be free to either head east to Jabule Waters or make your triumphant return to Hyrule Castle, depending on which rift you prioritized.


Published: Oct 2, 2024 10:07 am