
The Ostentatious is a new Elusive Target Arcade mission in Hitman World of Assassination featuring not one but two levels focused on The Disruptor. These might be some of the most fun and challenging missions in the game, even more so when you attempt to complete them with a Silent Assassin rating.
When it comes to Elusive Target Arcade missions, Silent Assassin is about as good a rating as you can get. This means you’ve killed the target without being noticed by anyone else, no bodies were discovered, and you didn’t kill anyone apart from the target. However, pulling this off across two levels is a different story, especially when one of those levels has incredibly strict additional objectives.
Hitman WoA: The Ostentatious Elusive Target Arcade Level 1 Silent Assassin guide
Below, I’ve outlined how to complete level 1 of The Ostentatious Elusive Target Arcade mission in Hitman WoA with a Silent Assassin rating. This follows the main story method for killing the target and is pretty fun to watch play out, so I recommend using it if this is your first run in the mission.
I used the most basic default equipment for this run. Start at the Harbor location and use the equipment Agent 47 is given in the menu. The only thing you really need is a silenced pistol.
Step 1: Get inside the castle and find the ring
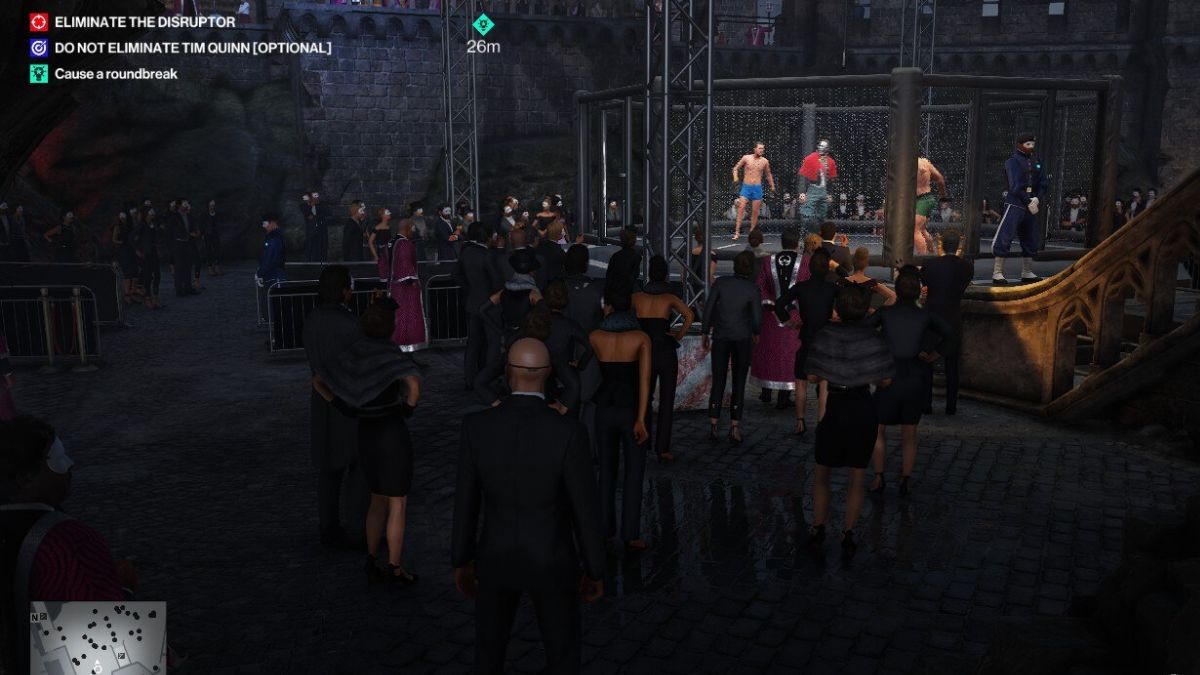
To kick this mission off, follow the main path into the castle and head left after you go through the massive fancy doors. This will lead you to a courtyard with a huge fighting ring, and it’s where you’ll meet The disruptor for the first time.
For now, we just need to let things play out. You’ll pick up a story mission from Diana telling you that you can pause the match and jump in as the CEO’s second to kill The Disruptor in plain sight. But you’re not given any instructions on how to get this done.
Step 2: Get a guard disguise and end the round
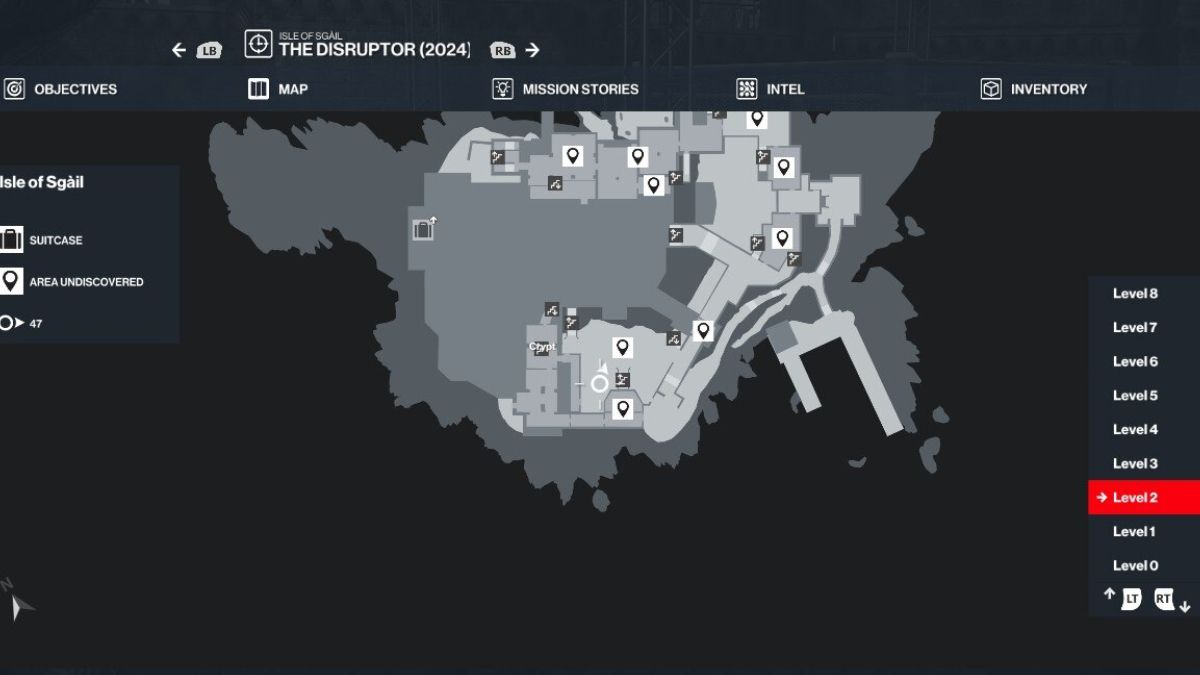
Make your way to the gap in the wall in the area close to the ring. See the map reference above for the exact location. You can get through and into the church via a hole in the wall here. Grab the wrench from the corridor and turn left into the church at the end of it. Just keep an eye on the NPC on your right to make sure he doesn’t spot you.

Turn left inside the church, and you’ll see two guards in the crypt. One will always stand by the tombs, while the other will walk away and look into the distance for a few seconds before returning to his friend. You need to time your attack to use the wrench to hit and subdue the stationary guard before throwing it to subdue the moving one.
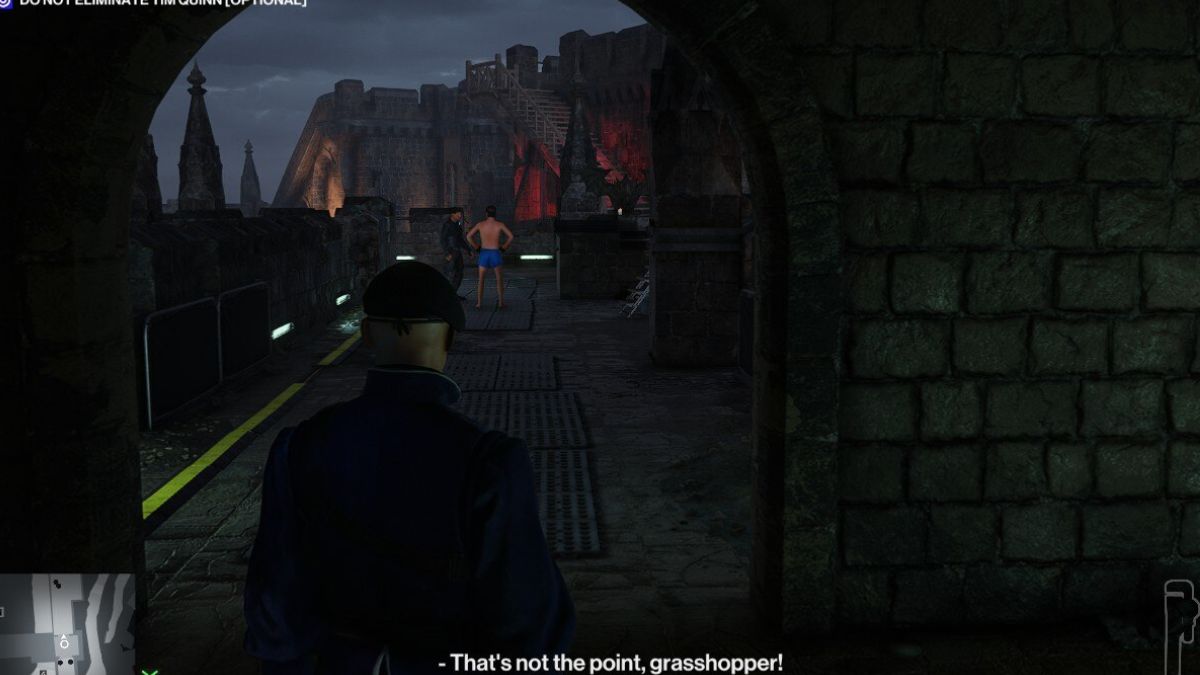
Dump both bodies in the crate, but take one of their disguises so Agent 47 appears to be a guard. You can now head back into the corridor with the wrench and turn left to go up the stairs. Go this way instead of through the main crowd because there’s one guard who could still spot you.

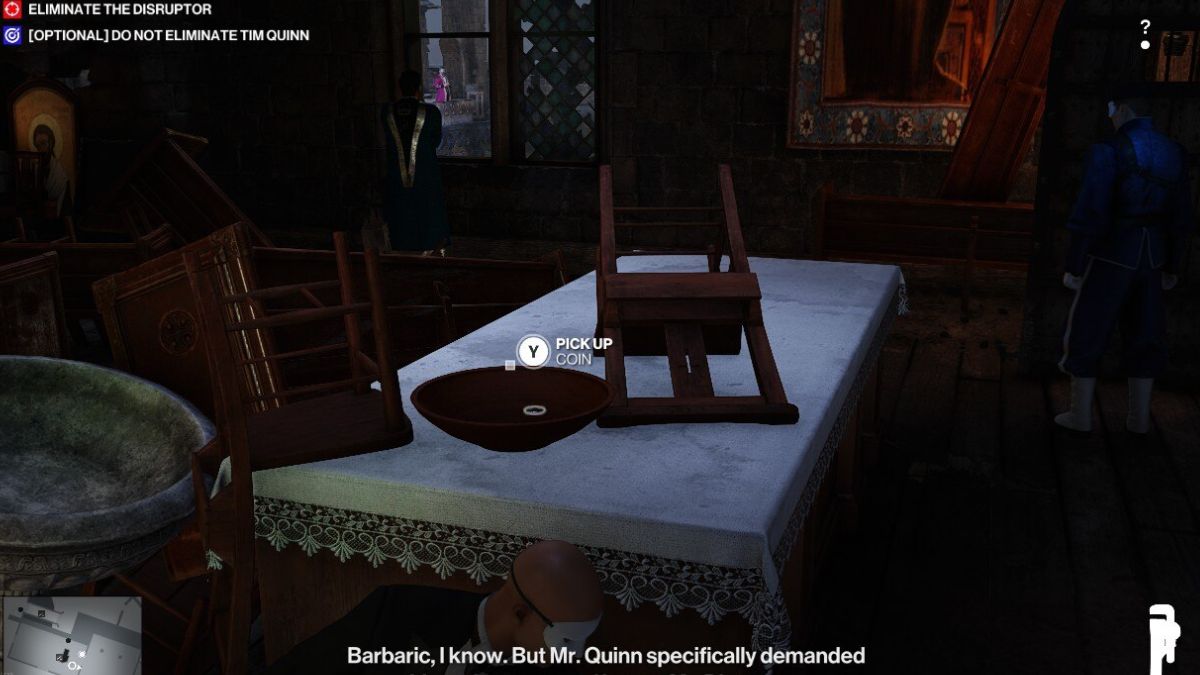
At the top of the stairs, turn right and look for the bell on the balcony. There’s a camera scanning the entrance, so wait for it to move and get in around the edges. You can ring this bell and end the round as a guard, causing the CEO to head off to train.
Step 3: become the CEO’s second
Head back down the stairs and through the corridor to get into the main crowd and follow the CEO. He heads off down a path to the left of the one you used to get into this area, but it’ll be on your right if you’re looking at it with the ring behind you.
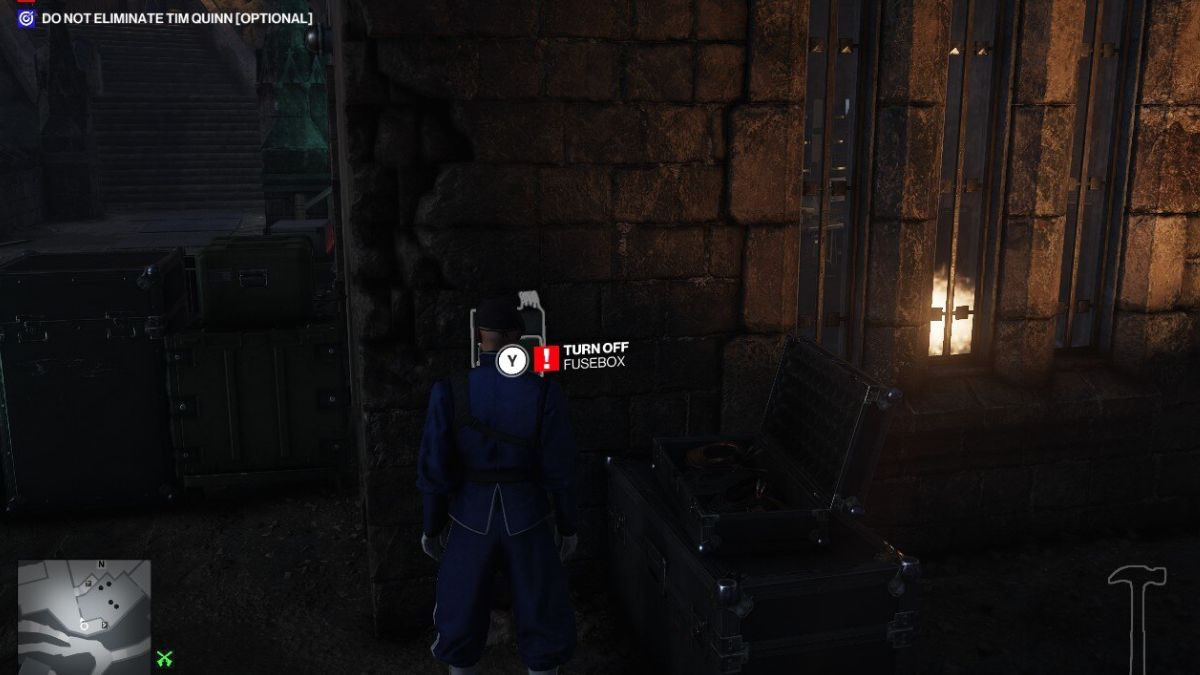
The CEO will chat with his trainer for a bit before heading into his training room. You can’t get in there without a key, so go to the right, around the camera’s view, and turn the fuse box off. This will distract the trainer and draw him out, but make sure you turn the fuse box back on before he comes out. If you don’t, more people will come to investigate.
Subdue the trainer when he comes out and dump his body in the crate on your right. Take his disguise and pick up the key on the floor. Before going into the room, use the silenced pistol to shoot out the camera. I guarantee you’ll get so excited about what’s coming next that you’ll accidentally walk through it if you don’t.

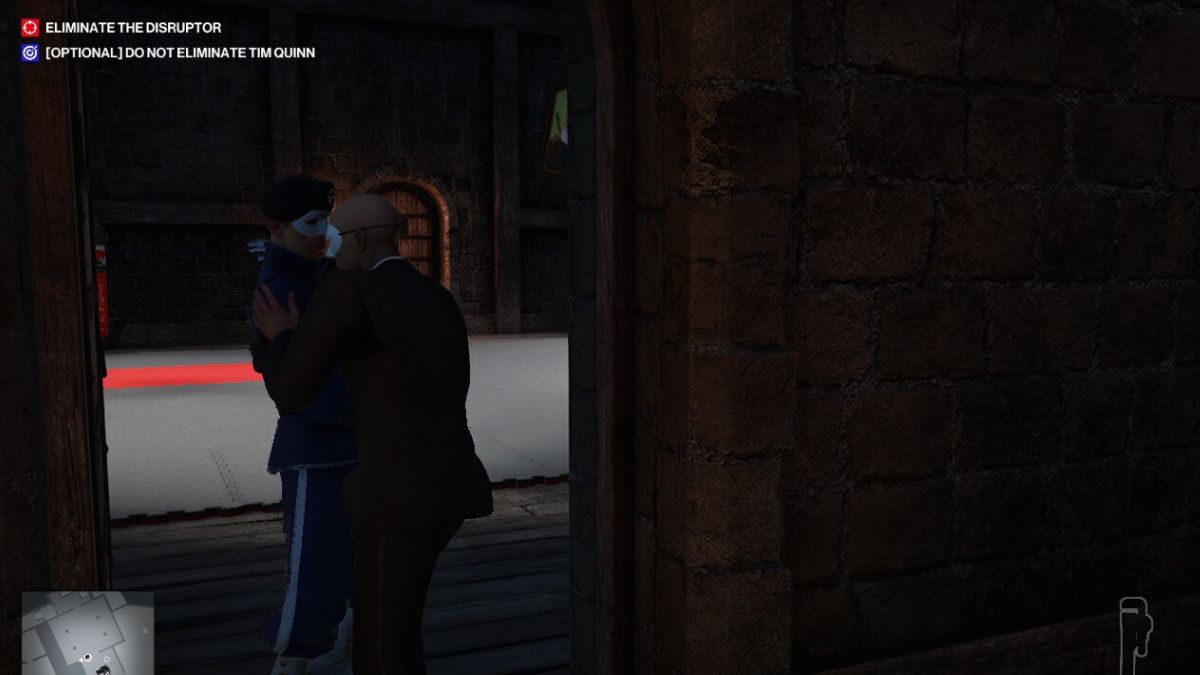
Inside, you can talk to the CEO, Time Quinn, and convince him to let you be his second. He’ll strip off, and you and then dress Agent 47 in MMA gear. From here, you’ve got to head back to the ring to face The Disruptor.
Step 4: Kill The Disruptor

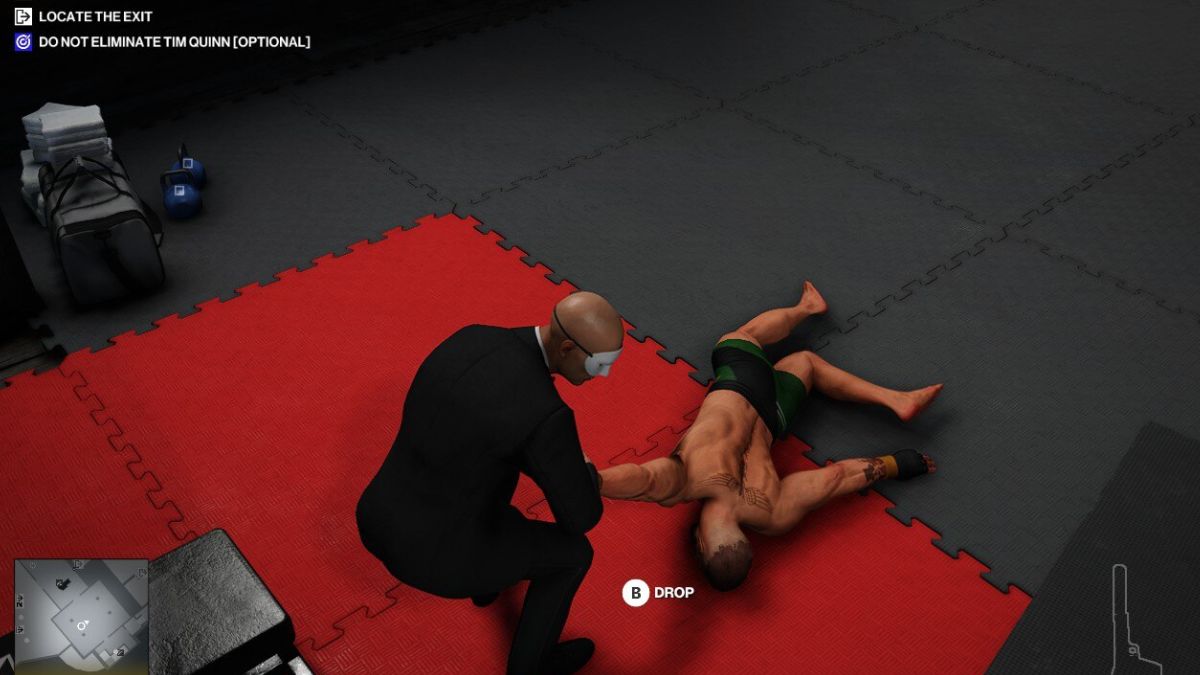
As you enter the ring, you’ll need to interact with the NPCs to trigger the fight. Your target is more than happy to beat Agent 47 up, but he doesn’t know what’s coming. Use the on-screen prompts to block incoming attacks and charge up Agent 47’s punch. It should only take one or two hits to trigger the killing blow.
After The Disruptor is down, hang around in the ring for a while because you can use it as an exit. This is the best way to end the mission because it’s a spectacle, and there’s nothing else like it in the game.
Hitman WoA: The Ostentatious Elusive Target Arcade Level 2 Silent Assassin guide
Level 2 of The Ostentatious Elusive Target Arcade mission in Hitman WoA kicks things up a notch with two new objectives. In addition to killing the target and ensuring the CEO survives, we must also complete the mission without ever being noticed or changing Agent 47’s disguise. While going unseen is par for the course in this run, never changing disguises complicates things somewhat.
Below, follow my step by step guide for completing level 2 with a Silent Assassin rating. As with level 1, this run uses the most basic default equipment and Harbor starting location. All you need is the silenced pistol, so make sure you’ve got it and load into the mission.
Step 1: Get to the Architect’s room
Just like you did in level 1, make your way into the castle, turn left once you’re through the main doors, and head for the ring. Instead of waiting for the match to start, you’re going to run around the ring and find the gap in the wall at the location shown in the map above.
Head through the gap and then right into another hole in the wall into the church. Pick up the wrench in this corridor and then turn left to get inside the crypt. Watch out for the nosy NPC on your right as you go because he might alert the guards.
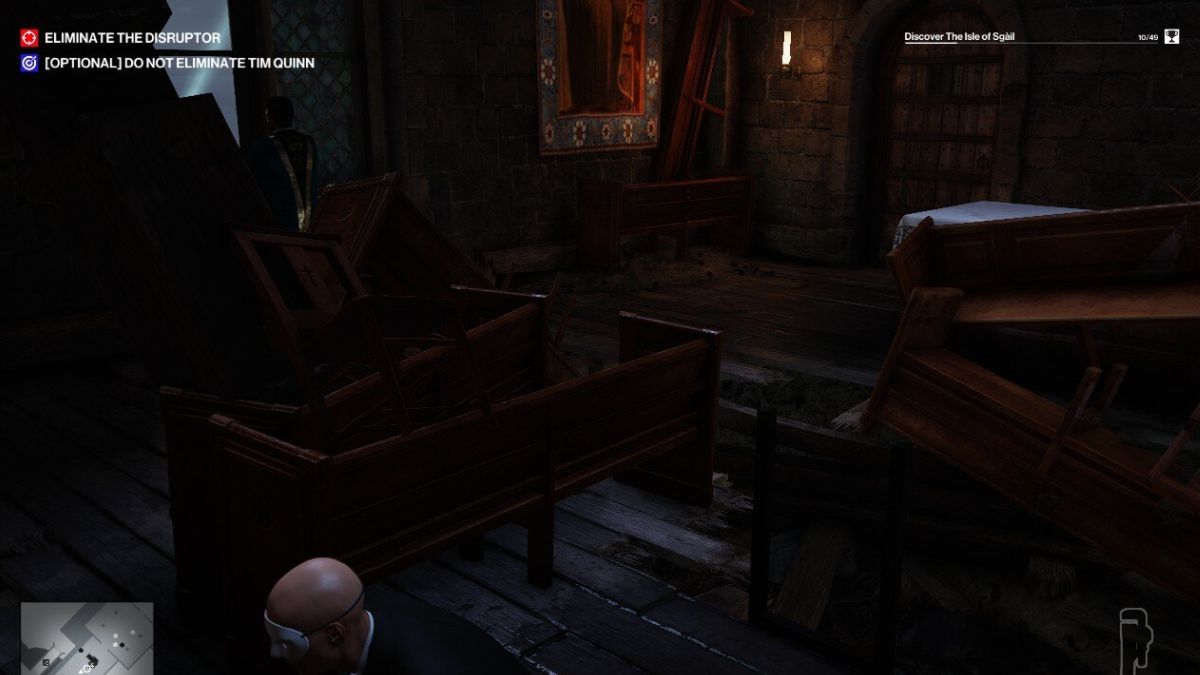
Inside the crypt, you’ll find a ladder. Climb that ladder, and you’ll be inside the Architect’s room. If you were slow, the Architect will already be here, looking out of the window. If you were fast, you’ll need to hide and wait for him to enter.
Step 2: Take out the Architct and guard
Throw your wrench at the Architect to knock him out and then drag his body around the corner of the table close to the door to the training room next door. Once he’s hidden, open the door to the training room, drop the wrench to distract the guard, and then wait for him to come over.

Subdue this guard and then hide his body and the Architect’s in the cases in this room. The next thing you’ve got to do is stop the match. As you did in level 1, aim at the bell and shoot it while being careful not to hit an NPC. The best place to do this is the window where the Architect was looking out at the match.
Step 3: Take out The Disruptor’s guards
Wait for The Disruptor to come upstairs with his two guards and enter his training room. Don’t try to distract them with guns, because they’ll just deposit them in this room. It makes you feel super silly, so let’s just avoid that entirely.
To take out the first guard, use the same wrench trick with the door to lure him out of the room and subdue him, but do it twice to get him down by the corner of the table and out of sight of the other guard in the training room. Drag the body out of sight at the opposite end of the room when you’re finished.
To take out the second guard, I had to throw the wrench into the training room to distract the guard. Then, I managed to pull him out to the corner of the table while he was investigating, but you’ve got to really try with him because he loves spotting for The Disruptor.
Step 4: Kill The disruptor
With the guards taken care of, you must kill The Disruptor. To be safe, you need to do this without him seeing you, even though under standard Silent Assassin rules, he’d be able to spot you, and it wouldn’t count. Use your silenced pistol to shoot him in the head and be done with it.
You can hide the bodies if you want, but nobody will enter this room to find them either way. This is the point to head to an exit while no one suspects a thing, so you can claim your Silent Assassin, Suit Only rating for this particular level.
This will complete The Ostentatious Elusive Target Arcade mission in Hitman WoA. You might notice the crazy final cutscene that plays after both levels. Unfortunately, I don’t know what it means, but I think it’s fun to speculate that Agent 47’s MMA days might not be over.


Published: Jun 27, 2024 06:00 am