
Hyrule Flight Simulator
Gatakis Shrine, like many other shrines, requires you to master a specific aspect of the gameplay in Tears of the Kingdom. In this case, the skill is flying and gliding. Something that features heavily in the game as you explore the skies of Hyrule.
We’ve covered everything you need to know to get through each section of the shrine below. But first, let’s take a look at how to find it.

How to find Gatakis Shrine in Tears of the Kingdom
Gatakis Shrine sits in the middle of Rito Village in the Tabantha Frontier region of Hyrule. The closest fast travel point for most players is Rospro Pass Skyview Tower which is north of the village. Use the tower and glide directly south to Rito Village. There’s also Oromuwak Shrine just east of the village that’s slightly closer.
As a vertical village, the shops and houses of Rito are high up in the mountain, connected together by rope bridges and stairs. The shrine is below the whole village, just drop down to find it on the west side of the outcrop. Check the screenshot above to see the exact location of Gatakis on the map.
How to complete Gatakis Shrine
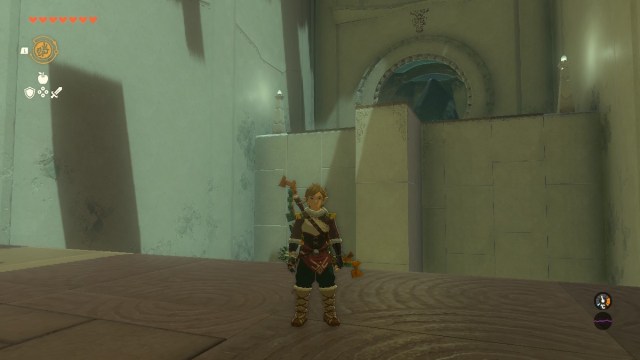
Gatakis Shrine is all about getting to grips with the flying mechanics in Tears of the Kingdom. In each section, you’ll have to use a different aspect of the flying system. Firstly, when you enter the first section of the shrine, all you need to do is glide across the gap to the other side.
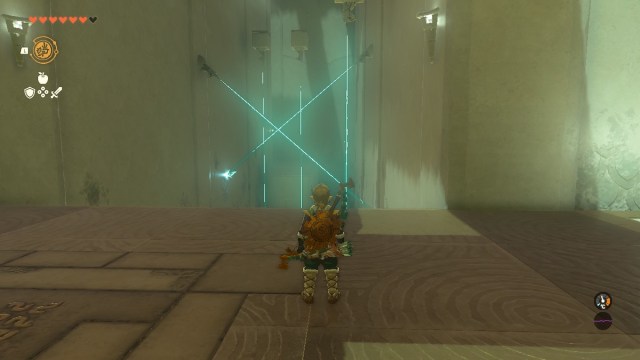
In the next part, you have a gust of wind that will send Link across the gap at speed. However, you have to avoid the lasers that, if touched, will damage Link and cause him to fall. It’s difficult to master because the gust means you have little time to adjust your flight path. The ideal way to get through is to line Link up from the start and then make minor adjustments when gliding to see Link through the danger.
Before jumping, position Link so that the first vertical laser is just to his right. The goal is to go past the vertical laser, over the diagonal one, and around the two vertical lasers at the end. See the screenshot above for the precise positioning of Link. When you’re ready, just jump off the edge and glide like normal. The gust will stop Link from losing altitude. If you hit a laser and fail, you’ll only lose one heart, so you have a few attempts to try again.
Free falling
The third puzzle has a few separate stages to it, all of which are based on flying without your glider.
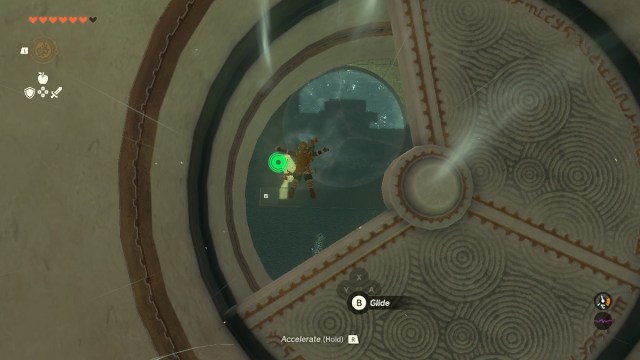
First, you need to dive down the hole and time your fall just right to go through the gap in the rotating platform. If you need to reposition, you can activate the glider to be blown back up and try again. The easiest way to get past the rotating platform is to hold “R” to have Link dive quickly down when the gap is lined up.
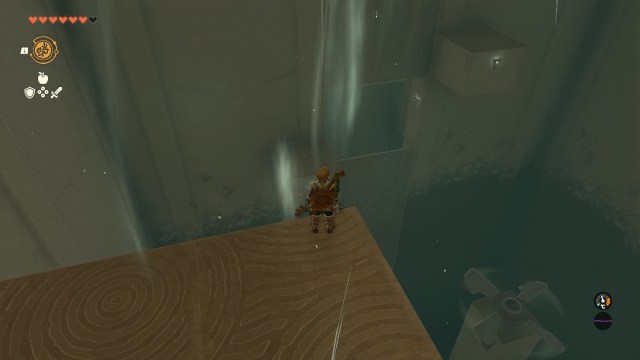
Continue your descent into the next room with the fans.
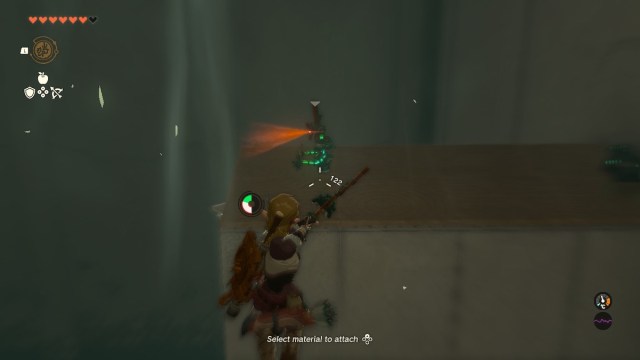
In this room, there are constructs that need to be taken out. The easiest way to kill them is to use the slow-motion archery ability while falling/gliding. When you’ve killed all the constructs, float on over to the large platform with the chest. See the screenshot above for the location of the chest. You’ll receive a Strong Construct Bow for your trouble, which is good for low and mid-level players.
After getting the chest, turn around and look down towards the other side of the room. There’s a large gap in the wall between two platforms. You need to jump from the chest platform and aim for the gap in the wall that’s pictured above.
You won’t be able to use the glider to get through because of the gusts. After jumping, press “R” to have Link start diving so you can head straight for the next section. If you miss the hole, just use your glider to reset and try diving for it again.
Once you’re through, use the glider to be blown up to the top of the room. The shrine exit is right here, collect your light of blessing and be on your way!


Published: Jun 28, 2023 02:50 pm