
When fighting against the anti-democratic tyranny from Terminids and Automatons, it’s important to know how difficulties work in Helldivers 2. The early missions ease you into the game as you learn how to face your foes. But things can get hairy the higher you go.
There are ten difficulties in Helldivers 2. You begin at Difficulty 1 – Trivial when you graduate the tutorial with your first cape. Trivial missions are often straightforward, teaching you the basics and pitting you against only small groups of foes. It’s a stark contrast to Difficulty 9, in which most divers learn the true meaning of diving into Hell.
Helldivers 2 – How to advance difficulty levels
Helldivers 2 matches are called Missions, which fall under Operations. During the early stages, an Operation will consist of only one or two missions. Successfully completing said missions results in rewards and eventually a finished Operation. Once the job is done, you can start another Operation. Failing a mission will fail the Operation.
You advance in difficulty tiers by completing Operations. Finishing an Operation at Difficulty 3, for example, unlocks Difficulty 4. You must complete an Operation at a certain difficulty to advance difficulty tiers.
Here is the list of difficulties, from one to ten:
- Difficulty 1: Trivial
- Difficulty 2: Easy
- Difficulty 3: Medium
- Difficulty 4: Challenging
- Difficulty 5: Hard
- Difficulty 6: Extreme
- Difficulty 7: Suicide Mission
- Difficulty 8: Impossible
- Difficulty 9: Helldive
- Difficulty 10: Super Helldive
A mission is considered successful if you and your team can complete the Major Objective: The primary goal. You do not need to survive for a mission to be successful; so long as the order is complete, you’ve done your job as a hero of Super Earth.


How rewards work
Rewards for successful missions can vary. Finishing the Main Objective rewards in Warbond Medals, which are used to unlock armor, weapons, and more.
You also earn experience points and Requisition Slips (the in-game currency) even if you don’t survive, though you don’t get as much as you would if you lived. The amount of experience points and Slips increase when you complete Major and Secondary Objectives, but decrease if you ignore some of the latter or don’t extract with a full team.
Later difficulties will award you with bonus rewards. Starting with Difficulty 3 – Medium, you will gain a boost to XP and Requisition Slips in percentage as a bonus. Completing a Medium mission offers 25% more awards, for example.
Samples used to purchase new ship upgrades need to make it to extraction to be claimed. Any Samples left behind, stay behind. Safeguard those Samples!
Difficulty levels broken down
The higher you go in difficulty, the more challenging your experience becomes. At the lowest tiers, you only need to complete one mission for a successful Operation. The number of missions increases per Operation up to a maximum of three. Enemies also grow in number, and you’ll face more Elites such as Chargers and Hulks. Eventually, these heavy foes go from something akin to bosses to appearing as regular enemies.

Rewards increase alongside difficulty. You’ll earn more experience points, Requisition Slips, and Warbond Medals as you advance in tiers. You will also be able to recover rarer Samples, allowing you to unlock even more Ship Modules.
Below are the details of each difficulty, along with how many Medals you can earn with each subsequent mission along with Sample types.
Enemy Outposts arrive with Difficulty 2. Outposts range in size, from Light to Medium and Hard. Outposts can contain a spawner, such as an Automaton Fabricator or Bug Hole. These spawners increase in number as you rise in rank, as will the challenge of knocking them all out.
Operation Modifiers start to appear once you reach Difficulty 5 – Hard. These modifiers randomly apply an effect on planets and can range from Atmospheric Spores that obscure the map or one that increases Stratagem call-in time.
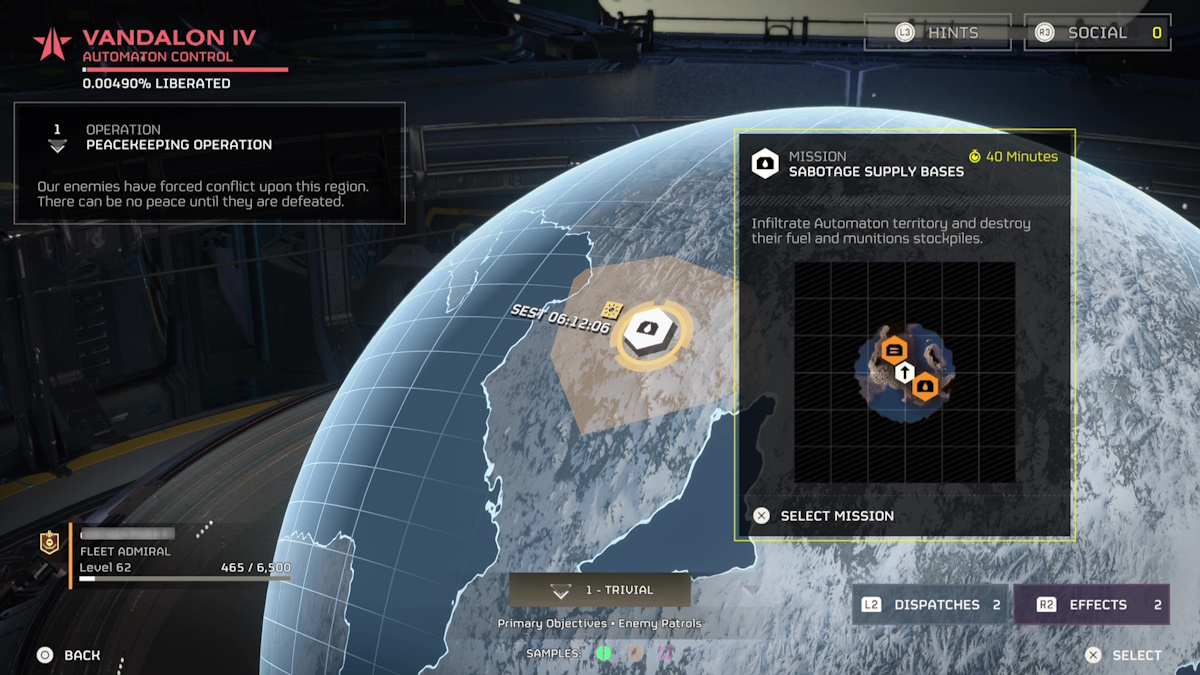
Difficulty 1: Trivial
Trivial difficulty tasks players with completing one Major Objective for mission completion. Often, these include ‘Terminate Illegal Broadcast’ or defeating a medium-level foe such as a Devastator.
- Warbond Medals: 1
- Samples: Common
- Details: Primary Objectives, Enemy Patrols
- Bonus: 0%
Difficulty 2: Easy
Easy Objectives also include one mission, but begin introducing tougher Objectives such as destroying bases and hunting down a Heavy enemy like the Hulk. Tactical Objectives (blue map icons) are introduced.
- Warbond Medals:
- 1st – 2
- Samples: Common
- Details: Allied Secondary Objectives, Light Outposts
- Bonus: 0%
Difficulty 3: Medium
Medium begins turning up the heat by challenging you to complete two Missions per Operation. You’ll also need to finish objectives such as sabotaging air bases or launching the ICBM. Secondary Missions (optional Tactical Missions) are introduced.
- Warbond Medals:
- 1st – 2
- 2nd – 4
- Samples: Common
- Details: Secondary Objectives, Medium Outposts
- Bonus: 25%
Difficulty 4: Challenging
Difficulty 4 – Challenging is the next stage up and is the first to introduce Major Objectives that have you hunt down and destroy Heavy elites like the Factory Strider. This is also where you will begin earning Rare Samples.
- Warbond Medals:
- 1st – 3
- 2nd – 5
- Samples: Common, Rare
- Details: Enemy Tactical Objectives, Heavy Outposts, Heavily Armored Enemies
- Bonus: 50%
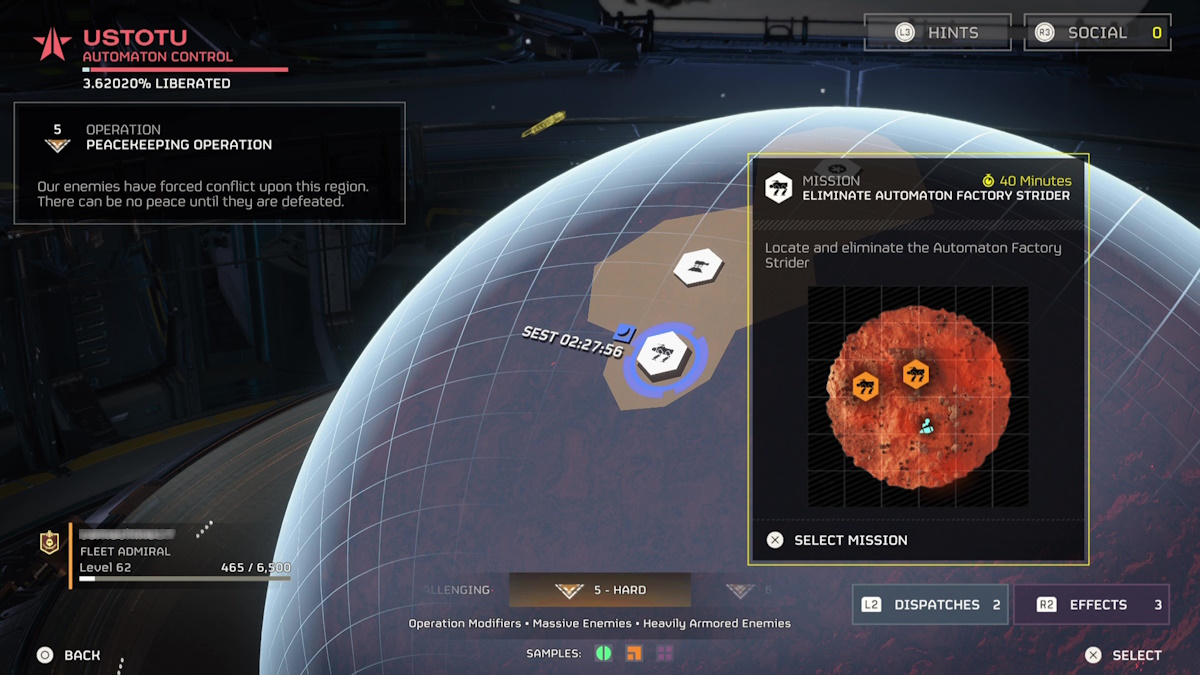
Difficulty 5: Hard
Hard difficulty is where most players will begin to really feel the heat. From here on, you’ll have to complete three Missions per Operation. Missions run the gamut of destroying Heavy elites, defending against horde rushes, wiping out enemy spawn camps under a strict time limit, and more.
- Warbond Medals:
- 1st – 4
- 2nd – 6
- 3rd – 8
- Samples: Common, Rare
- Details: Operation Modifiers, Massive Enemies, Heavily Armored Enemies
- Bonus: 75%
Difficulty 6: Extreme
Now things are getting fun. Difficulty 6 – Extreme is where the prior Heavy elites you’ve faced off for Major Objectives begin showing up alongside regular forces. These guys aren’t bosses anymore. Many of the Objectives are roughly the same, but you’ll start tackling denser enemy waves and patrols with short spawn timers.
- Warbond Medals:
- 1st – 5
- 2nd – 7
- 3rd – 9
- Samples: Common, Rare
- Details: Tactical Objectives Increase, Massive Enemies, Heavily Armored Enemies
- Bonus: 100%
Difficulty 7: Suicide Mission
Difficulty 7 is the wall that many Helldivers crash into. It’s the first level in the final set, where enemies are numerous and belligerent, and Super Samples enter the field.
- Warbond Medals:
- 1st – 6
- 2nd – 8
- 3rd – 10
- Samples: Common, Rare, Super
- Details: Tactical Objectives Increase, Massive Enemies, Heavily Armored Enemies
- Bonus: 150%
Difficulty 8: Impossible
Many veteran Helldivers swear that Difficulty 8 – Impossible is the one that feels the best, straddling the line between fun and challenging. Most Objectives are the same, but you’ll face more Secondary Objectives and Operation Modifiers such as one that obscures the map.
- Warbond Medals:
- 1st – 7
- 2nd – 10
- 3rd – 12
- Samples: Common, Rare, Super
- Details: Increased Enemy Presence, Multiple Operation Modifiers, Heavily Armored Enemies
- Bonus: 200%
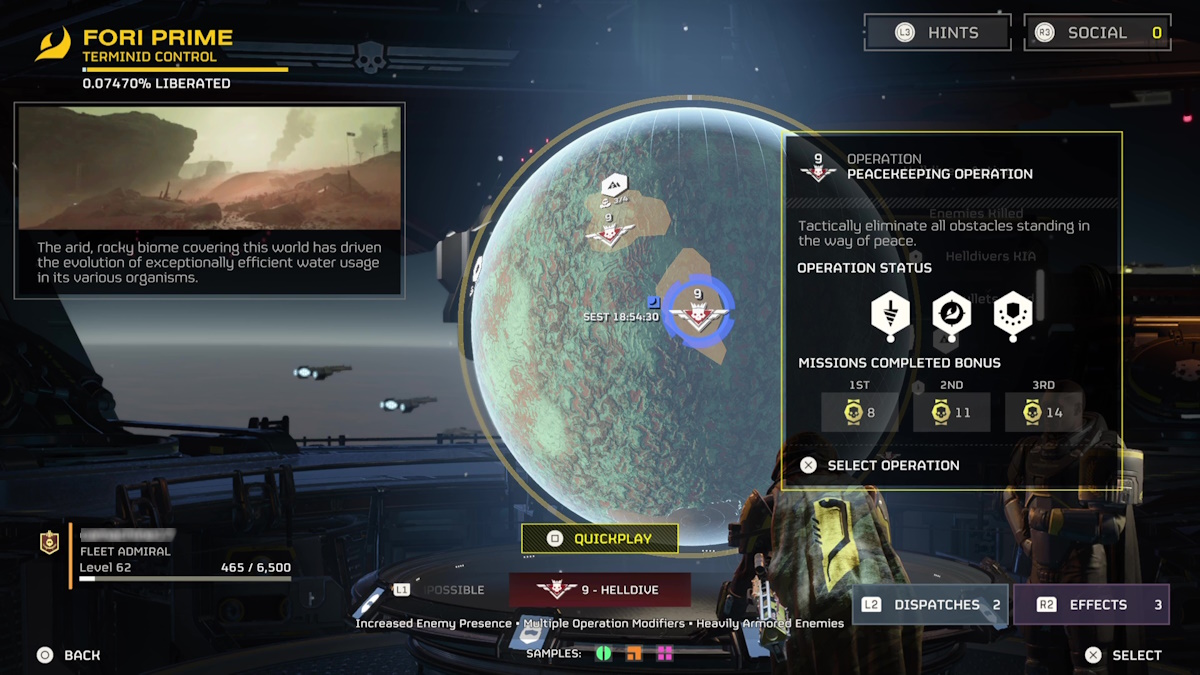
Difficulty 9: Helldive
Difficulty 9 – Helldive was the hardest difficulty ahead of the Escalation of Freedom update. I suggest players be level 40 or higher before taking it on, as the amount of patrols and Heavy elites you face off against can be overwhelming. It’s not for the faint of heart, but it provides good rewards — if you make it out alive.
- Warbond Medals:
- 1st – 8
- 2nd – 11
- 3rd – 14
- Samples: Common, Rare, Super
- Details: Increased Enemy Presence, Multiple Operation Modifiers, Heavily Armored Enemies
- Bonus: 250%
Difficulty 10: Super Helldive
Super Helldive was introduced in the Escalation of Freedom update. It ramps things up even further than Helldive, and is meant for the most grizzled of players. Heavy presence is through the roof, and the ground crawls with dozens of enemies in large patrols. Teamwork and experience are paramount.
- Warbond Medals:
- 1st – 9
- 2nd – 12
- 3rd – 15
- Samples: Common, Rare, Super
- Details: Increased Enemy Presence, Multiple Operation Modifiers, Heavily Armored Enemies
- Bonus: 300%
For more on Helldivers 2, check out our guides on how to use the MLS-4X Commando and Mortar Sentry.


Published: Aug 8, 2024 04:19 pm