Rock and Roll!
The Legend of Zelda: Breath of the Wild introduced players to the Stone Talus Boss fight. Essentially, a living rock with the power to clobber Link with devastating hits. Tears of the Kindom put a new spin on this granite goliath in the form of the Battle Talus, a Stone Talus that has a mini Bokoblin Camp on top of it. There’s a large amount of Battle Talus’ in both the Overworld, and the Depths, and if you ever come across one, you’ll be in for a tough fight if you don’t come prepared.
All Battle Talus Locations in Tears of the Kingdom
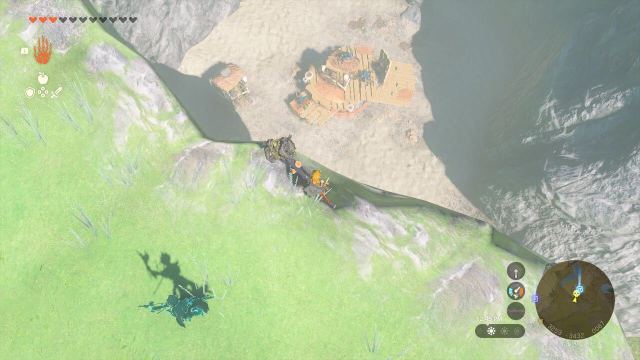
Starting from the surface, the first Battle Talus you’ll find is located in Gama Cove. This is at the bottom of the map, and is right near Tears of the Dragon #7. The one that’s in the shape of a dagger. Its coordinates are (3253, -3432, 0067)
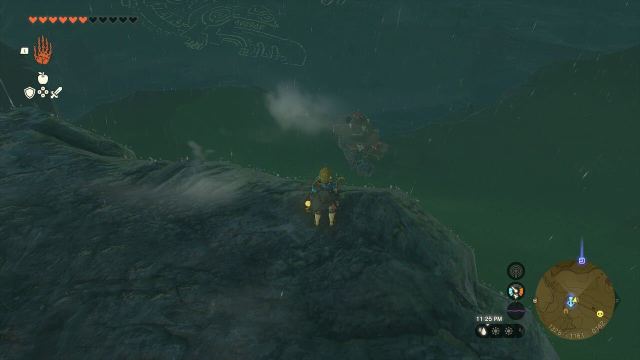
The second Battle Talus can be found right next to the Sahasra Slope Skyview Tower. It’ll wander at the bottom of the hill housing the tower. Its coordinates are (1328, -1161, 0162)
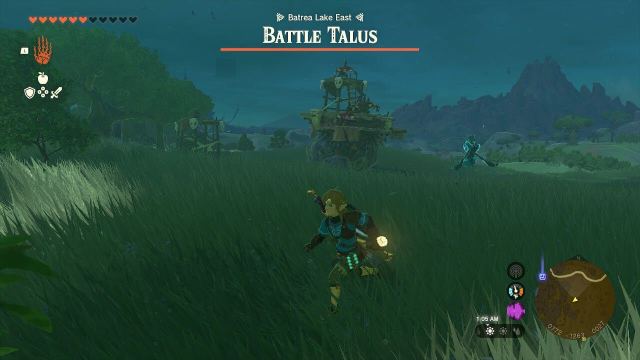
The third Battle Talus is located east of Batrea Lake, It’s easy to spot, as the image making up Tear of the Dragon #4 surrounds it. Its coordinates are (0775, -1286, 0029)
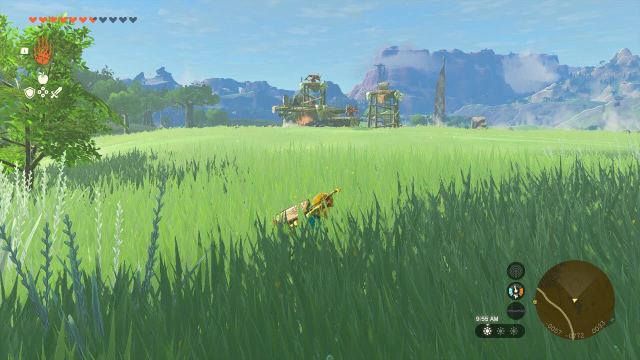
To get to the fourth Battle Talus, you’ll need to make your way to Whistling Hill. You’ll find the Battle Talus north of the Teniten Shrine. Its coordinates are (-0057, -0772, 0033)
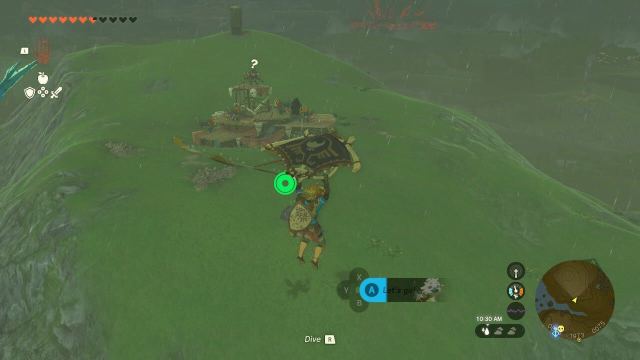
The fifth Battle Talus is located just north of the Popla Foothills Skyview Tower. It’s across the chasm, so you’ll have to glide. Its coordinates are (0615, -1973, 0071)
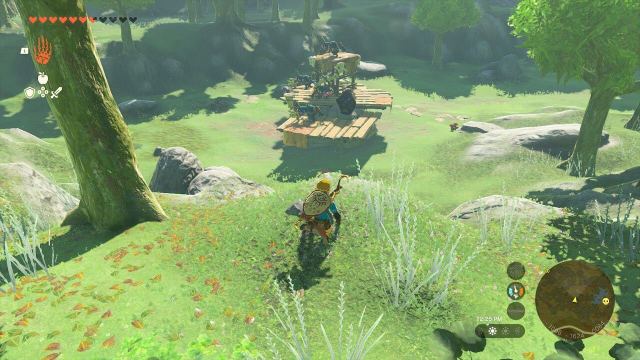
The sixth Battle Talus can be found at Hopper Pond. The closest Fast Travel point being the Riogok Shrine. Walk toward the pond from the shrine, and the Battle Talus will be on the other side. Its coordinates are (-1096, -1624, 0084)
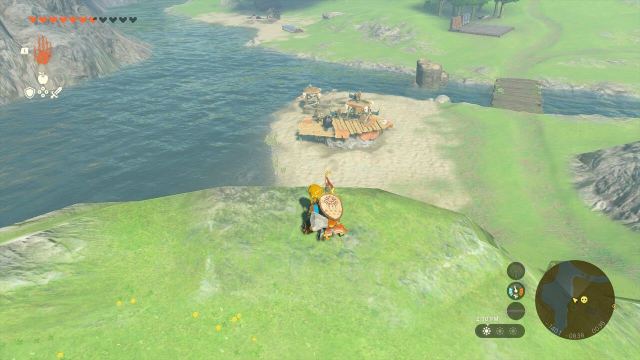
Heading toward the seventh Battle Talus, you’ll want to make your way to the Outskirt Stable. Once you’re there, head north up the road, but go off road and follow the river east instead. On the beach where the Regencia River forks, you’ll see the Battle Talus in the sand. Its coordinates are (-1401, -0838, 0036)
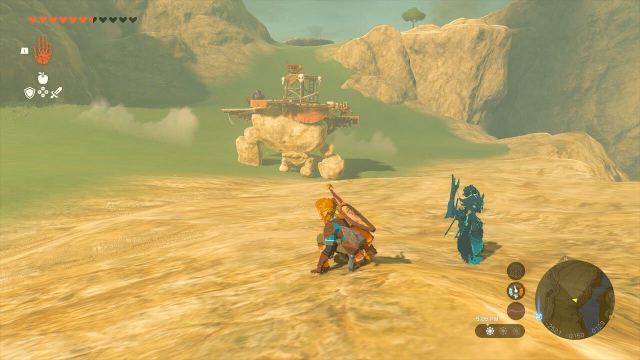
The eighth Battle Talus can be found around Washa’s Bluff, across from Satori Mountain. Glide from Satori Mountain across the ravine, and you’ll see it walking on the ledge. Its coordinates are (-2522, -0149, 0129)
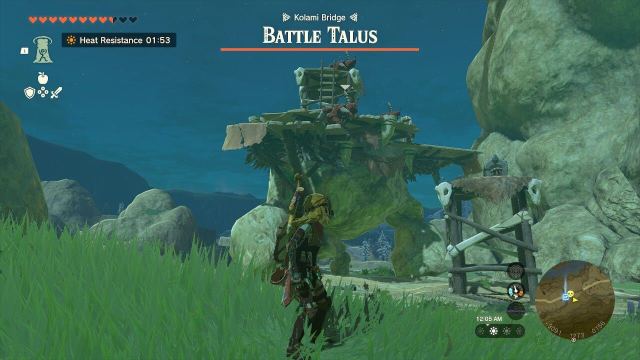
Finding the ninth Battle Talus is simple. You’ll need to make your way to the Kolami Bridge. It’s south of the Oromuwak Shrine. Once you make it to the Kolami Bridge, you’ll find the Battle Talus on the platform underneath the bridge. Its coordinates are (-3086, 1273, 0156)
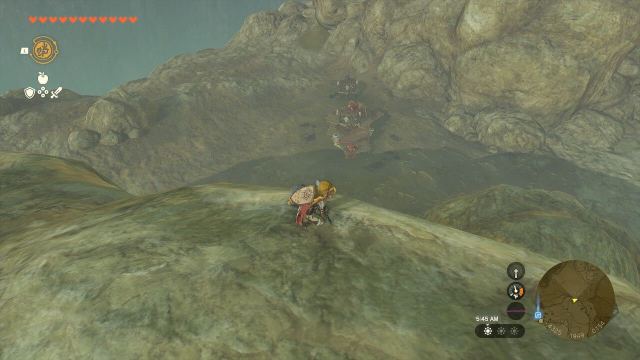
You’ll need to head north for the 10th Battle Talus. It’s located north of the Cherry Blossom Tree at Passer Hill. West of Rito Village, and Southwest of Lake Kilsie. Its coordinates are (-4325, 1949, 0154)
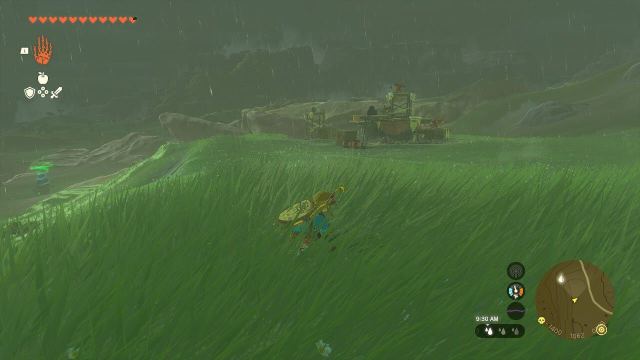
The 11th Battle Talus can be found directly north of Tear of the Dragon #1. Its coordinates are (-1400, 1062, 0139)
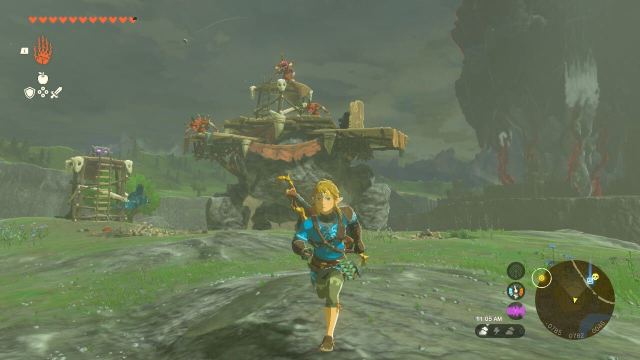
The 12th Battle Talus is near impossible to miss. It’s located smack-dab in the middle of the large island north of the Quarry Ruins and West Castle Town. Its coordinates are (-0787, 0779, 0046)
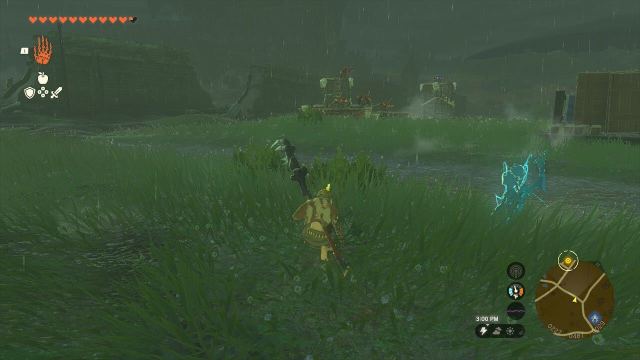
The 13th Battle Talus is directly left of the Yamiyo Shrine. it’s on the side of the path heading into Castle Town. Its coordinates are (0227, 0487, 0029)
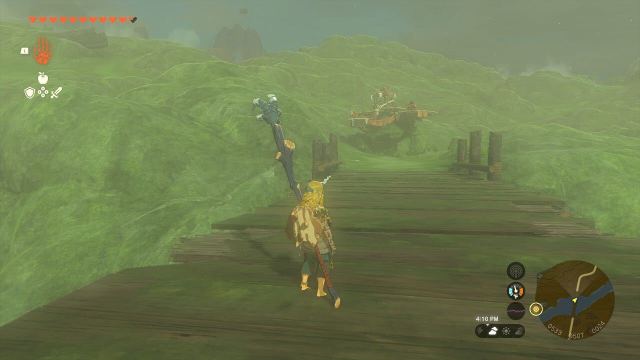
The 14th Battle Talus is directly East of the previous one, on the Orsedd Bridge, you may encounter it trudging about on the other side. Though it patrols very close to the bridge itself. Its coordinates are (0533, 0507, 0024)
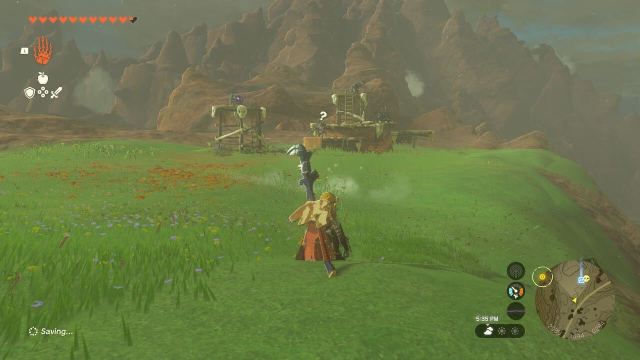
The final Battle Talus on the surface can be found on the road west of the Domzuin Shrine and the South Akalla Plains Chasm. They’re on the left side of the road heading north, if you glide to the location from the Domzuin Shrine, it’s pretty easy to spot them. Their coordinates are (2989, 1444, 0284)
Battle Talus Locations in the Depths
There’s six Battle Talus in the Depths. These ones are more of a fight than the previous Battle Talus, as they’ll deal Gloom Damage, locking off hearts unless you find a way to cleanse them.
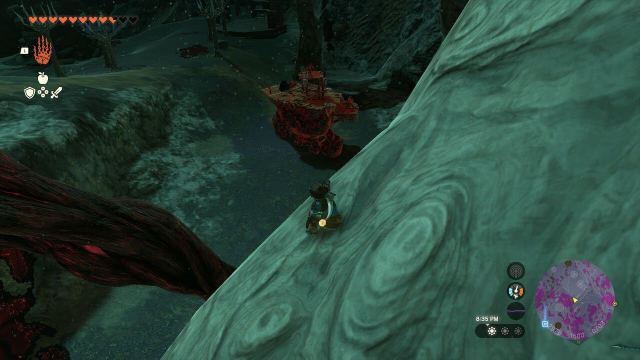
The first Battle Talus can be found directly below where the previous Battle Talus is on the surface. It’s west of the Niuzimod Lightroot. Its coordinates are (2978, 1500, -0703)
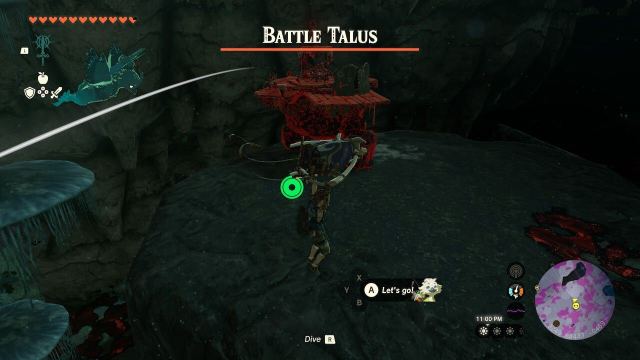
The second Battle Talus is at the very bottom of the map. It’s found wandering around to the southeast of the Dunsel Canyon Mine. The closest fast travel is the Kotimab Lightroot, which you may have activated if you went to the Left Leg Depot to build the Zonai Construct. It’ll take some climbing, so be prepared. Its coordinates are (3261, -3426, -0481). This Battle Talus also shares the location of the Battle Talus in Gama Cove.
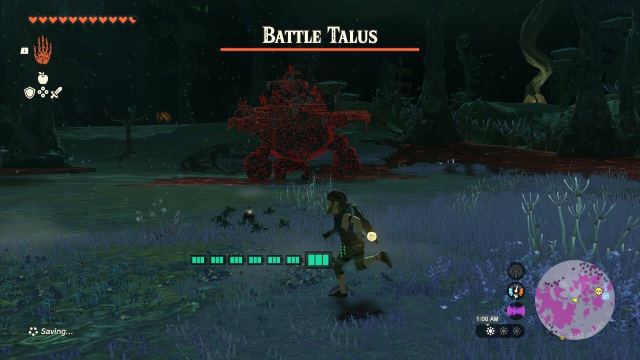
The third Battle Talus can be found just north of the Netinet Lightroot. This one is also below the Whistling Hill Battle Talus in the overworld, Its coordinates are (-0146, 0758, -0485)
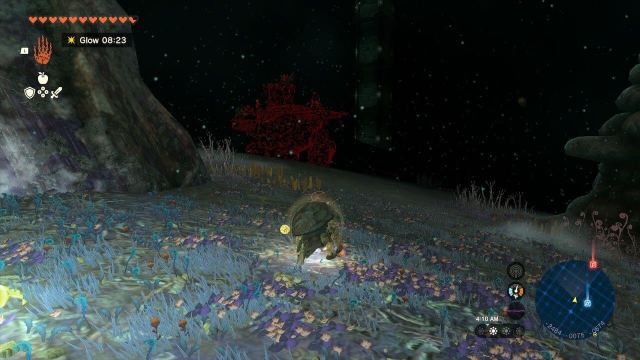
The Fourth Battle Talus is found directly below the Washa’s Bluff Battle Talus on the Surface. There’s a Boss Arena, and an Ascend Point nearby this boss as well. Its coordinates are (-2483, -0075, -0573)
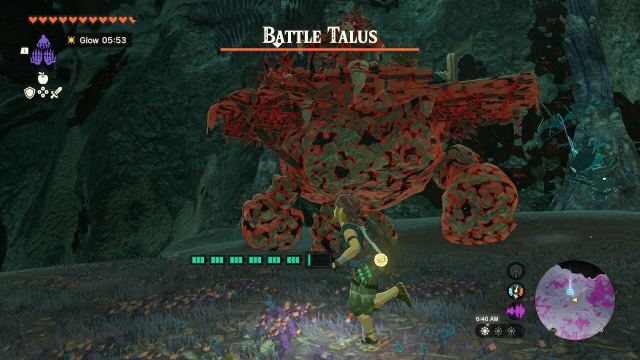
Finding the Fifth Battle Talus is as simple as heading to the Kolami Bridge Battle Talus’ Location in the Depths. It’s directly South of the Kawumoro Lightroot. Its coordinates are (-3069, 1130, -0606)
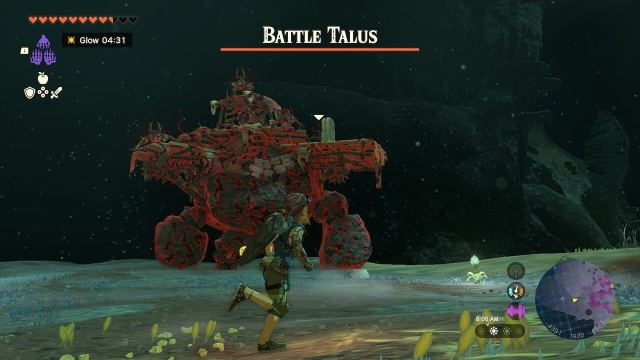
The final Battle Talus in the Depths can be found in the same place as the Battle Talus by Passer Hill in the Overworld. Head west from the So-oaw Lightroot, and you’ll stumble upon the Battle Talus trudging along, waiting for someone to provoke it. Its coordinates are -4382, 1919, -0561)


Published: Jul 6, 2023 11:50 am