Easy as 1C-2B-3E
With a name like Cyberpunk 2077, you’d expect hacking, right?
Well, you’ve come to the right place! Here’s a quick rundown of how hacking works and what it can generally do for you in-game.

Hacking is mostly governed by your Intelligence stat, which directly influences your hacking [netrunning] prowess and opens up new hack abilities.
Conversely, your Technical Ability stat mostly deals with opening errant doors, crafting, and engineering.

By opening up Intelligence, you’ll see a host of abilities, including skills that can add new twists to your hacks (like disabling cameras or make enemies weaker for a limited time). Don’t forget that each skill tree also has a second tab: in this case, it’s quickhacking, which is generally done in combat to weaken opponents, limited by “RAM,” a sort of MP that recharges over time. You just need to hold LB/L1 on screens or enemies and a prompt will pop up to spend RAM for an action. Easy.

While quickhacks “just work,” breach protocol is akin to traditional “hacking” in the videogame world, complete with a minigame. These terminals are a little more rare, and generally found inside of key buildings with lots of NPCs, or critical path hostile hubs.
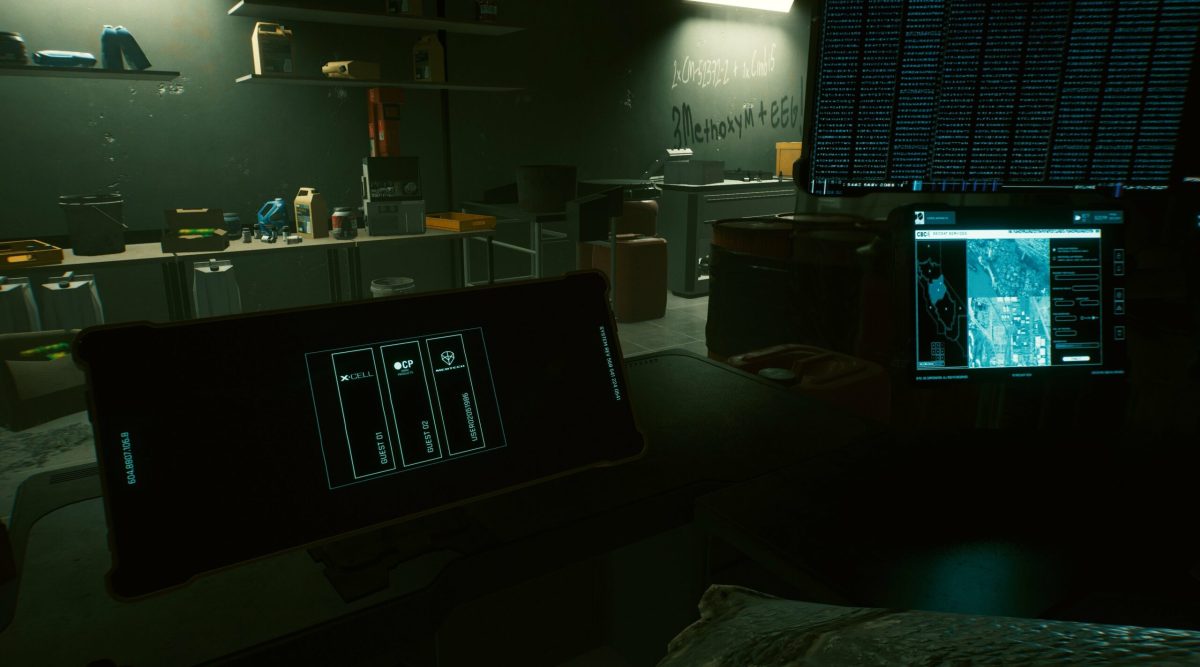
You can look for the symbol on monitors like the one above, and then “jack in” to start a breach hack. Early on, this typically requires an Intelligence level of five or above.

Here’s the rub. After you select a sequence, you have a specific amount of time (the meter is in the top right) to hit whatever targets you want on the right side of the screen (some or all). Generally, these hacks involve a lump sum of money for each layer you datamine.
To get started, you need to select a letter/number combination in the top horizontal row to kick things off: this will start the timer. From there, you’ll be forced to select the next number from that same column, and so on, repeating the process. Make sure you look at the grid first and see where subsequent numbers in the required code are (again, on the right side of the screen titled “sequence required to upload”). It’s kind of confusing, but you’re trying to input four codes that clear as many sequences as possible.
So in the case above, starting with anything but E9 will allow you to get more sequences. You can start with “1C” since you need two of them in total. Then you can aim for “55” and another “1C” later, which would automatically clear the first and third sequence (since they’re basically the same).
You are not expected to get all three sequences on any given hack, so even one or two can be considered a win. If you don’t like the way a particular minigame table looks, you can also quit and re-jack; though note that this lowers the timer each time you do it.

If you’re hasty, you can accidentally preclude yourself from finishing off each sequence; since it would be impossible to actually finish (read: selecting E9 at any point could prevent you from hitting 55, 1C or BD, which you actually need). It’s also random, so some of them could actually be easier by default (like the one above).
You can increase your total buffer extensions (giving you more than four “tries” to upload sequences) by hitting level 19 in skill progress in breach protocol: but this will take quite a while. As long as you study the grid before you actually start, you should be good to go. Good luck!


Published: Dec 10, 2020 10:45 am