
Taking Link back to the 80s
Domizuin Shrine is the type of shrine that, if you get confused, you can ruin the whole thing and need to start over. Think of it as the Rubik’s Cube of shrines in Tears of the Kingdom. It might seem somewhat simple on the surface, but it’s easy to get turned around.
We recommend reading the below instructions carefully to complete the shrine, each pillar needs to be activated an exact number of times and in the exact order listed below. Any deviation will make the shrine impossible to complete using the instructions without starting from scratch. But before we get around to that, let’s first take a look at how to find Domizuin Shrine.
How to find Domizuin Shrine in Tears of the Kingdom
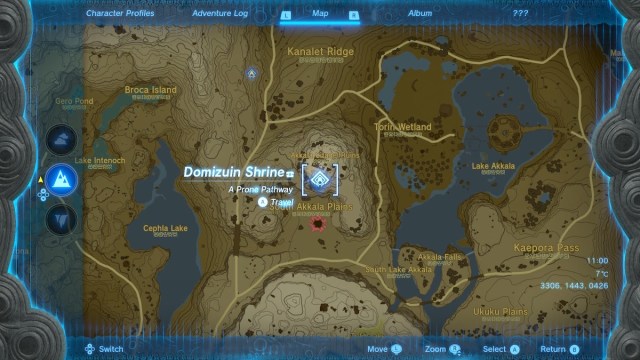
Domizuin Shrine is located in the Akkala Highlands area of Hyrule, which is the most northeasterly section of the map. The shrine is specifically located in the Akkala Citadel Ruins between Cephla Lake and Lake Akkala. The closest tower to the shrine is Ulri Mountain Skyview Tower, so we recommend fast traveling there if you have it unlocked. There are also several shrines in the area that may get you closer if you’ve completed them.
The shrine is located almost directly south of Ulri Mountain Tower. If you use the tower and glide towards the shrine, you can get to the top of the mountain where the shrine is located. If you’ve moderately upgraded Link’s stamina, you can get to the top of the mountain in a single glide. Otherwise, climbing the mountain is relatively simple. Check the screenshot above for the exact location of the shrine on the map.
How to complete Domizuin Shrine
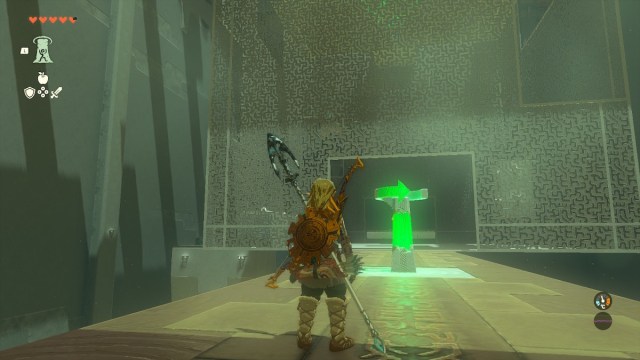
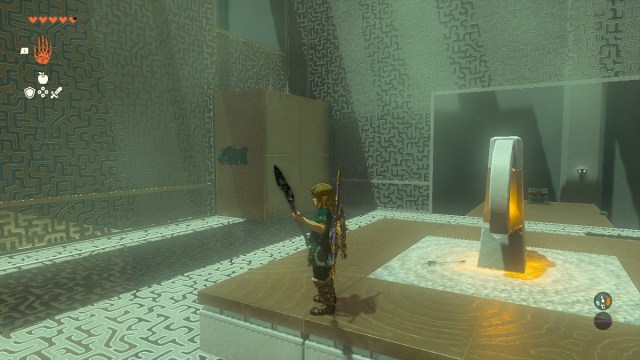
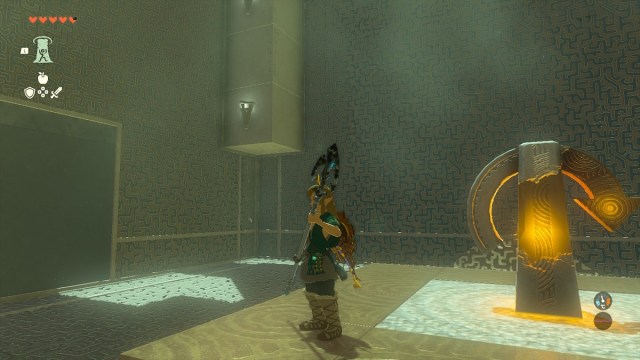
When you enter the shrine, walk towards the end of the platform and use Ascend to travel up via the overhanging pillar above. On the next level is an orange plinth. Unlike other plinths like this that you may have seen throughout Hyrule, this one has an arrow. This is to signify that hitting the plinth will turn the giant cube in front of you in the direction of the arrow. Hit the plinth for the first time to turn it green and move the giant cube around horizontally.
In the center of the cube is another plinth. While the first plinth turns the cube around horizontally, the one in the center of the cube will turn it vertically. Hence the arrow pointing the other way.

Hit the center plinth twice, and the cube will move to reveal the first chest. The chest is opposite the plinth, just outside of the cube on its own platform. Walk over and open the chest to receive a Zonai Charge.
Back in the cube, there is now what appears to be a chest attached to a wall. The chest in this location is out of Link’s reach, and you cannot use Ultrahand to grab it. Stand underneath the chest and fire an arrow at the center plinth so that when the cube moves, Link is now standing on the platform next to the chest. Open the chest to receive a Strong Zonaite Shield, which is great for mid-level players.
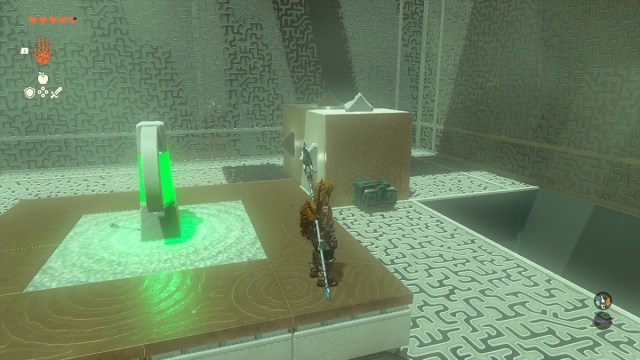
After opening the chest with the shield, glide down to the center plinth and open the other chest pictured above. This one will provide you with a bundle of arrows, just in case you need them to continue.
Finally, we’re ready to move the cube to complete the shrine. First, shoot the horizontal plinth outside of the cube with an arrow. Then, hit the middle vertical cube three times. If activated in the correct order, you should be able to stand underneath the large stone pillar pictured above.
If you positioned that correctly go to the pillar and Ascend through it to the top of the cube. Although you’re close to the end, the cube still needs to be turned. From the top of the cube, shoot the horizontal plinth down below three times to turn the cube towards the final steps. You can attempt to jump over one of the gaps, but it is very easy to miss and fall.
Collect your Light of Blessing, and the Domizuin Shrine is complete.


Published: May 30, 2023 03:38 am