Get the Divine Weapons by collecting these!
The hunt for Rusty Weapons is a major sidequest in Octopath Traveler 2. While Rusty Weapons won’t do anything for you at first, their true power is unlocked when you discover the retired blacksmith in the town of Gravell.
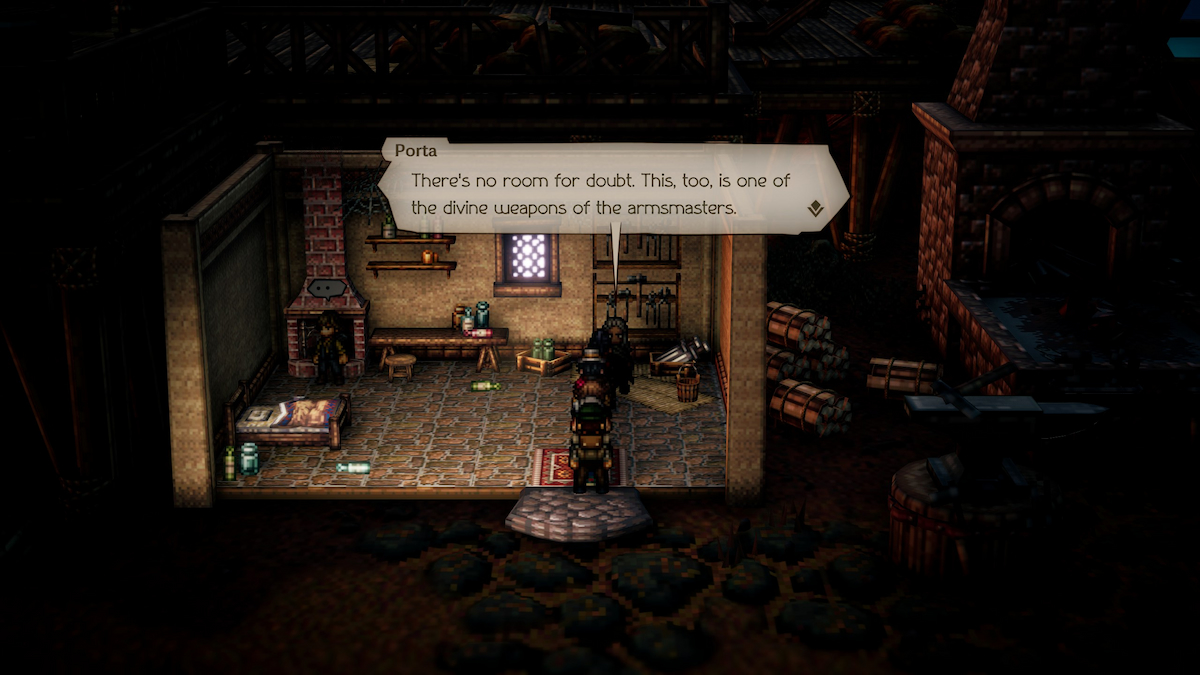
After helping the blacksmith with a debt collector, he can transform Rusty Weapons you find into Divine Weapons. Not only are Divine Weapons among the best equipment in the game, Armsmasters need them to use all their skills. Also, as you collect Divine Weapons, you’ll unlock passive skills for the Armsmaster job. Armsmaster passives are immediately usable by anyone in your party, so you have ample reason to pursue these even if Armsmaster isn’t necessarily interesting to you.
Rusty Weapons are predominately found in optional dungeons. These range from danger level 26 on the lowest end to danger level 48 at the highest. Two weapons require completing side objectives in towns, though you’ll still need relatively high levels to obtain them. Here’s how to get every weapon, in order of easiest to hardest.

Rusty Staff
The Rusty Staff is located in the Seat of the Water Sprite, which can be found behind a waterfall in the Borderfall zone. This side area has a danger level of 26, so if you’re strong enough to find this dungeon, you’re strong enough to explore it.
Rusty Axe
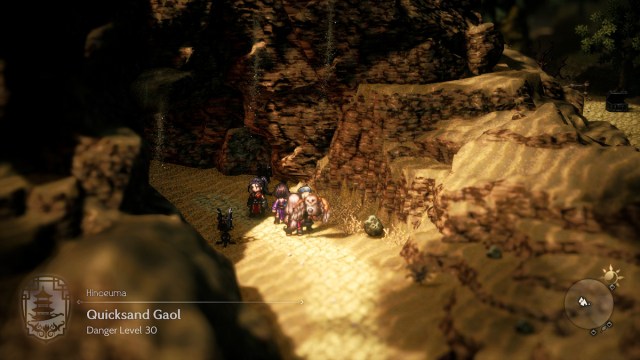
You’ll find the Rusty Axe in the Quicksand Gaol optional dungeon. This can be found on the western side of the Western Sai Sands area, so just follow the shrine icon on your minimap until you find it. This is a remarkably short dungeon with a danger level of 30, though you still need to fight a boss to uncover the chest hiding the weapon. The Lord of the Sands is weak to Swords, Daggers, Axes, Ice, and Light.

Rusty Sword
As a change of pace, the Rusty Sword has its own dedicated sidequest to complete. In the town of Winterbloom, you’ll find a sword stuck in the ground. Talk to the Troubled Woman nearby and you’ll fittingly unlock the quest The Sword in the Stone. You’ll need to brave the Western Winterbloom Snows to get to Winterbloom, which has a danger level of 34.
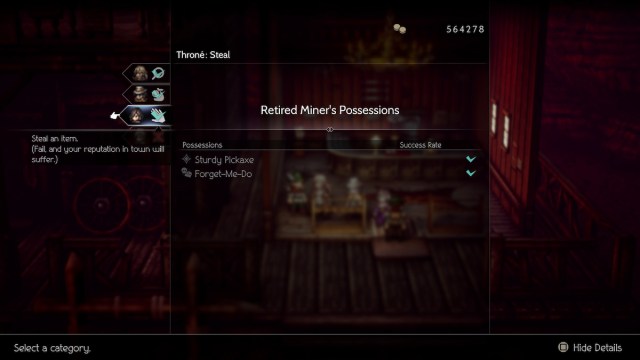
Fortunately, this quest is easy to resolve. Warp to Oresrush and enter the weapon store. Regardless of the time of day, a Retired Miner will be hanging out in the corner. Use either Partitio’s Purchase, Throné’s Steal, or Agnea’s Entreat Path Actions to grab the Sturdy Pickaxe from him. Osvald’s Mug is apparently off-limits here. With the Pickaxe in hand, warp back to Winterbloom and return to the Troubled Woman.
A short scene will play out, and you’ll recieve 7,000 leaves, Revitalizing Jam, and the Rusty Sword as a reward.
Rusty Polearm
This one lacks the fanfare the other weapons on this list receive, so it can be easy to miss. To get this lance, make your way to Timberain. Getting here requires traversing the danger level 45 Southern Timberain Trail, so make sure you’re adequately leveled before journeying to this point.
Once you’re in town, make your way north and enter Timberain Castle: Town Square. Go down the stairs to the west of the fountain and you’ll find an Elderly Soldier blocking a doorway. You likely know the drill by now; knock this guy out to gain access to whatever’s behind him. If you engage him with Hikari’s Challenge or Ochette’s Provoke, you’ll have a fairly difficult encounter ahead of you. Beating him as Hikari is worth the effort, as the skill Frenzied Fire is a powerful multihit bow attack. If you choose this route, the Elderly Soldier is weak to Polearms, Axes, Ice, and Wind.
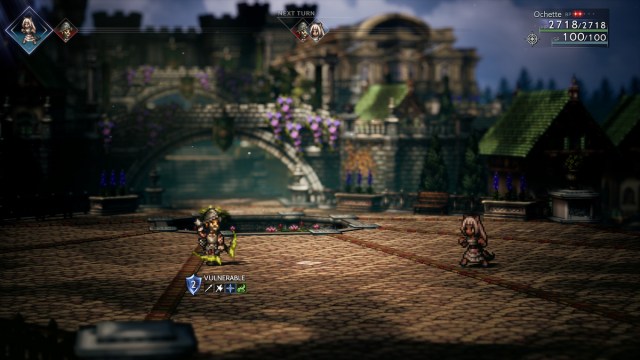
Alternatively, Throné’s Ambush and Castti’s Soothe work here. If you have the levels or items needed for these Path Actions, you can skip the encounter entirely.
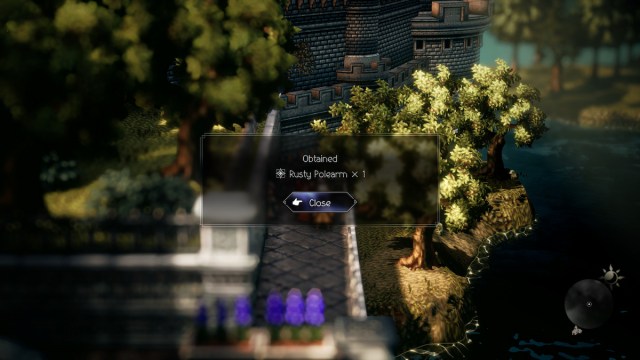
Enter the building and make your way down the semi-obscured pathway on the right. Keep running down this passage and you’ll find a treasure chest. Get the Rusty Polearm from here.
Rusty Bow
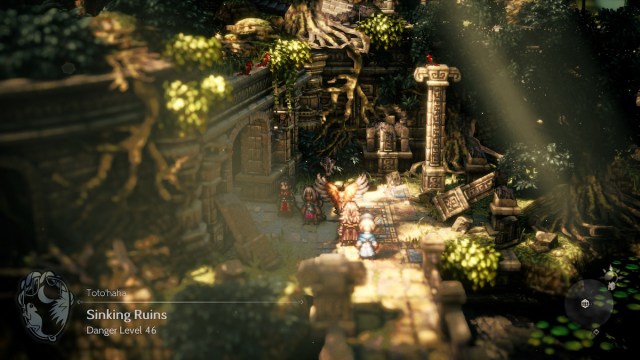
Now we’re back to classic dungeon crawling. The Rusty Bow is found in the Sinking Ruins. These can be found on the left side of the Southern Nameless Village Traverse area, which as the name implies is used to get to the Nameless Village. Read about where to find this location here.
To get to the Rusty Bow, you’ll need to engage in a boss battle with the Behemoth. This monster will inflict petrification on you, so be prepared to deal with that status ailment. It is initially weak to Polearms, Axes, Bows, and Ice. As the battle progresses, it will change its weaknesses to Swords, Daggers, Thunder, Wind, and Dark. Lean into your best strategies and open the chest afterwards for your reward.

Rusty Dagger
Finally we come to the last Divine Weapon. Getting this weapon requires owning your own boat, which you’ve likely accomplished by this point in the game. In case you missed it, check out our guide here.
Once you’re on your boat, you want to look for the Shipwreck of the Empress. To get here, sail directly north from the harbor in Canalbrine. It’s honestly hard to miss, so don’t sweat the directions too much. This ship has a danger level of 48, making it one of the hardest Divine Weapons to get. However, after coming this far, you”ll be ready for this final test.
There are many goodies worth uncovering in this area, so make sure to explore thoroughly. Before you know it, you’ll stumble upon a red chest that houses the Rusty Dagger. Take your weapons back to the Retired Blacksmith and you’ll officially complete the Search for Divine Weapons questline. For best results, pay close attention to the special effects of each of the Divine Weapons so your Armsmaster of choice can make the most of their arsenal. Enjoy using all these powerful armaments!




Published: Mar 13, 2023 11:28 am