
There are a lot of dungeons in Final Fantasy XIV, from those necessary for the MSQ to those unlocked via side quests. Most of them are a joy to run, either through music, mechanics, or fun fights. However, some dungeons are just plain frustrating.
I’ve picked apart all of the dungeons currently available in FFXIV and chosen 10 that drive me up the wall — the ones I dread and bring endless frustration when they pop up in my daily roulettes. Nothing here is based on difficulty — a little challenge is part of the fun for me, even in more casual content. My reasons here are more nitpicky, boiling down to tedium and nitpicks.
Whether it’s a specific mechanic in certain boss battles or something else entirely, here are 10 FFXIV dungeons that I dread crawling back through.
The Praetorium and Castrum Meridianum
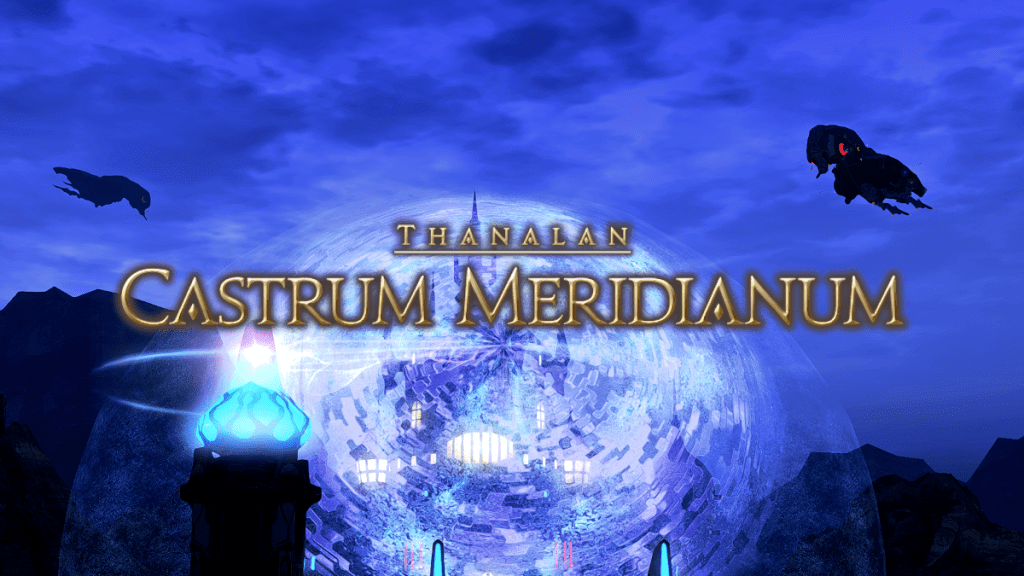
Admittedly, I could have split these into two different entries, because they are both equally frustrating. Sadly, I think that doing that could have been considered cheating, as the reason they’re both on this list is exactly the same: unskippable cutscenes. I’ve seen Gaius’ seemingly endless monologues thousands of times, which I can now recite from memory, against my will.
I’m sure these would be less frustrating if they weren’t almost guaranteed to come up when running MSQ Roulette. What’s even worse is that if you don’t get one of these two, the alternative is even more frustrating and tedious.
Pharos Sirius

Whenever I get this dungeon as part of my roulettes, it elicits an audible groan. Pharos Sirius is a level 50 instance, so you would think that now that the level cap is double that, it wouldn’t be too difficult, right?
Wrong. Running this dungeon with level sync enabled is a painful reminder that difficult four-man content isn’t a new Dawntrail phenomenon. The first boss in here, Symond the Unsinkable, comes with a slew of AOEs that apply the Corrupting Crystal debuff.
If you collect three of these debuffs, you explode, and if you’re not hypervigilant of both your surroundings and party list, you’re likely to take out the entire party with you. This wouldn’t be so bad if you weren’t trying to avoid AOEs which feel entirely unavoidable, especially for those with higher pings.
The Tower of Zot
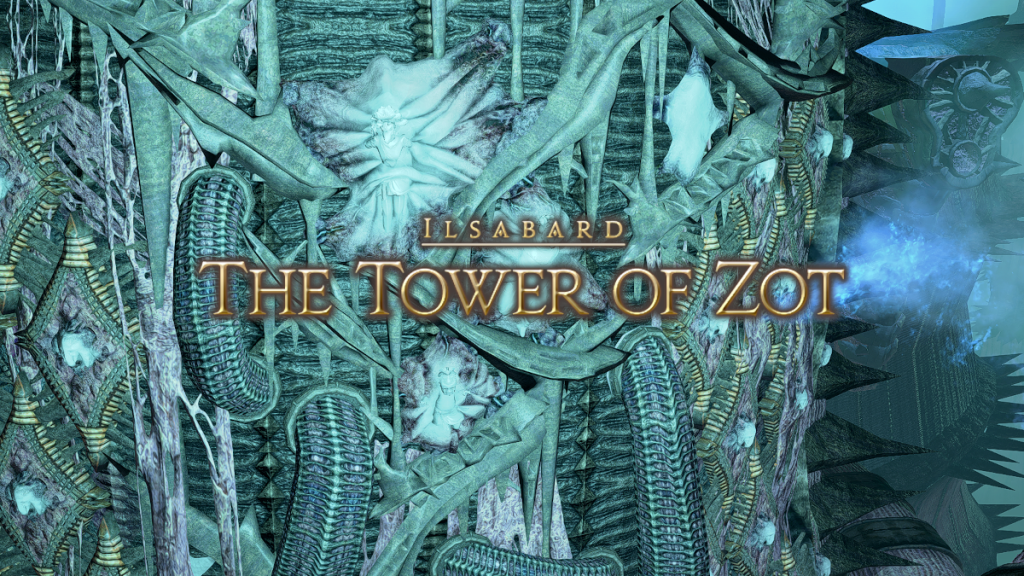
I’m the first to admit that this dungeon, the first dungeon we faced in our Endwalker adventure, feels like the development team picked us up by the ankles and very much threw us in at the deep end without checking we could swim.
Zot is filled with undignified chaos, and not only are your reflexes tested, but the first boss in particular is intent on testing your memory by throwing out mechanics in specific orders which seem to change every time. Healing this dungeon is my personal idea of a nightmare, and I’d rather heal the current tier Extreme Trials or Raids.
The Strayborough Deadwalk
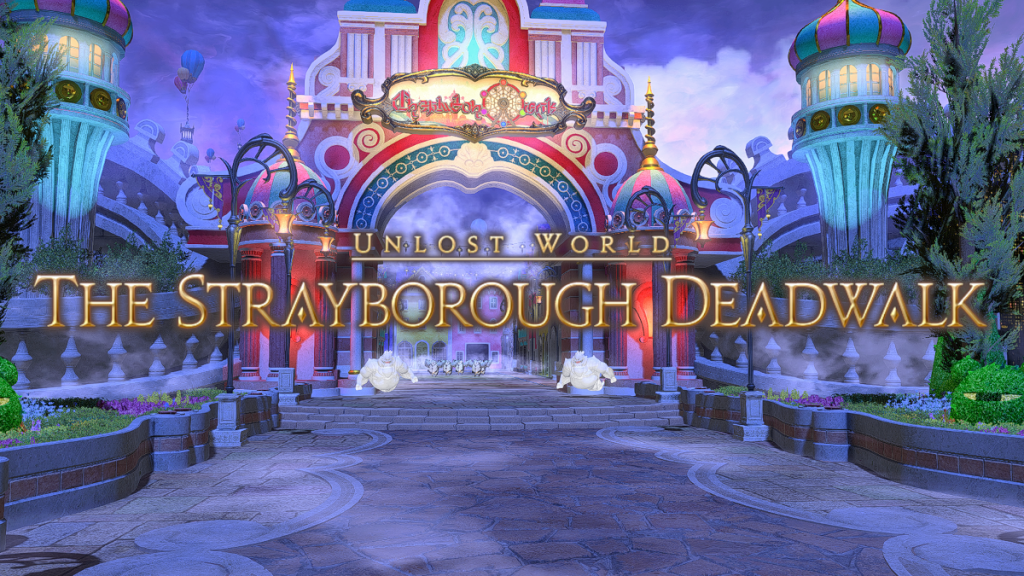
This dungeon is the odd one out on this list because I can wholeheartedly say that I love Strayborough Deadwalk. However, I can definitely take a step back and see why this would be incredibly frustrating to some.
The mechanics are fast and even the scenery itself attacks you repeatedly. If you’re not practically predicting the path for random add movement in the first boss fight, a quick revive may be your only hope of a clear
The second boss, Jack-in-the-Pot, can prove particularly troublesome, especially if you’re suffering from tired eyes or simply unable to focus on more than one thing at once. If you lose track of the safe locations, then you’re in for a world of pain.
The Stone Vigil (Hard)
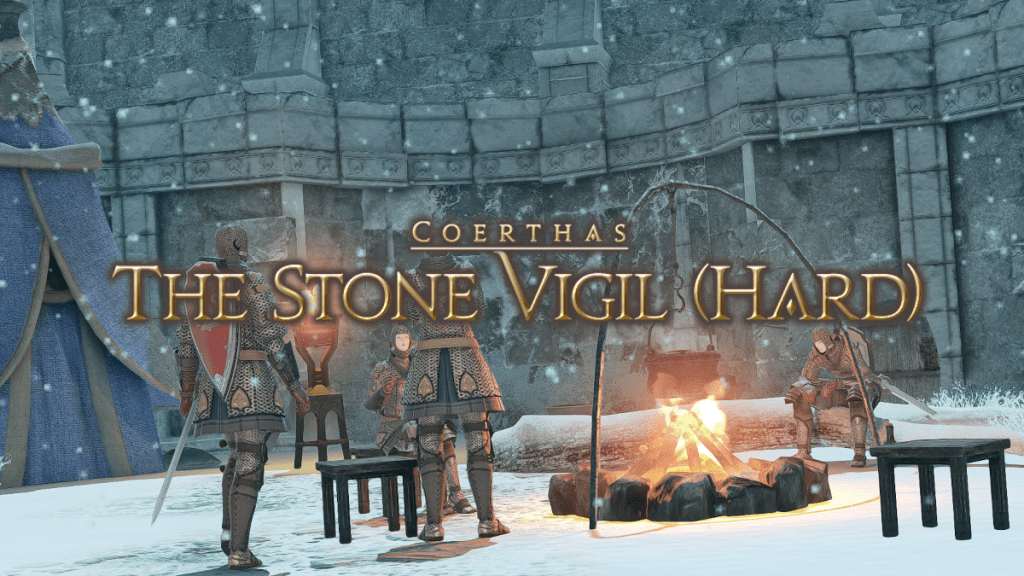
While the normal version of this dungeon isn’t difficult or troublesome, the hard version really does step things up a gear. It’s fairly simple for the most part, but the trouble comes in the form of the second boss, Cuca Fera.
For the most part, Cuca Fera cannot be damaged and, at times, you’ll even receive damage yourself when you try to attack it. Instead of using your actual abilities, you’re forced to use the cannons placed around the arena in order to not only take down Cuca itself, but also the adds who spawn relentlessly.
This entire fight feels painfully slow and tedious, even if the mechanics are pretty simple to understand.
The Aurum Vale
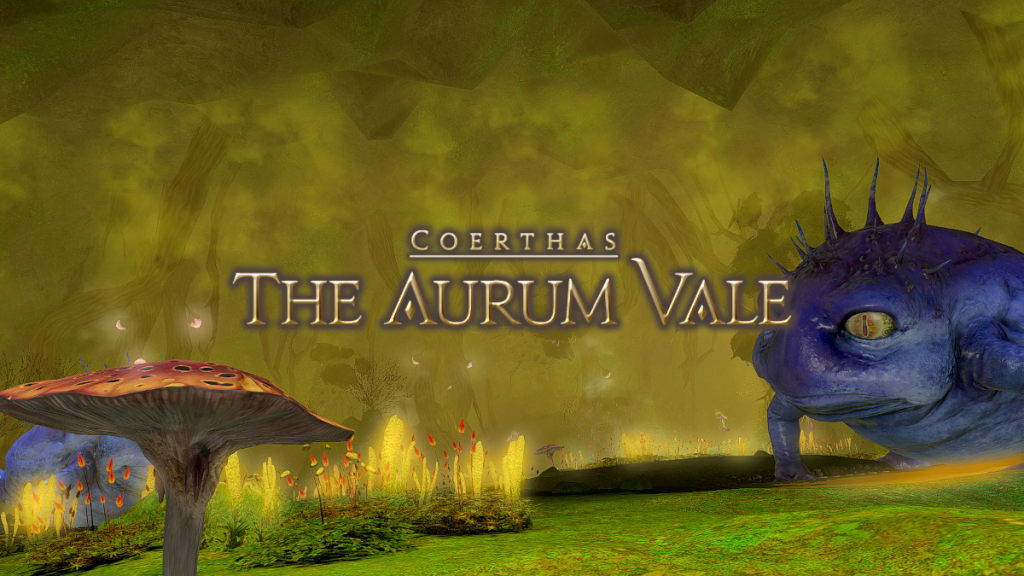
The Aurum Vale is a strange dungeon. By default, it’s a very easy dungeon, but the frustration is caused by its level. At level 47, it syncs players down to level 49, and therefore removes all of the hard hitting attacks which they receive at level 50. What’s worse is it removes most healers’ useful skills, leaving them struggling to long cast inefficient healing spells.
All of this, combined with the utter hazard that is the first room of the dungeon itself. If you’re not careful in here, the party can easily get swamped under far too many enemies, all while having to navigate around puddles of poison on the floor.
Sashtasha (Hard)

Now hear me out – I know this dungeon is easy, and I know that there’s nothing in here that’s likely to result in a wipe at this point. However, I will always hate the second boss of this dungeon with a burning passion.
Not because it’s hard, but just because it’s simply annoying. The boss, Captain Madison, does not stay still regardless of aggro, the adds are relentless and worst of all are the adds who clutch on to your ankles and lock you in place until they’re defeated. Then we get to watch Captain Madison himself running off like a coward before we even get to kill him.
Amaurot
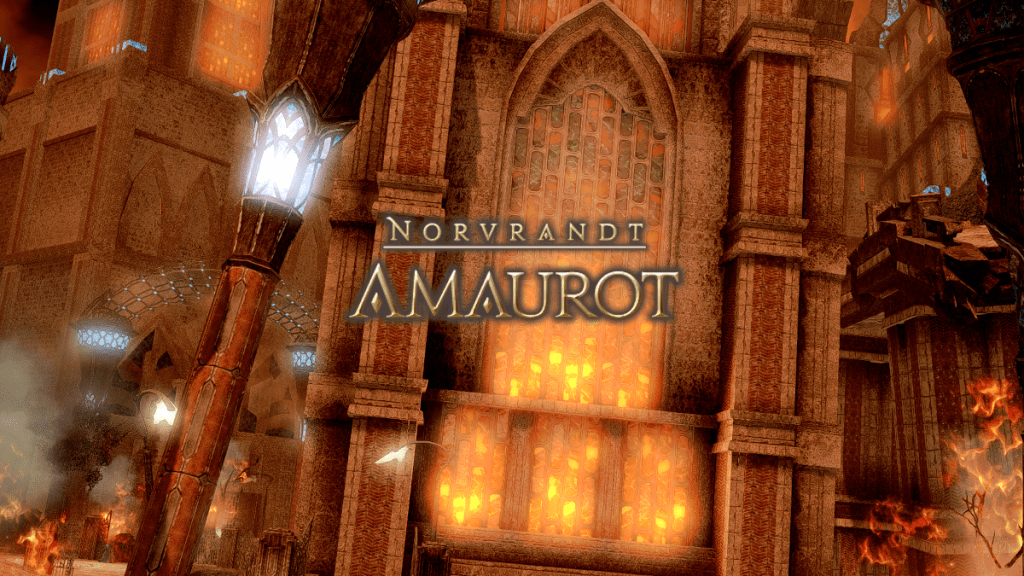
This dungeon is undoubtedly one of the most beautiful, depressing, pain-in-the-butt experiences of any dungeon in FFXIV. The storytelling in here is breathtaking, the first and last boss are a delight to fight and have led to many hilarious memories for me. However, the second boss is where the problem lays.
Mainly because it’s not a boss. It starts out as a boss, Terminus Bellweather, but then it leaves and you’re left defeating wave after wave of adds. In this fight, as well as throughout the dungeon, certain adds will tether to party members and should be taken out first, but I fear understanding of this particular mechanic has been lost to the aether.
And all of this isn’t to mention the fact that no matter where you are in the dungeon, the sky is literally falling, so you have to constantly avoid AOEs.
The Wanderer’s Palace
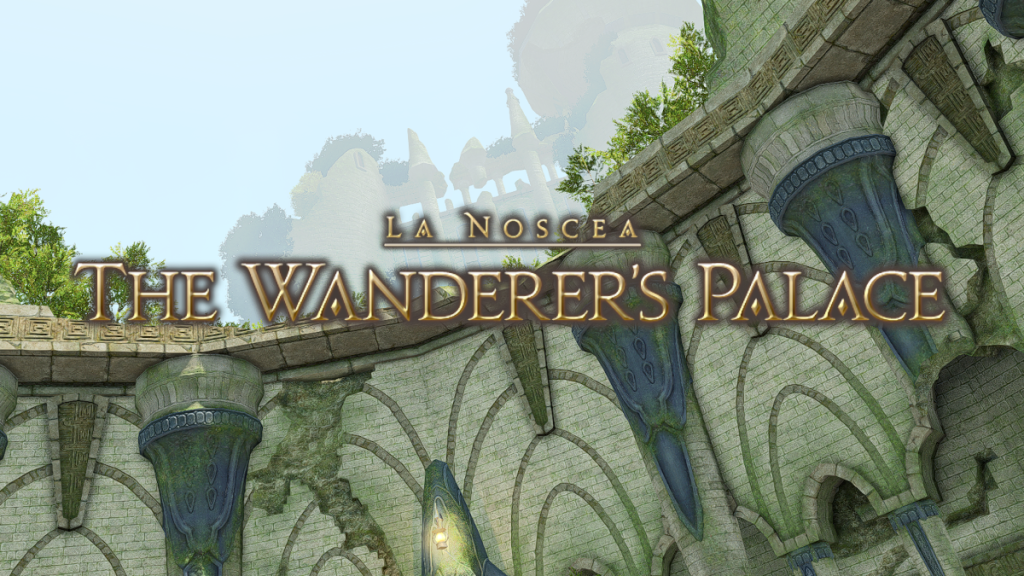
If the Thousand Maws of Toto Rak hadn’t been updated to remove the Magitek Cells, it would have been here. But, it was updated, so The Wanderer’s Palace earns a spot here because of a similar mechanic involving Landern Oil and Nymian Devices.
If any of you ran Thousand Maws before it was updated, you’ll know very well what I mean when I say the walk of shame. If you forget one of the Oils or Devices, it’s a very long run back to interact with it, and as you can’t progress further until you’ve done it, you have no choice.
And then there’s the Tonberry King, who can’t be targeted and hits way harder than anything else in the entire dungeon, who is able to interrupt anyone trying to interact with the Nymian Devices.
Ala Mhigo
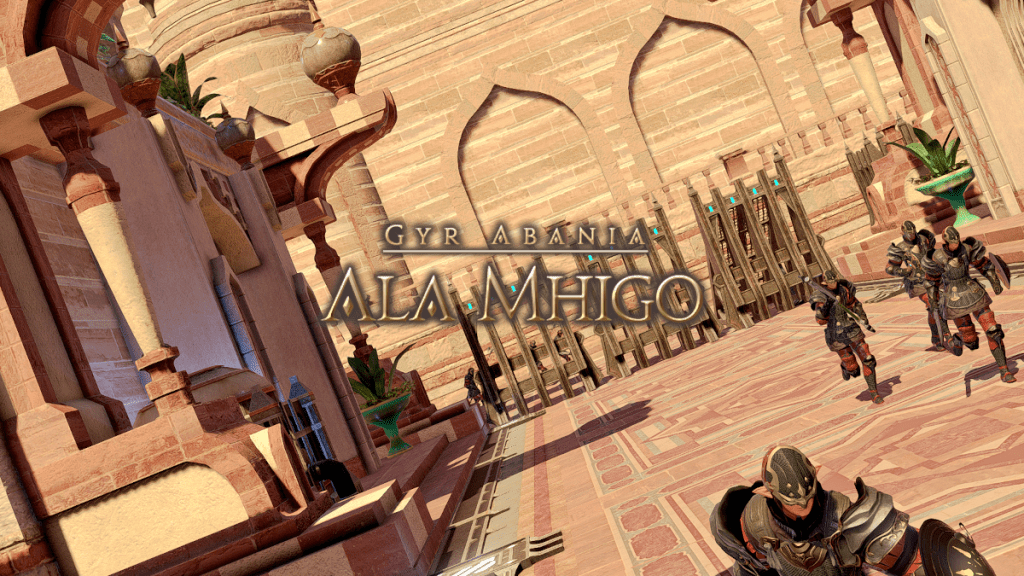
I don’t have a problem with this dungeon except for one very specific distaste for one particular mechanic – Out of Body.
When fighting the second boss of Ala Mhigo, Aulus mal Asina, he performs an attack called Mindjack. This attack sends you out of your own body and knocks you back to the edge of the arena, meaning you have to (very slowly) make your way back to your own body before you can continue to fight.
On a good day, you can get back to your empty vessel very quickly. However, on a bad day, you end up getting ricocheted around the arena like a ping pong ball by the Prototype Bits around the edge of the arena and Prototype Death Claws which follow your excruciatingly slow progress.
And if you don’t manage to get back to your body, you die a very embarrassing death. Lovely.


Published: Jul 29, 2024 11:36 PM UTC