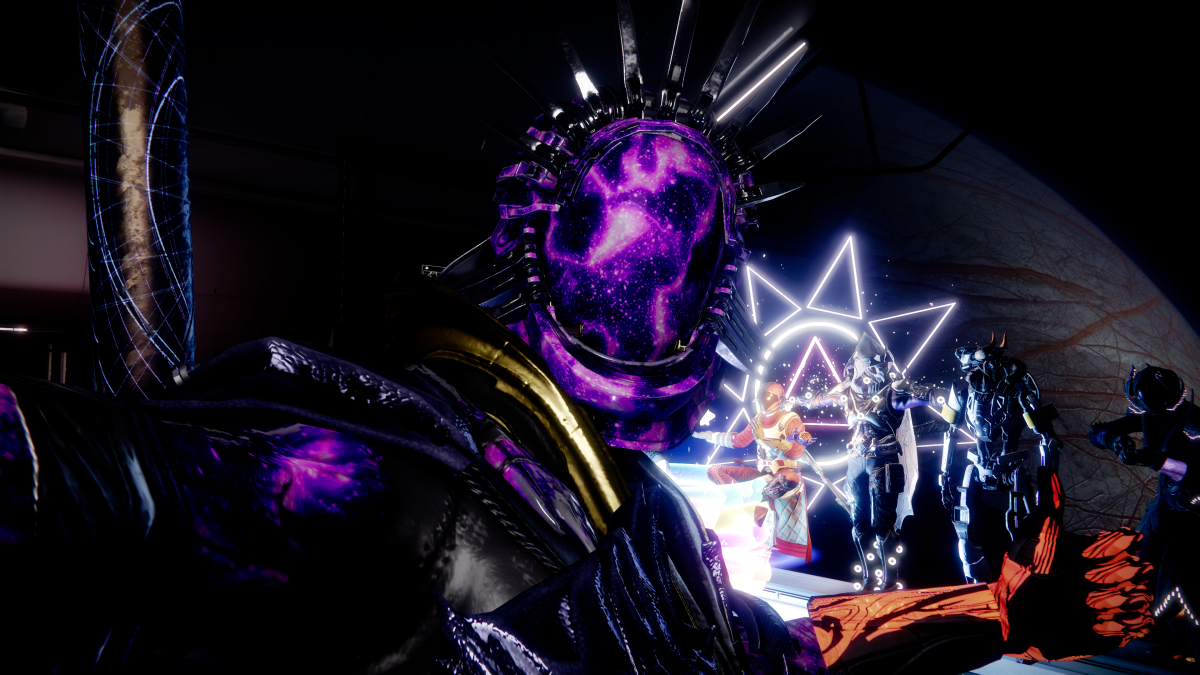
The Pantheon has come to Destiny 2, challenging players to face bosses from various Raids back-to-back. While the encounters should be familiar to longtime raiders, The Pantheon throws a few twists into the ordeal to keep Guardians on their toes. Whether in the form of a surprise Tormentor or a tweak to how mechanics work, players ought to know what awaits them once they step into The Pantheon.
The Pantheon is a limited-time event for Destiny 2, introduced in the fourth week of the Into the Light content update. As a boss rush mode, players are put up against a cast of fearsome Raid bosses, earning Emblems and even additional rewards if each foe is tackled promptly.
The Pantheon launched with four bosses and imposed a -5 power deficit throughout the run. On May 7, another boss, Oryx, will be added alongside a bump to a -10 power deficit. May 14 will again add another boss to The Pantheon, Rhulk, and the power deficit will climb to -15. Finally, on May 28, the last update to The Pantheon hits, adding two bosses, Riven and Nezarec, alongside a power deficit of -20.
Golgoroth

Golgoroth mechanics
The first boss in The Pantheon is Golgoroth from King’s Fall. The standard version of this fight sees the Fireteam split in two at the start, to clear the left and right sides of enemies. Once the arena has settled, four players should head towards the entrance and shoot the blue orb on the ceiling. After enough damage, it will drop a puddle that acts as a damage zone into the pit at the center of the room. The four should jump down to start damaging Golgoroth via the glowing crit spot on its chest.
A few seconds after stepping into the puddle, one player will get a debuff called Unstable Light. Unstable Light will erupt after a few seconds, killing any nearby players. To avoid this, the player with Unstable Light should run out and get near Golgoroth just before the debuff timer expires. The explosion will damage the boss, and other players can use the timestamp of the Unstable Light player running out as a reminder to shoot the next blue orb on the ceiling, continuing the damage phase.

Simultaneously, the two other players want to position themselves near the bridge over the pit in the middle of the room. As the four other Guardians are shooting the blue orb, one player must damage the large yellow crit spot on Golgoroth’s back enough to get his attention via the Golgoroth’s Gaze buff. The player with Golgoroth’s Gaze can run around the pit to best position Golgoroth for players doing damage while keeping an eye on the buff timer.
Just before Golgoroth’s Gaze fades, the player hanging on the other side of the bridge must shoot Golgoroth’s back to steal and refresh the Golgoroth’s Gaze buff. From there, the two Gaze holders keep rotating back and forth, ideally communicating their timer so the other knows precisely when to shoot. This will continue until there are no more blue orbs to create DPS zones or a player fails to capture Gaze. If Golgoroth is still standing when that happens, everyone should hightail it out of the pit to rinse-and-repeat, starting from clearing the enemies surrounding the pit.
Golgoroth changes
The leading change players must look out for in The Pantheon’s Golgoroth fight is two instances of Unstable Light per damage puddle. This means one player will run Unstable Light to Golgoroth as usual, while the other heads off to the side to avoid additional deaths. Outside of this slight mechanic change, there are more enemies to contend with all around the arena, but that’s about it.
The Caretaker

The Caretaker mechanics
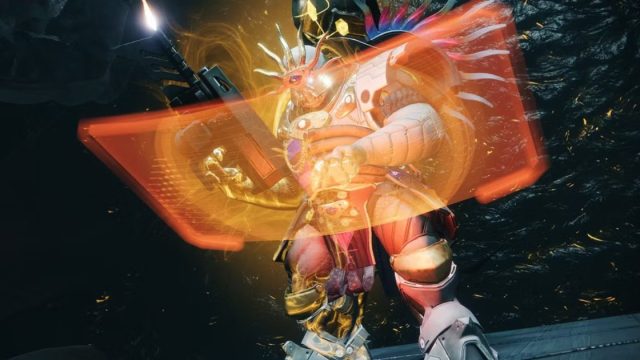
The Caretaker is the second boss in the Vow of the Disciple Raid and the second encounter in The Pantheon. The Caretaker fight occurs while climbing a four-floor tower, with a damage phase before each of The Caretaker’s ascents. The team will want to split into three groups of two: a duo of tanks, a duo of runners, and a duo focusing on enemies and missiles. The two players concentrating on keeping the arena clear don’t have to worry about additional mechanics. Still, in addition to Scorn enemies attacking the Obelisk, The Caretaker also shoots missiles out of its backpack. The rockets don’t pose an immediate threat but can be nasty if a whole barrage targets someone.
One of the two runners will start things off, activating a Crux at the back of the room to open a path into a series of conjoined rooms. The runner will begin taking stacks of the Pervading Darkness debuff inside the rooms. Pervading Darkness gradually makes it harder to see and kills players if it reaches ten stacks. While accruing Pervading Darkness, the runner must collect three of the Vow of the Disciple symbols and make it back out. The two runners can work together to shoot the collected symbols on the Obelisk by the doors. If done correctly, the symbols will disappear, and the other runner can take their turn inside. After three successful runs, players will head into a damage phase.

While the two runners are doing their thing, the two tanks must keep The Caretaker busy until all symbols on the Obelisk have been correctly activated. This is much easier than it sounds, provided two players can stick to his front and back without getting distracted. The player facing the front of The Caretaker can get close to the boss to bait an attack. The Caretaker’s head will glow when that happens, and a shot or two will briefly stagger him. This stagger causes his backpack to open up, revealing another glowing spot, and the other tank can shoot this to stun the boss for a few seconds. This will be repeated as often as possible until the runners finish the Obelisk, or The Caretaker reaches the Obelisk and wipes the Fireteam.
When the damage phase starts, players can only hurt The Caretaker if they’re standing on one of the three plates surrounding the Obelisk. Each plate only powers for a few seconds, so the Fireteam should coordinate when the team moves from one plate to another. After dealing enough damage, a set of stairs will descend, and Guardians can climb higher. After the third floor, a final set of stairs leads players to a hallway, acting as The Caretaker’s final stand.
The Caretaker changes
The Caretaker encounter remains much the same in The Pantheon, with the only notable difference being that The Caretaker’s missiles appear in the Crux rooms with runners. Otherwise, there is more enemy and missile density outside, but that’s about it.
Zo’aurc

Zo’aurc mechanics
Zo’aurc, or the “Planets encounter,” originally appeared in the Root of Nightmares Raid. The arena has three plates in the middle, with two platforms on the left and right sides. Four players will start on those platforms and act as planet runners, with the other two keeping the arena as clear as possible.
For the planet runners, two shielded Centurions will spawn in the middle of the room. When the Centurion on the left side is eliminated, a shielded Colossus will spawn on both left-side platforms and likewise for the right-side Centurion. This Colossus must be killed by the planet runner on that platform, as it’ll give players a buff that lets them see whether the planets above their platform are Light or Dark. Essentially, Guardians are looking for the odd one out, so if there are two white (Light) and one orange (Dark) planet, the orange planet is the one to pick up and call out.
Planet runners must interact with their called-out planet, swap with the planet runner on the other side, and dunk on the spot from which the other player took their planet. If done correctly, all orange planets will be on the right side, and all white planets will be on the left. From here, another set of Centurions will spawn in the middle, followed by another Colossus when defeated.
The second time players eliminate a Colossus, they’ll still be on the opposite side they started. This time, the buff provided by the Colossus will show three planets above the plates in the middle. Planet runners must coordinate who will dunk where, and three of the four will grab a Light or Dark planet buff to dunk and empower one of the plates.
Before long, the plates will light with their corresponding planet’s color. There will always be two of the same color and one outlier because Guardians cannot use the same plate type twice in a row. For example, if the plates are Light right, Dark middle, and Dark left, Guardians would go middle, right, left, or left, right, middle to ensure no damage time was lost.
Zo’aurc changes
Zo’aurc brings a few changes to The Pantheon’s third encounter, most notably throwing a Tormentor into the mix. The Tormentor appears at the same time as the second set of Centurions, but it does disappear once damage starts. In addition to the Tormentor, additional Centurions will spawn between the two platforms on both sides. But enemies aren’t the only additions in The Pantheon. Zo’aurc will summon the fire tornadoes usually saved for the last stand throughout the fight. They’ll typically target planet runners and also appear on the plates a few seconds after damage starts.
Atraks-1

Atraks-1 mechanics
Atraks-1 is the second encounter in the Deep Stone Crypt Raid, but stands as the final challenge for the first week of The Pantheon. Usually, the team splits into two groups of three, with one team heading up the elevators and the other remaining in the starting area. Before all three players take the elevators up, one Guardian will want to hang back to grab the Operator buff once it appears. Meanwhile, upstairs, the two can search for the Scanner buff while awaiting the Guardian with Operator.
Before long, three Sentinels will spawn on both the top and bottom floors. The group downstairs can eliminate theirs as fast as possible and head up via the elevators sent back down by the player with Operator. Once the team is all back together, the remaining upstairs Sentinels can go down, and Atraks-1 will start a wipe mechanic.

The player with Scanner can locate the clone of Atraks-1 that’s glowing, and corral the Fireteam to unleash everything they have. The damage window for Atraks-1 is very short, so players are best suited with weapons like the Parasite Exotic grenade launcher and damage Supers like Golden Gun or Nova Bomb.
Alternatively, if players can’t one-phase Atraks-1, the teams can remain split and use the multiple Augmentation Terminals to pass Scanner between floors. This method is slower but requires less finesse to pull off. That said, it does mean that one Guardian will have to collect the orb the defeated Atraks-1 clone drops.
These orbs provide a debuff that wipes the group if not cleansed or if left uncollected. Players with the debuff must head upstairs and have the Operator open an airlock that can be stood in to cleanse. Once players enter the final stand, everyone heads upstairs to burn clone after clone until Atraks-1 is defeated.
Atraks-1 changes
Only one notable change to the Atraks-1 encounter exists outside of increased health and enemy density. A Tormentor will spawn after the downstairs team eliminates all of their Sentinels. The Tormentor can be skipped by simply juking it and heading into the elevators, but that only works if players can one-phase Atraks-1 up top. If players plan on passing Scanner back and forth, the Tormentor will be a priority, so it doesn’t meddle during damage.